13 Chef-Approved Ways To Upgrade Store-Bought Queso
The best homemade queso is well worth the time it takes to make, but unfortunately, your schedule may simply not allow for such an endeavor. Perhaps you need a quick dip for an event after work with little time to spare, or maybe you need to create something to keep the family's hunger at bay without making a whole meal. This is where store-bought queso comes in, which offers a convenient shortcut to the rich gooey cheese dip you're craving. Of course, you may be hesitant to settle with the jarred options you find in your favorite grocery store because they often seem to be missing... something.
During my more than 15 years in the food industry, I made queso countless times. Although I'd most often make this delicious dish from scratch, there was one restaurant I worked at that actually started with a pre-made base that we elevated through a few simple steps. Plus, I'll be completely honest and say that I almost always start with store-bought queso at home since it's convenient and efficient. But, I always address that missing something before serving — and it never takes me more than 20 minutes to implement my preferred upgrades.
Buying store-bought options doesn't mean having to settle. Instead, use these 13 chef-approved ways to quickly and easily upgrade store-bought queso. Or, use these recommendations to spark your own imagination and create something uniquely you to serve to your guests. Let's get into it.
1. Splurge on the best store-bought queso for an elevated experience
This may not exactly be an upgrade of the queso itself per say, but it's definitely an enhancement of the overall experience. By choosing the best possible option available to you, you'll provide yourself and your guests with an improved base that further upgrades will only elevate. Pairing your queso with the best store-bought tortilla chips also helps.
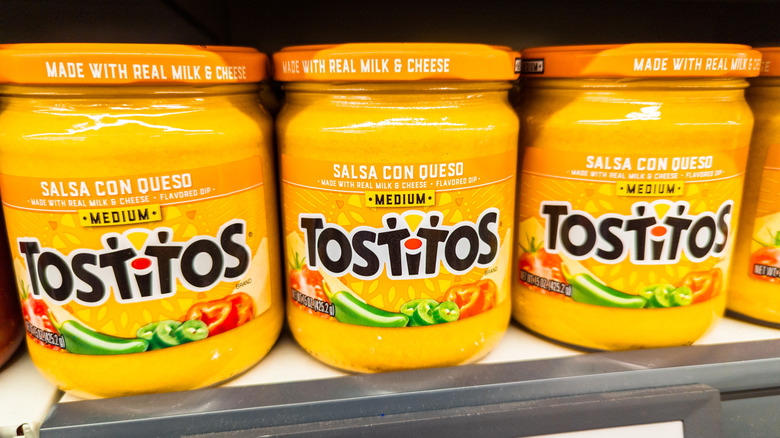
According to our ranking of store-bought queso dips, Tostitos Medium Salsa Con Queso is your best option, and since it's a national brand, most people will have access to this. The creamy consistency and robust flavor profile are a perfect starting point for any of the other upgrades on this list. If, for any reason, you don't have access to Tostitos, On The Border Salsa Con Queso and Chi-Chi's Mild Salsa Con Queso Dip are also excellent options. Whatever you do, steer clear of the standard queso options offered by Wise, Desert Pepper, or Taco Bell.
2. Heat it up on the stovetop for a smoother, silkier texture
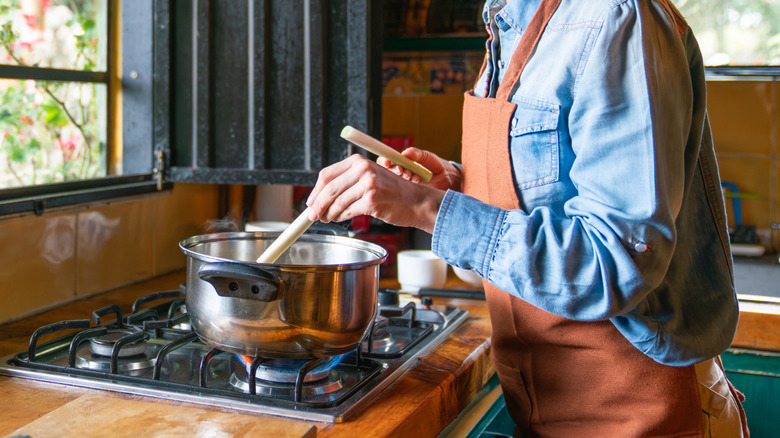
This is my top tip for upgrading your store-bought queso because it requires zero additional ingredients and barely any time. Instead of preparing your queso at room temperature, heat it up on the stovetop. This will produce a better texture that's smoother and often silkier. At the same time, it can help meld the flavors together a bit, especially if your queso is one with chunks of peppers or tomatoes; the heating process will help these secondary flavor notes leech into the base cheesiness.
Grab an appropriately sized pot and dump your queso jar into it. You can do as many jars as you want at a single time, but keep in mind that the more dip you have in your pot, the longer it will take to heat. Use medium-low heat to bring up the temperature slowly and stir frequently to reduce the risk of burning it.
While it can be tempting to cut out a few more minutes and pop your queso into the microwave, I strongly advise against this. The microwave will produce uneven heating, which may not create the results you're looking for. If you must use the microwave because you don't have access to a stove top, heat your queso in a safe dish for about 30 seconds before pulling it out to stir. Repeat this until you see the texture alter and the whole dish is warm.
3. Add a few spoonfuls of salsa to bring the tomato flavor to the forefront
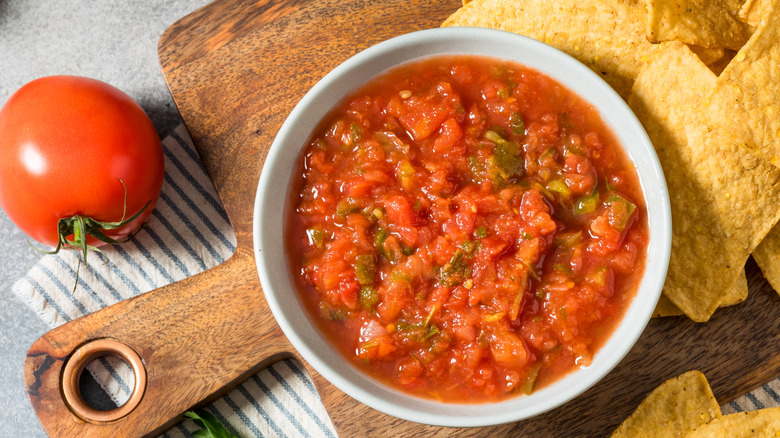
Many queso varieties already have a bit of tomato in them, although not all homemade or store-bought recipes do. That being said, you can bring the tomato flavor to the forefront of your dish or integrate it nicely if it doesn't already exist by simply adding a few spoonfuls of salsa. Consider making fresh homemade salsa ahead of time and storing it in airtight containers so you have it on hand for times like this. Alternatively, you can also choose one of your favorite store-bought jarred salsas when you're short on time.
For a little kick of tomato that will melt into your store-bought queso's other flavor notes, I suggest adding 4 heaping tablespoons per standard 15-ounce jar. But if you're looking to create a rich, chunky queso with robust tomato notes, you can go so far as to pair a whole jar of queso with a whole jar of salsa. If you go this route, I recommend heating your queso nearly all the way, adding the salsa, and then heating it another two to three minutes while stirring to combine everything fully.
4. Create a thicker, creamier texture with sour cream
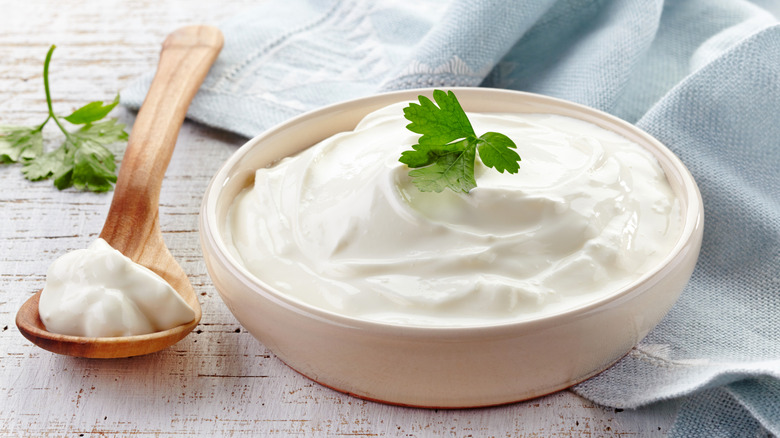
Texturally, some queso is a little thin, or maybe the texture is too silky when you prefer a creamier dip. Sour cream can help with both of these things — even better, this upgrade tip takes no more than a minute to implement, and it works well with nearly every other upgrade option on this list. So, feel free to mix and match your favorite chef-approved upgrades to create a queso that's unique to your tastes.
The amount of sour cream you use is highly customizable. If you're looking for only a slightly thicker texture that borders on creamy but is still silky, add 2 tablespoons per jar. If you're looking for a very thick, creamy dip with an enhanced milky richness, add 5 tablespoons of sour cream per jar. Adding 3 or 4 tablespoons per jar of queso will fall somewhere in the middle, veering towards one side or the other, based on your preferences.
Technically, you can add your desired amount of sour cream to refrigerated queso and stir well to incorporate it. However, I highly recommend heating up the queso first. Pull it off the heat once fully warmed, let it sit for about five minutes, and then add the sour cream. Be sure to stir well to fully incorporate.
5. Incorporate a savory crunch with bacon crumbles
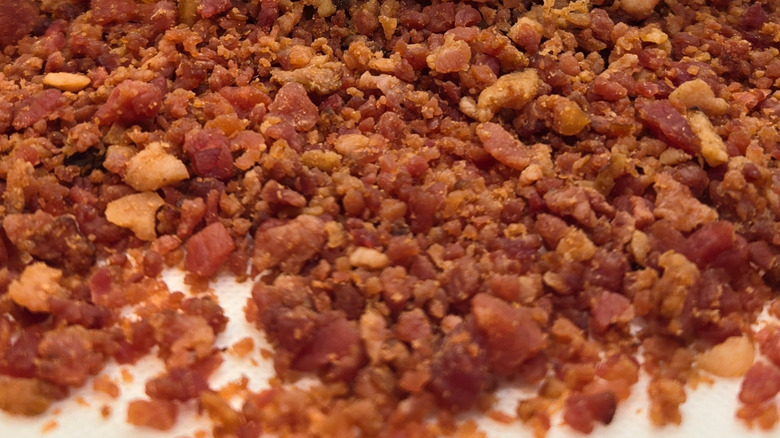
Adding a few handfuls of bacon crumbles can drastically improve both the taste and texture of your queso with minimal effort. In terms of taste, bacon crumbles add salty, savory notes that pair well with the rich cheesiness and moderate spice of most queso. Texturally, these add a nice bit of complexity as the crunch contrasts against the smooth base. The dots of darker meat are also aesthetically appealing against your yellow base.
You can buy pre-made bacon bits at most grocery stores to save time. Simply shake these into your store-bought queso (heated or unheated) until it suits your preferences. However, I highly recommend making your own bacon crumbles if you have the time — and you can even make bacon crumbles ahead of time and store in airtight containers in your refrigerator.
To make homemade bacon crumbles, start by chopping a package of bacon into small pieces. You can use kitchen scissors if you prefer, but I like to use a sharp knife to cut each piece of bacon in half longwise, before slicing in the opposite direction about a finger's length apart. Fry the bacon by placing it in a cold skillet in a single layer, and cook until crispy, moving the meat around frequently to prevent burning. Transfer to a plate lined with paper towels, pat dry, and then store in a container. Be sure to place these in the refrigerator so they don't spoil.
6. Switch up the base flavor profile with roasted garlic
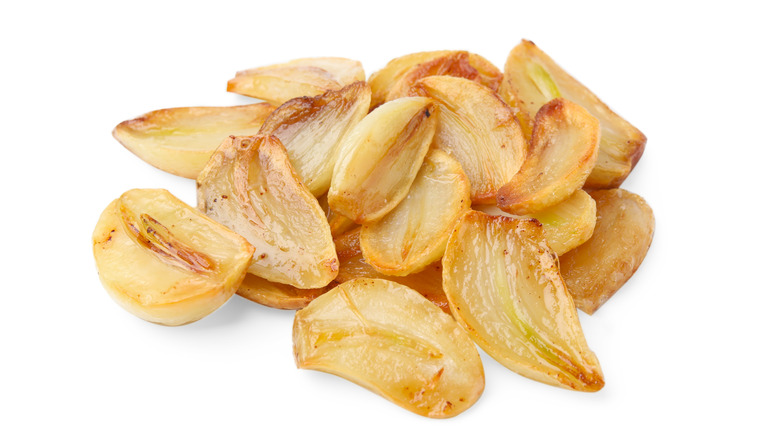
Are you one of those people who measures garlic with their heart instead of adhering to whatever the recipe says? This tip is for you. Incorporate roasted garlic — which has a strong, pungent taste — into your store-bought queso to complement the rich cheese perfectly. Even better, roasted garlic will easily seep into your whole batch, altering your base flavor profile instead of adding sporadic taste notes like some of our other upgrade options.
Like every other upgrade on this list, the amount of roasted garlic you add is highly customizable. Add a clove or two for mild tangy notes, or add a whole handful of cloves for a robustly pungent and slightly spicy profile. And, if you've never made roasted garlic before, rest assured — it's quite easy.
To roast garlic, start by peeling the paper-like outer layers of garlic skin off as many heads as you'd like. Place the full heads on a baking sheet covered in parchment paper and drizzle them with olive oil. Then, sprinkle a little salt and cook for about 40 minutes, or until all cloves are soft. They should also be a little brown. Alternatively, you can follow these same instructions but wrap your garlic in aluminum foil instead of lining it up on parchment paper.
7. Mix in cream cheese for added richness and textural benefits
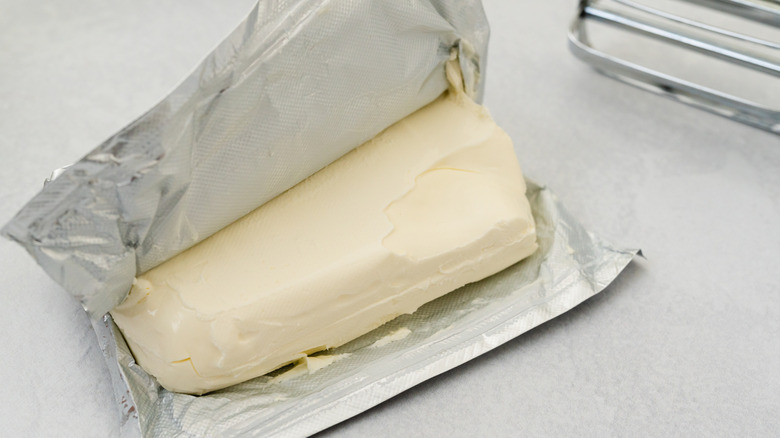
Adding some cream cheese to your queso provides similar benefits to adding sour cream in that it makes it creamier and thicker. However, cream cheese provides a slightly thicker texture, and lends a faintly sweet edge to the flavor profile. Personally, I prefer cream cheese over sour cream if I have it on hand because I enjoy the faint sweetness. Plus, I have cream cheese in my refrigerator more often than sour cream, so it's more accessible for me.
If you want to incorporate cream cheese into your store-bought queso, you'll have to heat it up first — and I'm sure by this point you've realized I'm a big advocate for doing so. For one jar, take half a block of cream cheese and cut it into small cubes. Once your queso is relatively warm (but not burning hot), you'll add the cubes. Stir constantly until the cream cheese has melted and fully incorporated into the queso before pulling it from the heat and serving.
8. Make it more filling by adding seasoned ground beef
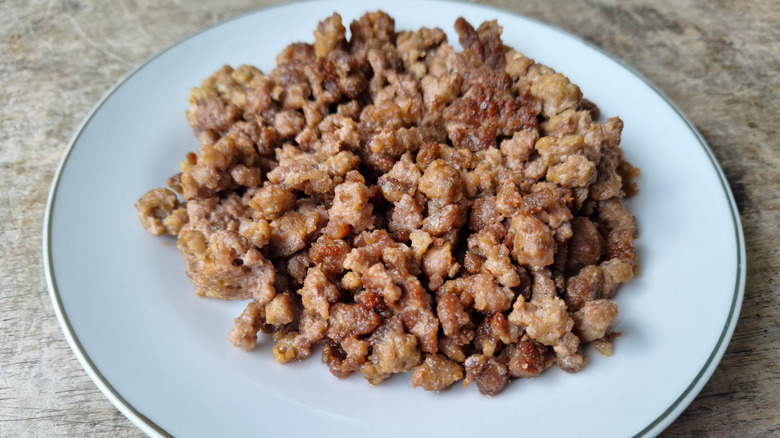
Need a filling dip that can work as a whole meal served family-style? Add seasoned ground beef to your jar of store-bought queso. Not only will it instantly become more filling, but the queso will take on savory notes from the ground beef, as well as varying flavors based on the seasonings you use. Pair this with tortilla chips for a nacho-like experience, or create loaded fries instead of using it as a dip.
You can use a range of different seasonings here, but my favorite is taco seasoning because it adds a slightly spicy, sweet, and smoky edge. But using the basic combination of salt, pepper, garlic powder, and onion powder will focus on a more standard, savory beef taste. Can't eat beef or simply don't like it? Use ground turkey or chicken here, but be aware that it'll have a slightly drier texture and more mild meat taste.
Brown your meat in the bottom of a wide pot until done, and drain the grease. Then, you can dump your queso into the pot to warm it. Alternatively, you can add the ground meat into a bowl and dump room temperature queso inside. Either way, make sure you give it a good stir to incorporate!
9. Add caramelized onions to layer sweet, smoky flavor notes
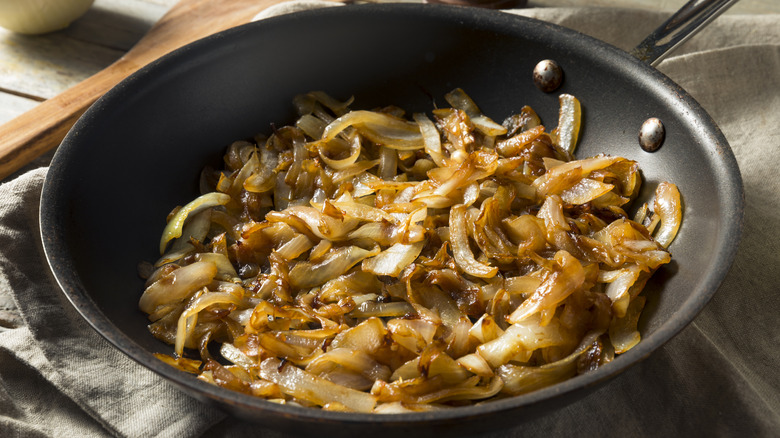
Like seasoned ground beef, caramelized onions take a few minutes to make, so they may not be ideal for when you need an immediate hunger fix. However, they're well worth the effort if you have the time. Usually, caramelized onions will add sweet, mildly smoky flavor notes to your queso, but this can vary slightly based on the type of onion you use. Personally, I like to use yellow onions when I want a bolder, pungent taste, or Vidalia onions when I'm looking for something more sweet-leaning. Vidalia onions are a particularly great option if you've also chosen to incorporate cream cheese, as the sweeter profiles play into each other.
You'll caramelize your onions in the bottom of a wide sauce pot or frying pan — once finished, you can either add them to room temperature queso or add your dip to the cookware for heating. You'll need to thinly slice your onions and cook them on medium-low heat with butter and oil. I use standard vegetable oil, but olive oil also works well. Sprinkle them with a little salt for flavor enhancement. Avoid rushing the process – the most common mistake made when caramelizing onions – and work slowly; the onions are done once they're soft and brown in color.
10. Increase the heat with your favorite peppers
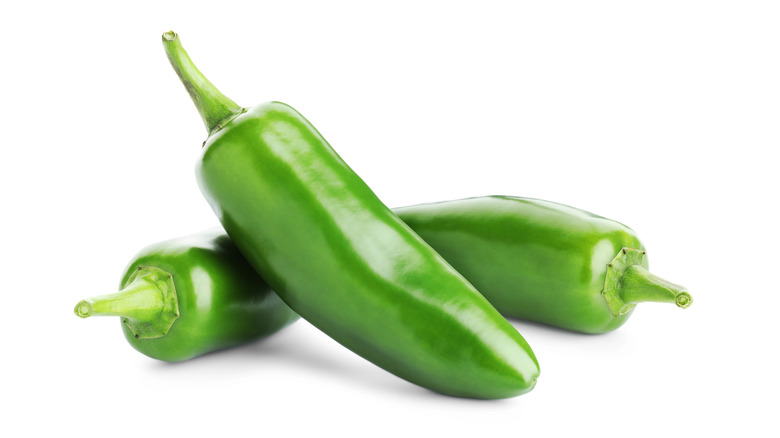
If you love spicy foods, this is the upgrade option for you. You can amp up the heat with your favorite spicy peppers, customizing the unique flavor notes based on the type of pepper used. The flexibility of all these upgrades is my favorite part because it makes it really hard to mess anything up — just add or take away the various ingredients next time you make the dip, continuing to make alterations until you've got it perfect.
My favorite peppers to add to my store-bought queso are jalapeños. These bring a slightly earthy taste, moderate heat, and a crunchy texture when added raw. If you choose to cook them, they still provide some textural substance, but the heat is a bit milder and the taste a bit sweeter. Serrano peppers are similar to jalapeños, except the taste is cleaner and slightly more mellow, with bright citrusy undertones rather than earthy ones. If you really want to turn up the heat, habanero peppers will deliver. They'll also bring notes of citrus and florals that balance the rich cheese nicely.
11. Shake things up with some black beans
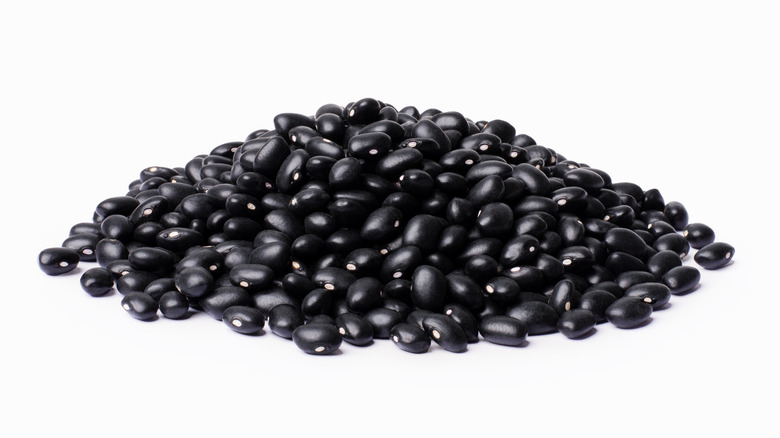
Incorporating black beans into your queso can make your meal more filling and texturally interesting, while the contrasting color to the base yellow also increases aesthetic appeal. Even better, black beans can add some extra protein to your dip in a way that's generally fine for vegetarians. Although you can use dried or fresh options if you have the time, the best canned black beans taste great and are very time efficient.
You'll need to heat your beans before adding your queso, but this takes significantly less time than browning meat. Dump the beans into the bottom of a pot and season them according to your preference. Once they're warm, dump in your queso, stirring well. Continue cooking until the queso is also warm.
Don't like black beans? Refried beans are another excellent option that I frequently use in my own kitchen. Just heat them up on your stove before dumping in your jar of queso — about half a can of refried beans per jar of queso creates a nice balance. Pinto beans, well-seasoned kidney beans, or pre-seasoned chili beans are also decent options.
12. Experiment with your favorite seasonings

Dried seasonings are one of the easiest, quickest ways to elevate your store-bought queso. As long as you stay stocked up on the best spices, there are countless ways to enact this upgrade option. And if you don't have a well-stocked spice cabinet I highly recommend remedying that, because using dried seasonings effectively (and thoroughly) is the single most important skill in cooking, in my humble opinion.
Adding dried cilantro to your store-bought queso can bring a strong earthy element with bright, citrus tones — just be aware that a small percentage of the population believe this specific herb tastes like soap, potentially due to a genetic variation. If you want to avoid that rare potential effect, consider adding smoked paprika, which has a rich smoky flavor with woodsy notes. Ground cumin adds an intense level of warmth with earthy and nutty undertones to your store-bought queso. You might also consider cayenne pepper for additional heat, oregano for an earthy citrus flavor profile, or the bright freshness of parsley.
Feel free to experiment with whatever you have in your spice cabinet that you think may create an appealing addition. Some of my best recipes have been the product of scrounging around in my cabinets for whatever I have on hand.
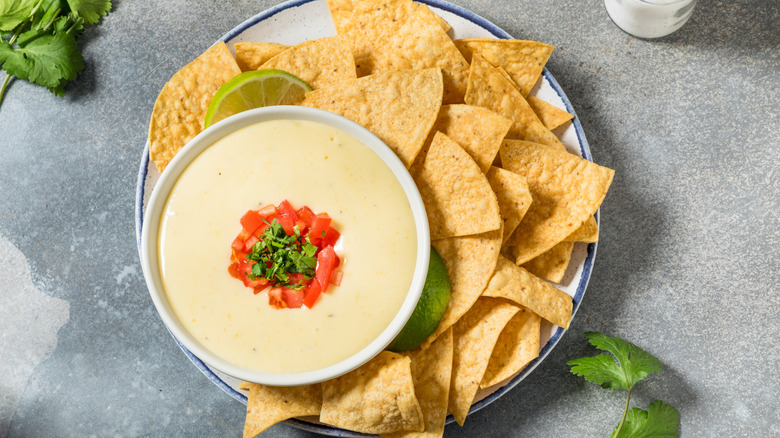
13. Make it aesthetically pleasing with fresh herb garnishes
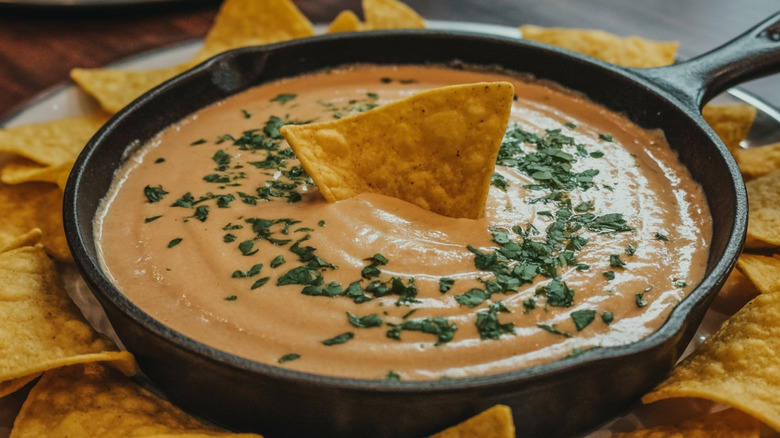
If you're serving your store-bought queso at a party or event, this chef-approved upgrade will help your dish look more professional with minimal effort. Fresh herb garnishes can make your queso more aesthetically pleasing because the greenery contrasts beautifully with the yellow cheese. The pleasing visual aesthetics may catch the eye of your guests and make them more inclined to dig in.
There are numerous herbs you could use, but I highly suggest parsley or green onions. These have relatively mild flavor profiles, paired with appealing dark and light-green visuals respectively. Since the point of a garnish isn't necessarily just for taste, I prefer using things that won't take away from the dish's own natural flavor. For parsley, I recommend a fine chop and spreading the garnish across most of the dip's top, leaving a small empty circle along the outer edges. For green onions, I recommend thinly dicing, and keeping the garnish more to the center of the dish.
If neither of these options appeal to you, roughly chopped cilantro (if you're a fan), or a few bits of microgreens are also excellent choices. As always, I recommend experimenting with various herbs or greens until you find what you like best.