

Make The Best Lemon Meringue Pie With These 12 Baker-Approved Tips
We may receive a commission on purchases made from links.
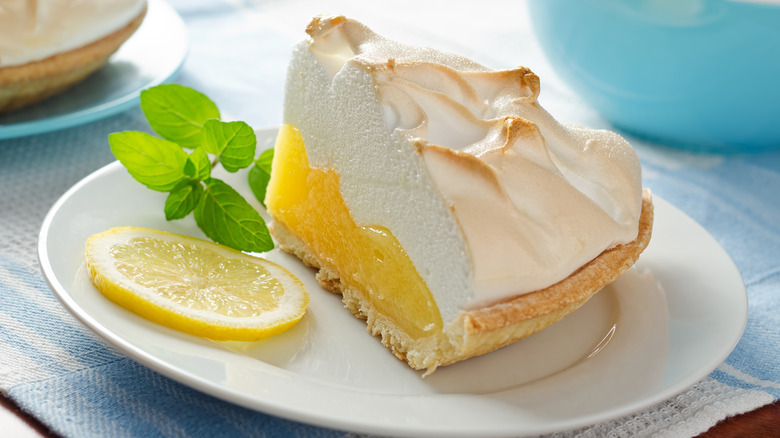
Classic lemon meringue pie is a bright, citrusy dessert that tastes like summer to me. Growing up, my Mamaw would make this for all of our summer family gatherings. The pie is crafted from three distinct (and equally important) parts. You have a flaky crust, a thick lemon curd filling, and an airy meringue topping. Thanks to the somewhat intricate curd creation and the delicate balance needed to achieve perfect meringue, this recipe can feel a little intimidating at first. But, with a little practice and expert guidance, you'll soon be making perfect lemon meringue pies every time.
The "expert guidance" part of that equation is where I come in. Not only did I grow up eating this fantastic dessert, but I also frequently made it during my more than 15 years in the food industry, much of which was spent working in bakeries at varying levels, including up to head baker. Plus, it remains a family favorite, and I've further perfected this specific recipe at home. Today, I'm going to share with you 12 baker-approved tips for making the best lemon meringue pie that I've discovered throughout the years. Let's get into it.
1. Temper the egg yolks
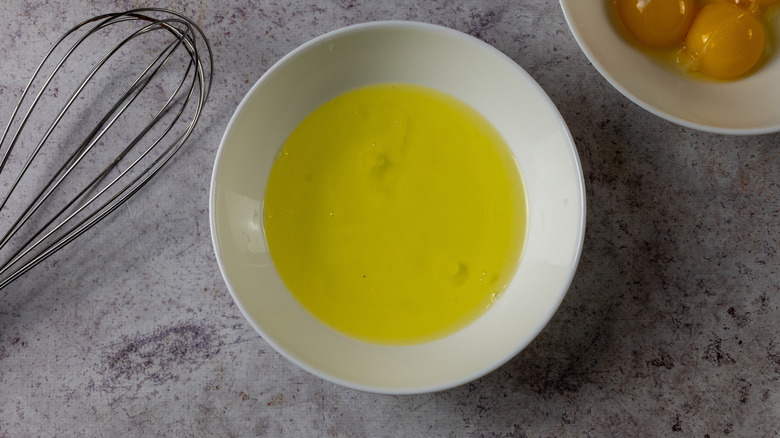
The word "temper" or "tempering" means to slowly raise the temperature of something in cooking. In this case, we're talking about gradually increasing the temperature of your egg yolks so they don't cook when introduced to the heat. If they begin to cook, you'll end up with little bits of scrambled egg, which effectively ruins your pie filling. Once that happens, you have no choice but to start over.
Instead of just dumping the egg yolks into your filling mixture, start by whisking them well. Once your cornstarch mixture (which will eventually become your lemon curd) is ready, slowly add some of it into the bowl with your eggs before whisking again. Add no more than 2 tablespoons at a time so that you can control how quickly the egg's temperature rises. Repeat this process three or four times before dumping the tempered eggs into your cornstarch mixture.
As long as you follow this process properly, you shouldn't have any problems with the eggs cooking at this point. If you do find that the eggs begin to cook anyway, you didn't bring them up to a high enough temperature.
2. Blind bake your pie crust with weights and aluminum foil
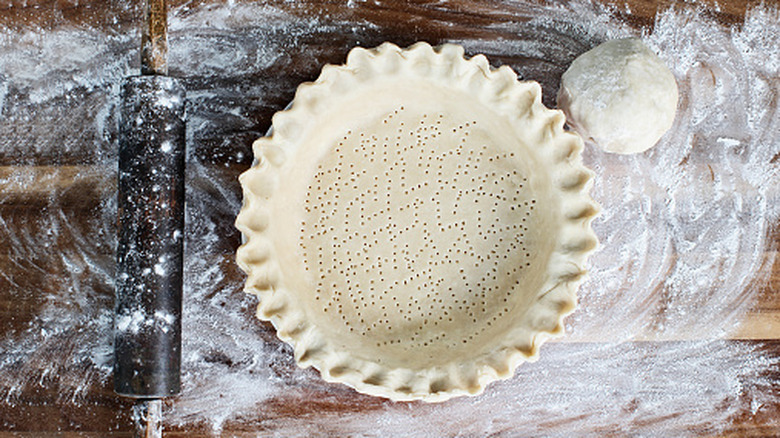
Blind baking is just a fancy term for baking your pie crust without any filling inside of it. While many pie recipes, like this cherry pie recipe, call for the filling and crust to be cooked together, lemon meringue pie doesn't. Why? The lemon curd doesn't need to be baked because you'll create it on the stove top, and allow it to firm up inside the pre-baked pie crust. I know this might sound strange since most lemon meringue pie recipes do require some time in the oven, but this is only so you can toast the meringue, not cook anything — therefore, the time is a lot less.
The best way to blind bake your pie crust is to use weights and aluminum foil. The aluminum foil is a protective barrier that can also help you achieve a slightly more golden coloring. You'll lay this atop the whole pie crust, and then place your weights evenly inside. If you don't already have pie weights, I like Mrs. Anderson's Baking Ceramic Pie Crust Weights, which are available on Amazon for around $10. Don't have any pie weights and need some in a hurry? You can substitute dried beans, uncooked rice, or granulated sugar instead.
3. Seal your crust with egg wash
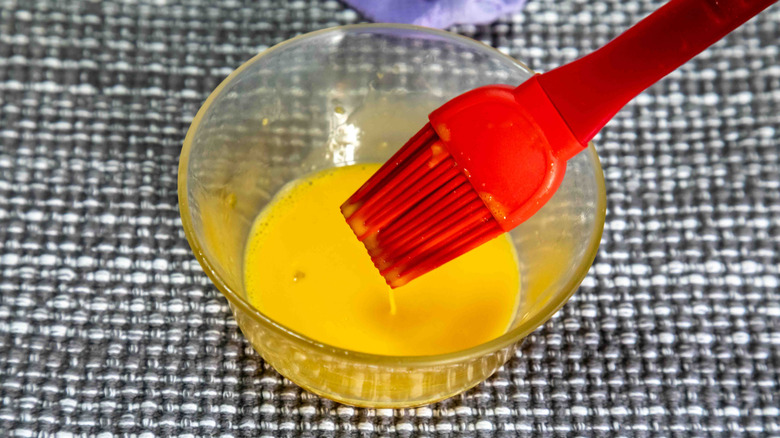
If your pie crust keeps getting soggy and you don't know why, sealing it with egg wash is likely the solution. If you've baked at all before, you're probably familiar with an egg wash, since it has a wide range of applications. In case you're not familiar, an egg wash is created using one egg and about a tablespoon of liquid. Although you can use other liquids, I've always found that water works just fine for me. If you want less browning, use two egg whites instead of one whole egg.
To utilize this tip, take a small pastry brush and gently brush the egg wash over the entirety of your pie's interior crust. You want the whole thing covered, but you don't want the wash to pool anywhere. Then, pop the crust back into the oven for about four minutes or until golden brown. Now, you should have a waterproof seal that keeps your crust from becoming soggy.
4. Use real lemon juice

I know that it's easiest to use bottled lemon juice or grab the kind that comes in those little lemon-shaped squeezers. But using these just doesn't create the same results as freshly-squeezed lemon juice. In fact, these packaged alternatives often make the lemon meringue pie come out tasting metallic or artificial, which is obviously something you don't want.
The amount of lemon juice you need will vary from one recipe to the next, but one of my favorite recipes calls for about ½ cup. Depending on the size of your fruit and how effectively you juice them, you may need between two and four lemons to get ½ cup of juice. When purchasing your pie ingredients from the store, I always recommend grabbing at least two more lemons than you think you need. You can always put those to use in something else, but you definitely don't want to get halfway done with your pie only to find out you don't have enough lemon juice.
If you have a specialized produce juicer, this step is really easy and only requires you to cut the fruit and pop it into the juicer. But, if you're like me and don't have one of those, you should start by firmly rolling your lemons on the countertop. Then, cut them in half lengthwise. Use a citrus squeezer, citrus reamer, or your hands to juice the lemon into a cup or bowl.
5. Thicken your lemon curd long enough (but not too long)

Many people make the mistake of pulling their curd mixture off the stovetop as soon as it begins thickening. I imagine this largely happens because it can feel alarming how fast this mixture suddenly thickens up — and nobody wants to burn their food, so I get it. But you really want this base to be very thick, for two reasons. First, the lemon juice is added after the curd has cooked, and it will water it down quite a bit. Second, an appropriately thick curd will set as it cools. If the curd is too thin, it will never firm the way you want it to.
Of course, you don't want to leave the curd mixture on so long that it burns or becomes too thick, either. So, it's really about learning how to accurately tell when it's done each time. When you think the curd is thick enough, dip a wooden spoon into the mixture. Pull it out and run a finger (or a knife) across the back. Did the curd leave a clear line without any mess on that path? Does it coat the spoon well? Does it hold its shape well and not drip back into the pan? If you answered "yes" to all of these questions, then congratulations! Your lemon curd is thick enough!
6. Prevent meringue issues with the three bowl method

Meringue is incredibly simple once you get the process down, but it can also be quite finicky, which is why so many people struggle with it in the beginning. One major issue that many people run into? Accidentally introducing fats into their sugar and egg white mixture. This is a recipe for disaster because even a speck of fat can break down your meringue, meaning it might never form peaks at all or, if it does, it could deflate during the toasting process.
Thankfully, a simple solution exists to solve this particular meringue problem, and bakers call it the "three bowl method." Grab three bowls and line them up in a row, with a little space between them. Crack your eggs over one bowl, carefully allowing the egg and yolk to separate. You'll place your yolk in the first bowl, and your egg whites into the second.
There are a few other tricks you can use alongside the three bowl method to keep your meringue free of fats. Separate the eggs cold, straight from the refrigerator, because they're firmer and the yolks are less likely to break. Before using a bowl, take a clean napkin and dip it into a little lemon juice — you don't want the napkin to be soaked, just damp. Wipe the bottom of your egg white bowl with this, as it will help break down any fat residues leftover from previous uses after cleaning.
7. Add cornstarch to your meringue
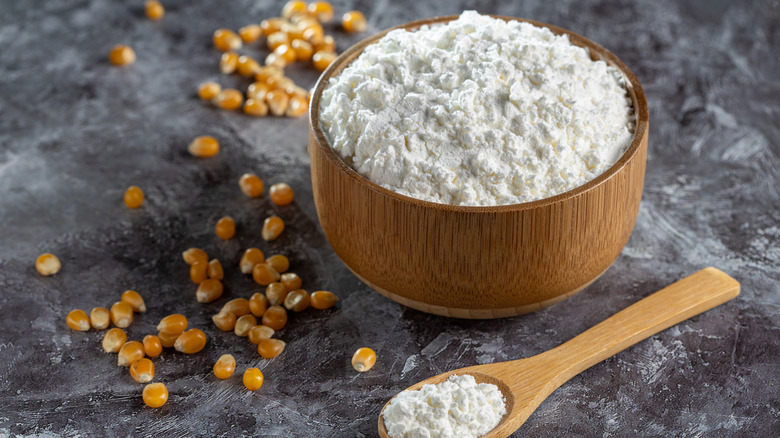
Adding a little cornstarch to your meringue is a simple trick that helps guarantee better results in three primary ways. First, it helps thicken and solidify the meringue, since cornstarch absorbs any excess fluids naturally. Second, it helps stabilize your egg whites, thus reducing the risk of your meringue collapsing or flattening out during the toasting and cooling processes. Third, it stops weeping, which is when sticky little beads of moisture form on the top of the meringue. Weeping mostly affects the texture of your meringue, making it extra sticky and a bit too wet, but it can also affect the taste.
If you're thinking cornstarch is basically kitchen magic thanks to all these qualities, you're right. And, it's great for more than crafting better meringue. Cornstarch is the key ingredient for softer baked goods, and the secret to a better fried rice texture. But, I digress. To use it in this specific aspect, a good rule of thumb is to add about 1 teaspoon of cornstarch per egg white. Don't add more than this, or your meringue may taste chalky and take on a floury texture.
8. Avoid overbeating your meringue
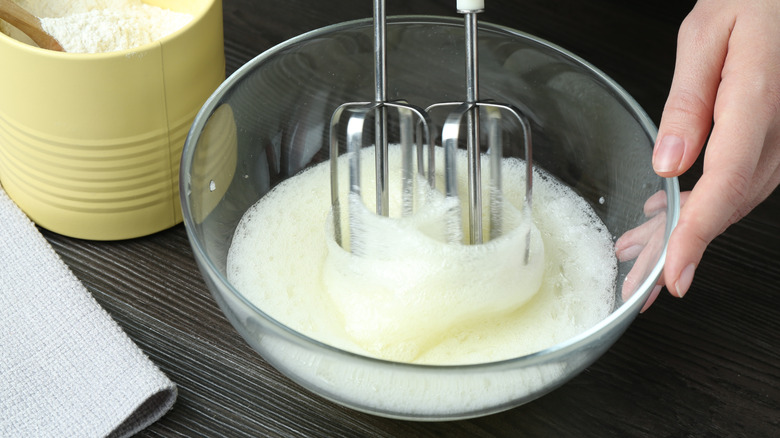
Just like overmixing is one of the most common mistakes that ruin your boxed brownie mix, overbeating is one of the most common mistakes ruining your meringue — it's even more common than accidental introduction of fats. Sometimes, it's obvious that you've overdone it because your egg white mixture will separate in the bowl. Other times, you don't find out until you pull out your meringue expecting toasted high peaks, only to find that everything has fallen flat (and potentially not browned properly).
Of course, you don't want to underdo it, either. Not beating your meringue enough means you'll never achieve the consistency needed for beautiful peaks. The key here is learning to strike a careful balance between too much and not enough. So, how can you do that?
Your meringue is ready when it's thick enough to hold shape without falling and has a glossy sheen to it. Once you think your concoction looks right, I recommend doing the peak test. To do this, take the whisk you've been using and make sure you have some meringue on it. Hold the whisk upside down over the bowl. If the peak of your meringue holds firm, it's done. Alternatively, you can cautiously turn the bowl upside down (in small increments). If the meringue sticks to the bowl without moving or slipping, then you've beaten it enough.
9. Add the meringue while the lemon curd is still warm

Many people think you should wait until the lemon curd is cool before adding the meringue, and I completely understand where this train of thought comes from — namely, because I once thought that way myself. After all, if the lemon curd is warm, won't the meringue potentially slip off the same way traditional American buttercream, chocolate ganache, or Cool Whip topping might? The answer to this is actually no. If you make your meringue thick enough, it won't slide off the warm lemon curd the way other toppings might, but should instead stick to it. If it does run off of it, you didn't make it thick enough.
While this sounds like a matter of personal preference, there's actually a distinct benefit to adding the meringue to your warm curd. It will help prevent weeping on the bottom side of the meringue, which can create a gross, slippery layer that's both practically and aesthetically unappealing. Also, it ensures the bottom of the meringue cooks a bit, which ensures the best results texturally, aesthetically, and taste-wise. For best results, make sure to spread or "pull" the topping all the way to the crust's edge on all sides.
10. Consider torching your pie instead of baking it

If you're not already familiar with a kitchen torch, this useful gadget is exactly what it sounds like — a small torch made to be used in the kitchen on food. And, it can be used to toast your meringue much faster and more efficiently than using the oven. If you don't already own one, I suggest grabbing this Jo Chef Kitchen Torch Set, which includes two canisters of butane fuel specifically for cooking torches. You can grab it on Amazon for less than $40, and since it has nearly 11,000 reviews, I'm far from the only one recommending it.
As mentioned briefly earlier, the lemon curd filling in your pie doesn't actually need to be cooked. The only reason you'd pop the pie into the oven is to toast the meringue, and in this case, carefully using a torch instead is faster and more efficient. This way, you have full control over how brown the topping gets, and you can ensure that browning is even, without any missing spots. As an added benefit, opting for a kitchen torch instead of baking it can help prevent weeping and also speed up the pie cooling process since the filling won't be reheated.
11. Top with a little lemon zest
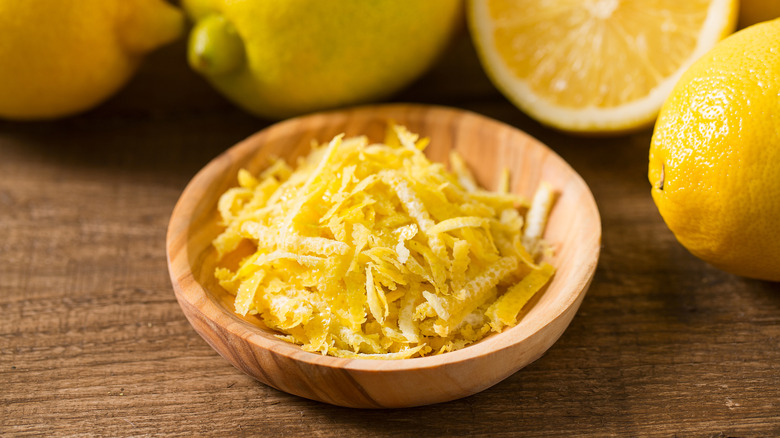
Topping your meringue with a little lemon zest is a quick, easy step that helps elevate the visual aesthetics, as well as the flavor. Visually, the lemon zest adds a nice pop of bright yellow amidst the white and brown meringue, helping to set your pie apart slightly from everyone else's versions. In terms of flavor, this can add a little bit of tangy lemon into each bite, which contrasts nicely with the sweet lemon filling.
I recommend adding the lemon zest after the meringue has solidified and immediately before serving. Just zest your lemon peel over the top of your pie, moving around to avoid a big pile of topping in the center. You should aim to create a thin but relatively evenly distributed layer of zest that extends to each corner of your pie.
If you don't already own a lemon zester, I strongly advise you to get one because it's such a versatile device. Not only can you zest citrus with it, but you can also use it on cheese, garlic, and chocolate, among others. This Deiss Pro Lemon Zester is a durable, affordable option you can grab off Amazon for just over $10.
12. Cool the pie before cutting
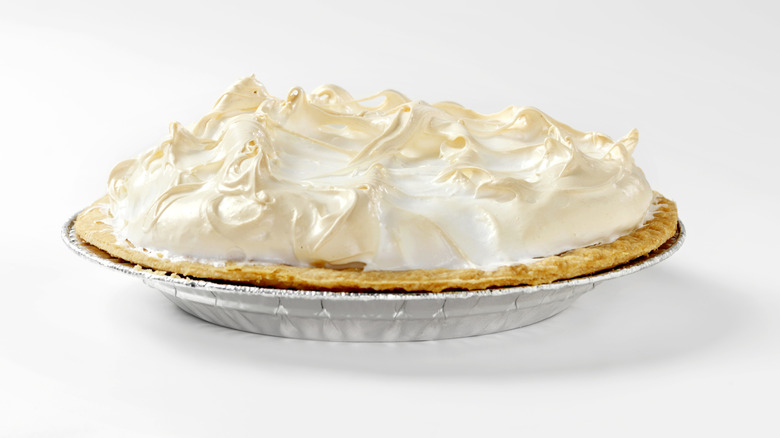
Cooling the pie before cutting is crucial — after all, you don't want all your great work to go down the drain because of one little mistake. Cutting the pie while it's still hot (or even mildly warm) means the filling will just ooze out instead of staying together, and, in turn, the meringue will fall. Why so much damage from a little warmth? It's because the lemon curd filling firms as it cools, and reaches maximum firmness once entirely cool (or even cold, if you can wait for it).
No matter how delicious your lemon meringue pie looks, you should practice a little patience. I suggest cooking earlier in the day if you want to serve it at supper, so there's no rush. To check if the pie is ready, carefully touch the bottom center of your pie plate. Is it still warm? Then you need to wait longer. Not warm at all? Then you can safely cut your pie.
How long your pie takes to cool is determined by many factors. But it will generally take one to two hours to reach room temperature. Personally, I like to allot enough time for the pie to cool at room temperature for two hours, and then pop it in the refrigerator for an hour before serving. Just don't stick the pie straight in the refrigerator while hot, because it can cause the pie to sweat.