

10 Common Pie Crust Mistakes Everyone Makes
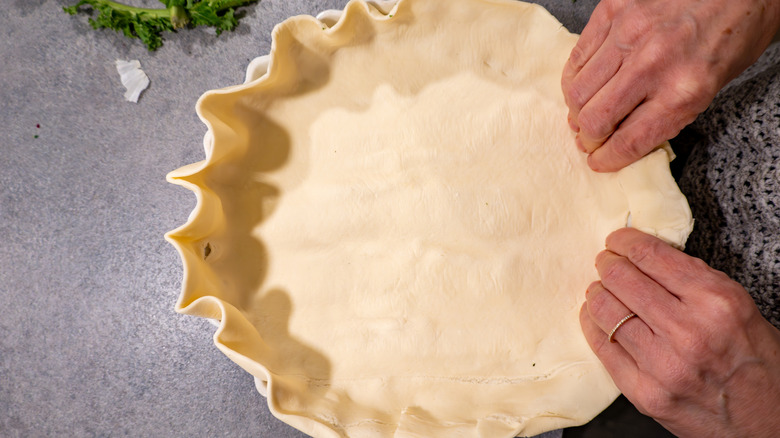
Very few things can beat a fresh, homemade pie. The warm smell and flaky crust paired with the right filling make this dessert top-tier. So, it's no surprise that people love making pies. That said, if you're a newbie baker, you might've found it challenging to whip up a decent one. The filling is usually easy to put together (unless you pick something like lemon curd). But the pie crust can be hard to nail because it's a lot more technical. As a result, you might often be left with a pie that's too crumbly, dry, or has a chewy texture similar to bread. Don't let these issues get you down, though, because a little expert intervention is all you need to tackle them. And that's where I come in.
I've made a lot of pie crusts, as I am a pastry chef with five years of industry experience and a Diploma in Patisserie from Le Cordon Bleu, London. So, I know all the nitty-gritty about the common mistakes anyone can inadvertently make with their pie crust. Along with pointing those out, I'll also tell you what you should do instead, so that you can make the flakiest and most tender pie crust every single time.
1. Using warm butter
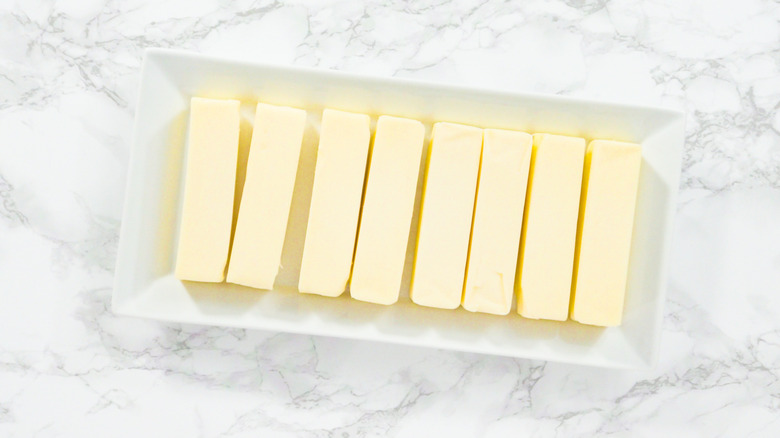
Though many baking recipes call for the ingredients to reach room temperature before cooking, it's the exact opposite for pie crusts. Yet, novice bakers make the mistake of using warm butter. If you've ever done the same, your pie might have turned out chewy and hard. This happens because cold butter is one of the reasons pie crusts get a flaky and tender texture.
Cold butter stays put when you rub or cut it, so it doesn't completely coat the flour. Because of that, the dough doesn't soak up excess water or form too much gluten, and the crust turns out tender. Plus, cold butter bits melt when you bake the crust and release steam, which makes it flaky. But just because the butter needs to be cold doesn't mean it should be frozen, as that will be too difficult to work with. Instead, I recommend using it straight from the refrigerator.
2. Using the wrong kind of flour
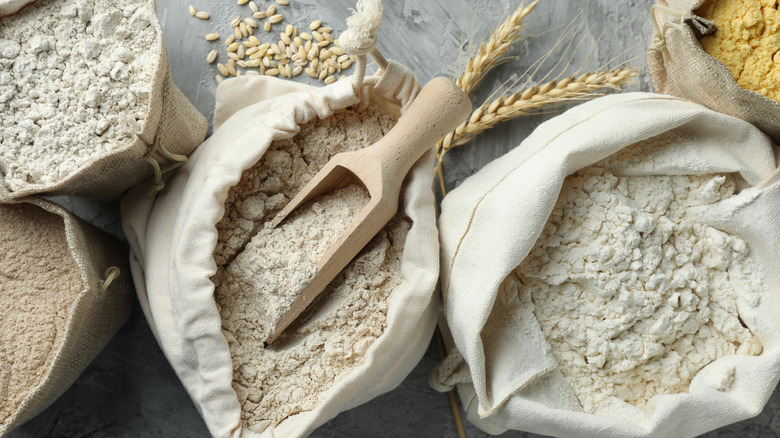
You shouldn't just use any flour you have on hand to make your pie crust, as the wrong type can ruin its texture. For instance, if you use one with a very high protein content, it will give you a bread-like, chewy crust. Even the dough will be a lot more stretchy, which isn't how it's supposed to be for this baked good. All of this is a result of a stronger gluten network created by the flour.
On the flip side, don't go for flour with a very low protein content either, like cake flour, because you'll have a hard time working with the dough. It will rip easily as you roll it and also when you line your pan with it. The crust won't bake too evenly either, and might even crack. And so, the best bet is to go for all-purpose flour — it has just the right amount of protein, so you'll be able to work with the dough quite easily. Moreover, the crust won't crack, and neither will it turn out tough. Alternatively, you can use pastry flour, as its protein content is good enough for pie crusts, too.
3. Adding too much or too little water
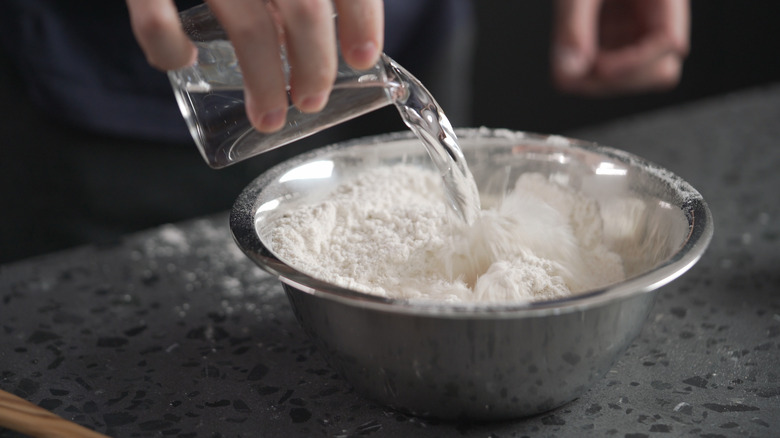
Adding the wrong amount of water to your pie dough is a bigger mistake than you'd imagine. If you add more than needed, your dough will be easier to work with. But there's a downside — the final crust will turn out very hard and dense.
By contrast, not adding enough water will result in your dough being too crumbly, and then you'll have trouble working with it. Also, the final baked pie crust will be too dry and fall apart easily. Both these issues come about due to gluten. The only difference is that extra water leads to excess gluten development, whereas too little means there won't be enough to properly bind the dough.
The best way to ensure your pie crust turns out just right is by adding a little water (1 or 2 tablespoons) at a time and mixing the dough gently. If it falls apart when you hold it, it needs a little more water. It's ready when it looks crumbly but still clumps up when you squeeze it in your hand. In case the dough feels too wet or sticky, it's best to start over. For newbies who are worried about getting the texture right with this method, I suggest adding sour cream to the dough instead of water. That's the secret ingredient for a tender, buttery pie crust, and it's also more foolproof.
4. Not rubbing the butter properly into the flour
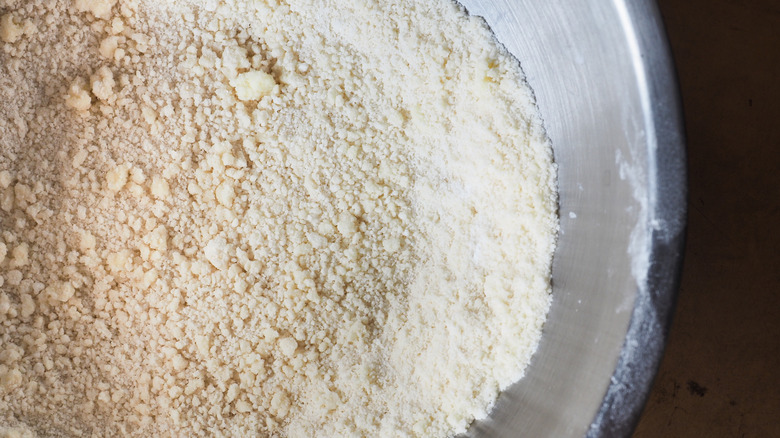
To make a perfectly flaky pie crust, you'll need to rub the butter properly into the flour (this method is called sablage in French patisserie). Rubbing it with too much pressure is a mistake, as the butter can completely mix into the flour, even if it's cold. Consequently, your pie crust will turn out dense and hard once it's baked.
At the other extreme, if you see massive bits of butter dispersed in the flour, you haven't rubbed it properly. In this situation, your crust won't bake evenly and will have greasy spots. So, I recommend rubbing the butter gently with your fingertips until it turns into uniform, pea-sized bits (a little smaller or larger is fine) that coat the flour evenly. If you do this step properly, the flour and butter mix should ideally look like wet sand. If you have warm fingertips that might melt the butter easily, I suggest using a fork or a pastry cutter instead.
5. Overmixing the dough
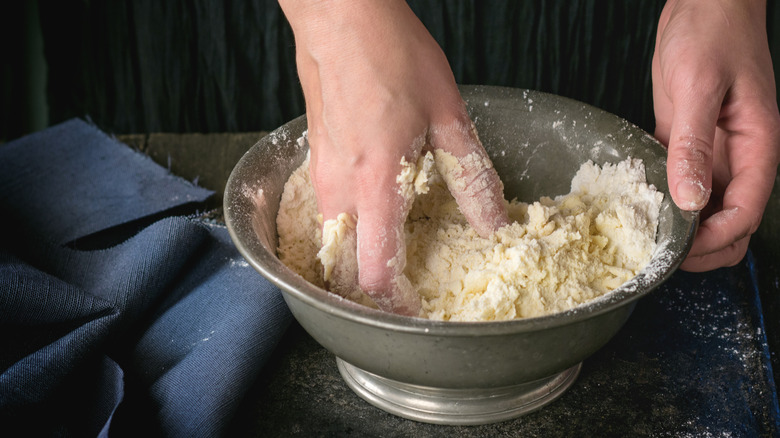
You might want to mix the dough until it's smooth after rubbing the butter into the flour and adding water to it. But that's a big mistake that can ruin your pie crust by making it too hard. The crust might also crack while it's baking.
These issues are a result of excess gluten formation. That makes the dough stretchy instead of shaggy, which is how it should be for a pie crust. To avoid this problem, you also shouldn't undermix, as that will lead to insufficient gluten development. It's best to stop mixing when the dough is formed but not too smooth. I personally like transferring it onto a dusted work surface right when it starts coming together, and then folding it over itself a couple of times until it's shaggy. That's something worth trying out if you find it tough to mix the dough in the bowl.
6. Not letting the dough chill
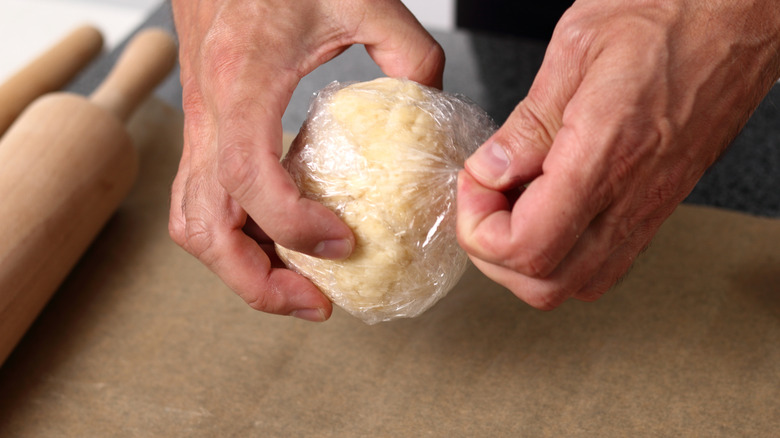
You might want to skip chilling the pie dough altogether, as it gets too firm. Don't do that, though, because it'll lead to a few consequences. It will be difficult to handle, as it'll keep sticking to your work surface. Plus, the butter will start melting and blend entirely into the flour. Hence, it's best to chill the dough for at least an hour before you begin rolling it out to avoid these issues.
Chilling will also prevent a leaky pie crust and make the dough's gluten strands loosen up, which is critical, as that way it won't shrink when you bake it. Just don't freeze your pie dough for a long time to speed up the process. Frozen dough will get rock hard, and then you'll need to let it return to room temperature, making the whole task counterproductive. If it's too firm after chilling, I suggest leaving the dough on the kitchen counter for about 10 minutes and then rolling it.
7. Rolling the dough improperly
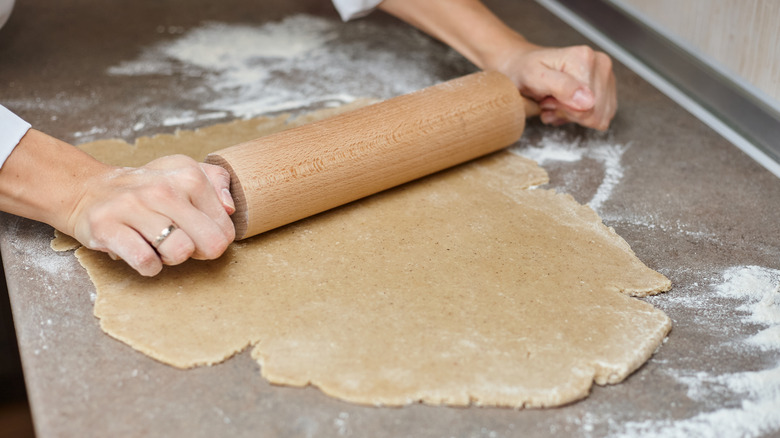
Does your pie dough have an uneven thickness or tears when you're transferring it to the pan? Then you might be rolling it back and forth aggressively or not lifting it once in a while, which can make it stick to the surface and eventually tear as you lift it. You won't face these problems anymore, though, as I'll teach you how to roll your dough properly.
Start by dusting your work table with flour so that it doesn't stick when you roll it out. But don't use too much, as that will make the crust dry. Next, start rolling as soon as the dough is out of the refrigerator. It could be a little tough to roll initially, but it will get easier as you keep working with it. If it's almost rock hard, you can knock it gently with your rolling pin until it gets slightly softer.
I prefer rolling outward from the center towards one edge, then turning the dough slightly and repeating the same for all the edges until it's a little larger than the pie pan and has the right thickness. Don't apply too much pressure outward while rolling, as that can make the center too thin, and remember to lift the dough now and then.
8. Stretching the rolled dough
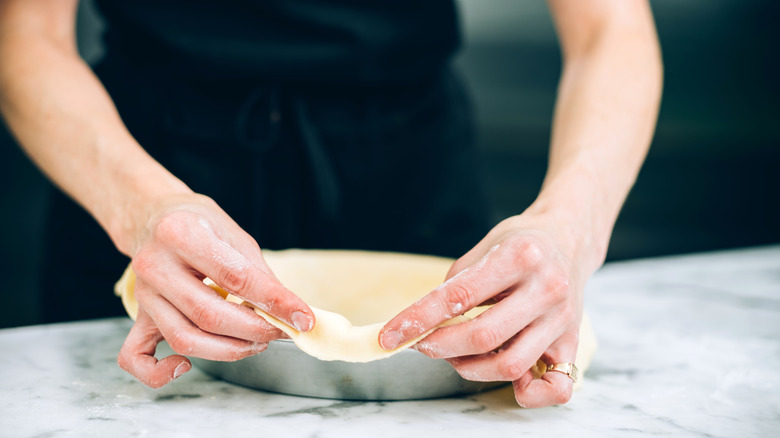
I've often seen amateur bakers stretching their pie dough so that it fits in the pan properly and stays in place. That's a big blunder, however, because it will make the dough shrink when it bakes.
Considering the consequences, the first thing you should do is roll the dough to the right size, as that will eliminate the need to stretch it to make it reach all the way to the pan's rim. If it turns out a little smaller than the pan, form it up into a ball gently, let it chill for about half an hour, then roll it once again, ensuring it's larger. Pick the dough up once it's been rolled and carefully transfer it into the pie pan to avoid any stress. Then, start pressing it lightly into place, because if you push it too hard, it could tear or you might inadvertently stretch it.
9. Not leaving any overhang
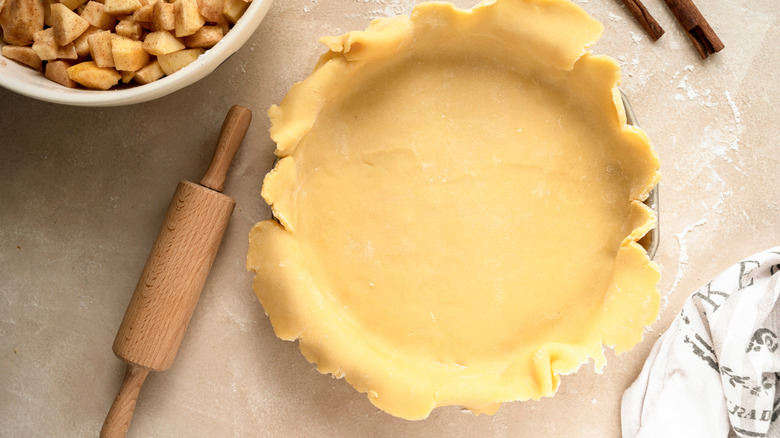
After lining the pie pan, you'll notice excess dough over its edges, which is called overhang. You might want to trim it right to the rim, but that'll be a big mistake, because the pie crust will turn out a lot shorter than the pan without the overhang. As a result, it won't have enough room for the filling. This happens because the dough usually shrinks a bit while the pie crust bakes.
Leaving excessive overhang is not the way to go, either — even though it may seem like a good idea to prevent too much shrinkage — because the extra dough won't bake properly in most cases. The best option is to leave 1 inch of overhang on both the top and bottom crusts for a double-crusted pie, as that'll make it easier to stick them together and you'll also be able to crimp the edges. For a single-crusted pie, about ½ inch is good enough. While these are the standard measurements, keep in mind that they can sometimes vary based on the recipe.
10. Blind baking the crust incorrectly
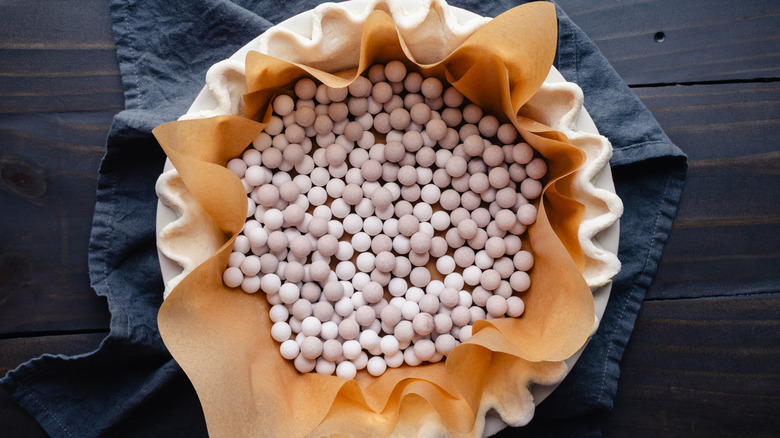
When you're using a cream-based or pre-cooked custard filling, you'll need to blind bake the crust after docking it (poking holes in the crust before baking) or use pie weights. If you don't do this step properly, you'll be left with a puffy crust and barely any room left for the filling. So, doing it the right way is pretty crucial.
For that, you'll first have to chill the dough in the refrigerator for at least half an hour after you've lined it in the pie pan. Next, you'll need to figure out whether you should dock the pie dough or weigh it down. It's technically best to do both, as that's a surefire way to ensure the crust stays flat when it's baking. However, if the filling is extra runny and needs to be set in the refrigerator, you're better off not docking, as it could leak through the holes or make the crust soft. In that case, just place a piece of parchment paper in the lined dough, add raw beans or pie weights to it, and bake it.
If you're using a thicker filling, dock the dough first by rolling a pastry docker over it, or you can use a fork and prick holes all around, ensuring they aren't too close to each other. After that, weigh it down and bake until it's ready.