Making Pineapple Upside Down Cake? Follow These 13 Baker-Approved Tips
We may receive a commission on purchases made from links.
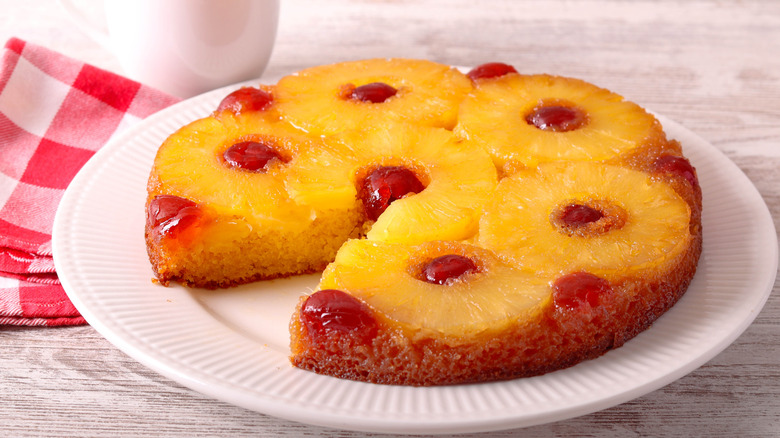
Pineapple upside down cake is a classic dessert, pairing the sweet, starchy notes of yellow cake with bright, fruity tones and the rich, buttery undertones of caramel. It also features an intricate top that looks very elegant, despite being made from quite simple ingredients, which is one of the likely reasons this cake has been around since sometime in the 1920s. It's this aesthetically pleasing top that can make the cake feel a little overwhelming to make at first, but it's actually quite simple once you get the hang of it.
Growing up, my family made pineapple upside down cake regularly. It was a go-to for potlucks and a must-have at all family events, so of course, I learned early on how to make one myself. Then, during my more than 15 years in the food industry, I regularly made these cakes for customers, where I found them to be particularly popular during the summer months when tropical flavors are all the rage.
Over years of crafting these cakes, I've learned through study, training, and mistakes made how to craft truly awe-inspiring dishes every time. Today, I'm going to share my hard-earned experience with you so you can jump straight to crafting professional-grade masterpieces. If you're making pineapple upside down cake, make sure to follow these 13 baker-approved tips for results that are sure to wow your guests and have people asking for your recipe.
1. Don't be afraid to turn the recipe gluten free

This is more of an encouragement than a tip, per se, but if you have to eat a gluten free diet, you don't have to miss out on this amazing dessert. While some recipes can be challenging to make gluten free, this isn't one of them — even better, when using the right products for this transition, the final product tastes nearly identical to the standard one.
The easiest way to make this recipe gluten free is to start with a box of King Arthur Gluten-Free Yellow Cake Mix, use other tips on this list as you can, and create the topping from scratch. The other option is to use King Arthur Gluten-Free Measure For Measure Flour in the exact quantities your specific recipe calls for standard flour. I use King Arthur when crafting gluten free recipes as often as possible, because the brand has always been reliable, consistent, and high-quality. Plus, it's readily available nationwide, so most people have access to it.
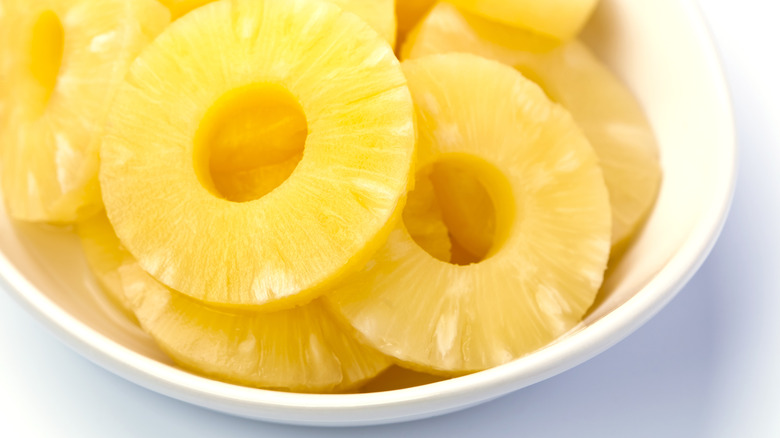
2. Use canned pineapple, not fresh
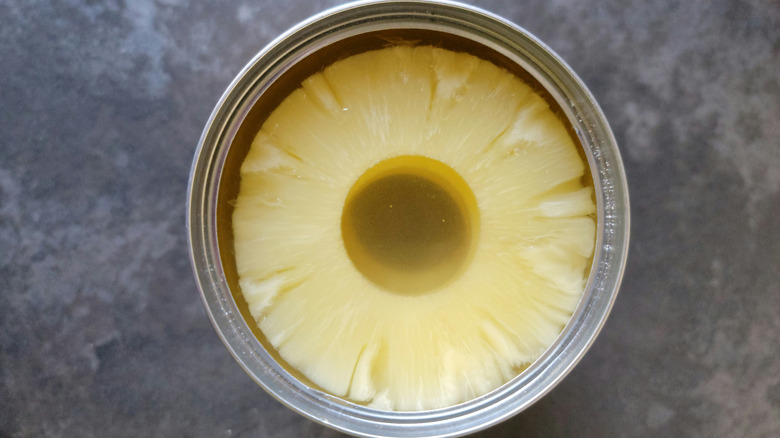
While I'm usually a big proponent of using fresh produce in most things, this dish is one of the few exceptions to that rule. I've used both canned and fresh pineapple when making my preferred recipes, and the canned has always been my choice for pineapple upside down cake.
This isn't pure personal preference, either. I find that high-quality canned pineapple creates more reliable results, whereas fresh can vary in terms of both ripeness and taste. Canned options also tend to cook better, becoming softer without turning to mush, and retaining an intense sweetness alongside the pineapple's hallmark tangy bite. Plus, I enjoy the extra juiciness that canned options seem to have.
It matters which canned pineapple you use, however. I've tried a few different brands, but Dole Pineapple Slices in 100% Fruit Juice have always provided the best results for me, without fail. I also personally use the maraschino cherries you'd buy for ice cream sundaes over fresh cherries. Just make sure to pull the stems out before you place them into your pan.
3. Substitute pineapple juice for the milk or water in your recipe
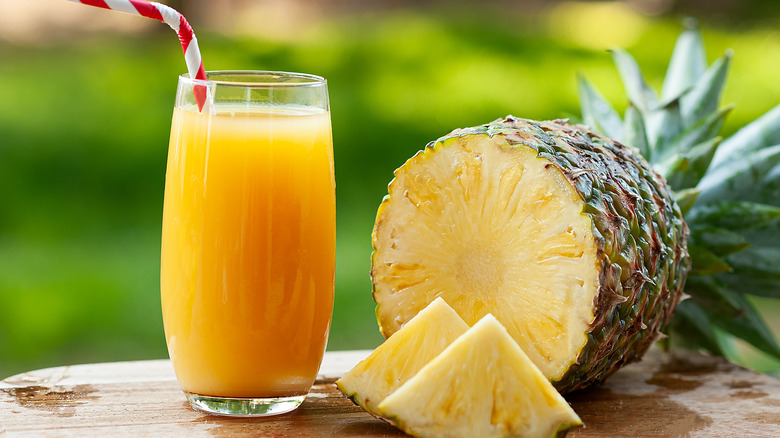
Some recipes may already call for pineapple juice in lieu of other liquids, but at least half of them that I've encountered call for something else, usually milk but sometimes water. If the recipe you're following calls for something else, substitute in equal parts of pineapple juice instead. If you're using canned pineapple, save the juice from the can and use it. You can top it up with a little bit of water, if needed, to reach your recipe's requirements.
Subbing out milk or water for pineapple juice is also my top tip if you're starting from a boxed mix instead of baking from scratch — and there's no shame if you are. Even with all of my experience, I sometimes start from a boxed mix because I simply don't have much time on my hands. Just start with your boxed mix, sub in the pineapple juice, and add one additional egg yolk. This works just as well with both standard and gluten-free yellow cake options.
4. Pat your fruit dry, but not all the way
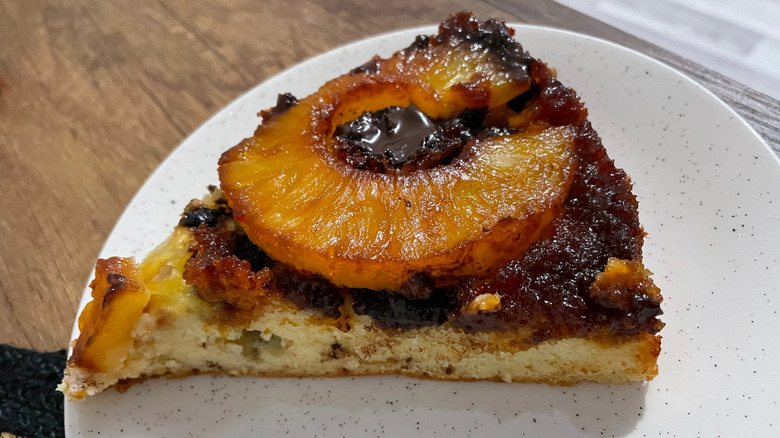
In my experience, most professionals will tell you to pat your fruit dry so the cake doesn't get soggy — excess juice in your pineapple or cherries can lead to the cake top becoming so wet it won't cook all the way. While I absolutely agree with this, for the most part, I prefer to pat them dry only about 80% of the way instead of 100%. I love the way a little bit of juice soaks into the cake, especially from the cherries, as I find it enhances both the flavor and visual aesthetics. In terms of flavor, this creates a slightly fruitier tone at the top of the cake, while aesthetically, it can add a little splash of red that I find appealing.
As long as the fruit is mostly dry, I've never had an issue with my cake becoming soggy. There are several ways to do this, but I start by laying a few paper towels onto a large plate. I lay the pineapple and cherries on top of this before lightly patting their tops with another paper towel. Then, I layer them inside my pan in my desired pattern.
5. Pay extra attention to the type of butter you grab

Pineapple upside down cake (and most other baked sweets) call for unsalted butter rather than salted, sometimes also known as "sweet cream butter." This isn't the standard kind you might have in your refrigerator or on your kitchen counter for cooking, which is most often salted butter or margarine. If you don't regularly keep this in your kitchen for baking and other specific uses, you may need to make a trip to the grocery store to stock up.
Salted butter is most common in hot food cooking because it helps to enhance your dish's seasoning, and also layers quite nicely on things like toast. Unsalted butter, on the other hand, is the norm for baking because baking is a science that calls for very specific amounts of each ingredient, including salt. If you don't know what you're doing, adding too much of any one thing can throw your entire recipe off. And nobody wants an overly salty cake.
6. Add ginger and cinnamon to your brown sugar topping

Most pineapple upside down cake toppings call for just two ingredients: Unsalted butter and brown sugar. However, you can easily elevate this simple brown sugar topping to something spectacular by adding just a ¼ tablespoon of cinnamon and ginger. This will bring a subtle warmth, faint citrus notes, and mild but distinct woody tones to your topping. These flavor layers pair particularly well with the sweet fruit and brown sugar that the topping is centered around. Although I don't use it in my own recipe, you can also upgrade the topping with a small dash of high-quality vanilla extract.
You can add small amounts of these seasonings to your cake batter, too, if you'd like to further marry the flavors. If you choose to do this, I suggest adding about a ½ tablespoon of each cinnamon and ginger per recipe. The difference will be subtle, but sometimes it's the subtleties that transform a cake from good to great.
7. Create your topping on the stove, not in the pan
Many pineapple upside down cake recipes I've read in the past tell you to pack your brown sugar into the bottom of the pan before either dumping melted butter on top or layering butter pats throughout, telling you to then add your fruit on top of this. But I don't think this creates results as good as when you create the topping in full, ahead of time, on the stovetop. In fact, every time I've opted to place topping ingredients into the pan as separate entities instead, I've ended up with a mess.
Creating the topping on the stovetop is simple and takes only a few minutes. Melt the butter, brown sugar, ginger, and cinnamon together slowly in a pot, over medium-low heat, stirring consistently until just barely melted. You would add your vanilla extract here, too, if you're using any. As soon as everything is melted and combined, pour it into your pan and make sure to spread it all the way to the edges before adding the fruit in your desired design.
8. Refrigerate your topping before adding the cake batter
Many baked goods, including cakes, can be made by simply pouring the batter into the pan and tapping it level before popping it into the oven. This specific cake, though, calls for a little more care and nuance than that. If you just dump it into the pan without thought, the chances of you messing up the careful fruit arrangement you made are pretty high, and as a result, your final aesthetics won't be the professional-grade beauty you were aiming for.
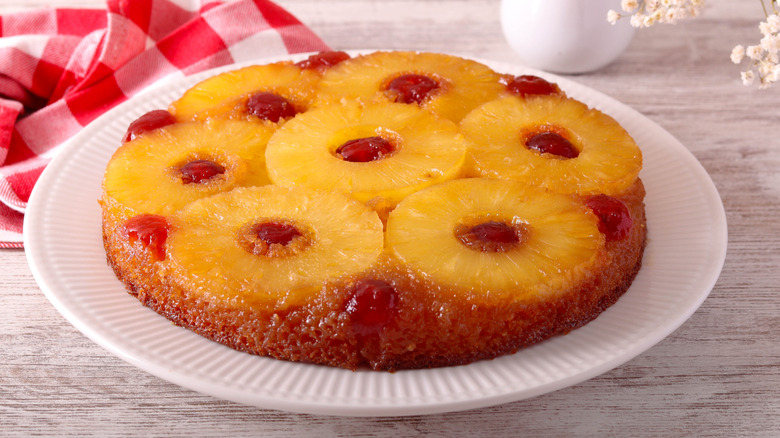
Besides being careful, the best way to ensure your fruit stays arranged as you placed it is to refrigerate your topping before adding the cake batter. As little as 15 minutes can help the caramel-like topping to solidify, helping the fruit to stay in place when you begin to spoon your batter into the pan. There are several ways to arrange your fruit, but I prefer to start with a tight layer of pineapple rings. Then, I add a cherry inside each ring and in any open spots between them.
9. Use room temperature eggs (and add one more yolk)
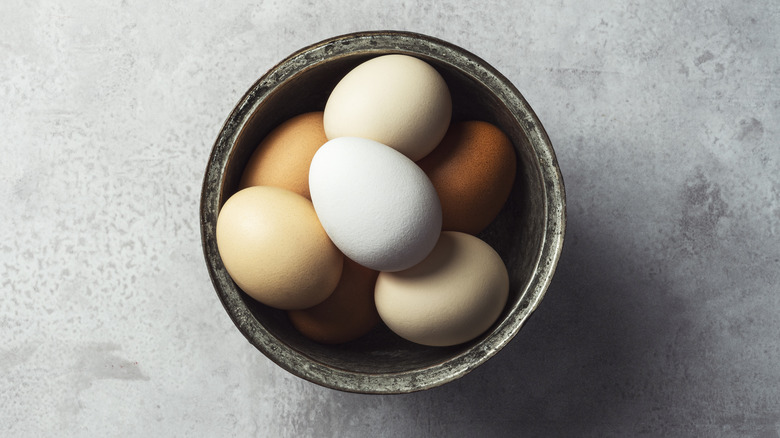
From a delicious lemon meringue pie to the perfect Rum Cake, using room temperature eggs is always highly recommended. And yes, this includes making a pineapple upside down cake. If you remember to take your eggs out of the refrigerator about half an hour to an hour before you start baking, you'll end up with significantly better results.
Room temperature eggs incorporate into your batter better, ensuring you create the chemical reactions necessary for your cake to rise, achieve the right texture, and keep your cake moist. Plus, proper incorporation prevents eggy or weird tastes from affecting the finished cake.
Besides ensuring you use room temperature eggs, you should also be adding one more yolk than the recipe calls for. Egg yolks are rich in fats and have emulsifying properties that will create a slightly firmer cake, with enhanced richness and unrivaled moisture. You can either save the extra egg white or just discard it.
10. Sift your dry ingredients thoroughly
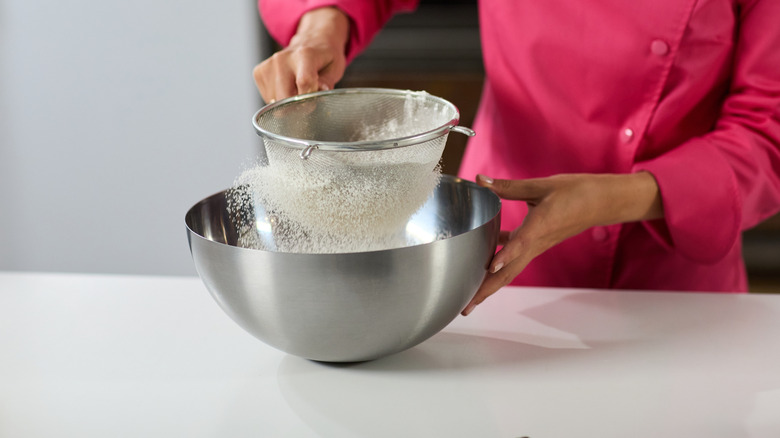
If you're starting from a boxed mix, you can skip this step, but for those of you who are making your cakes from scratch, your recipe should call for some combination of white sugar, flour, baking powder, and salt. If you sift this together thoroughly before adding the wet ingredients, you'll battle with less clumping and reap the benefits of easier mixing. Overall, taking a few minutes to quickly sift dry ingredients will ensure less hassle and better results.
If you don't already have a good sifter, I recommend KAFOOR Large Extra Fine Mesh Strainer, which you can get on Amazon for less than $20. To use this type of sifter, gently move the sifter back and forth while lightly tapping one side to help the ingredients move through. If you prefer, though, you could choose something like a Bellemain Three Cup Flour Sifter, which has a rotary hand crank you turn to move things through.
11. Take care not to overcook your cake
It's never good to overcook your cake, but this recipe is especially finicky, largely due to the topping. Overcooking will lead the cake itself to dry out, become chewy, or even lodge in the pan so you can't get it out. Spending too long in the oven can also cause the topping to look and taste burnt, which easily ruins your whole pineapple upside down cake. The trick is to pull the cake out of the oven as soon as it's done.
There are two easy ways to tell whether your cake is done, and my personal preference is to use both together, to be sure — checking by sight, and using a toothpick. You can tell a cake is done by looking at it when the center is springy, the edges have begun to pull away from the pan, and the top has lost its shine. There should also be an even browning across the top. To check the interior with a toothpick, carefully insert one into the exact center of your cake. If it comes out clean, your cake is done. If it comes out with any wet batter on it, your cake needs to keep baking.
12. Put a pan on your oven's bottom rack to catch spills
As delicious and beautiful as pineapple upside down cakes are, they sure do make a big mess when cooking. No matter how I work my recipe, there are always at least a few tiny spills of liquid caramel that come out of the sides of my pan during baking. On the one hand, this can be a good thing because it allows the top and sides of the cake to be thoroughly coated. On the other hand, these messes can be exceptionally hard to clean up.
An easy solution I've found is to place a pan on your oven's bottom rack to catch any spillage. This makes cleaning up as easy as pulling the pan from the oven. Because of how quickly caramel can harden, though, I highly recommend rinsing your spill pan as soon as you pull it from the oven. Just be careful to avoid burning yourself.
13. Don't be afraid of the flip
The part of making pineapple upside down cake everyone seems to be most afraid of is the flip. Since you're making the cake upside down, you have to flip it over when you remove it from the pan so that the topping you worked so hard on will now be, well, on top. But you really don't need to be afraid of the flip, nor do you need to overthink it.
Before you go to flip your cake, wait about 10 minutes after it's come out of the oven. This will ensure the pan has cooled down slightly, and the caramel isn't runny but hasn't had a chance to solidify yet, either. When you're ready, run a knife around the edges of your cake to loosen it, and place your serving tray or plate upside down on top of the cake pan.
There are two techniques you can use for the actual quick flip itself. You can grab either side of the plate and quickly turn the whole dish towards or away from you. But, personally, I find that to be the more difficult option. Instead, I hold the center of the tray and scoot the pan to the edge of the counter so I can grab the center of the cake pan. Then, I quickly flip the whole thing to the side. Remember to gently tap the bottom and sides of the pan before slowly lifting it up.