9 Ninja Creami Hacks You'll Want To Try ASAP
We may receive a commission on purchases made from links.
The Ninja Creami is a unique kitchen appliance that has taken the internet by storm. The gadget is a cross between a blender, food processor, and ice cream maker that spins frozen bases into creamy ice cream, sorbets, and milkshakes. If you're tired of grocery store brand ice creams, it's the perfect homemade solution. However, mastering the Ninja Creami takes some practice, and there are a lot of mistakes that newbies tend to make that impact the texture of their ice cream. As an ice cream lover and self-proclaimed master of the Ninja Creami myself, I can speak to the usefulness of these hacks. It's not uncommon for your first couple of attempts to turn out icy or frozen unevenly. Mine certainly were.
But thankfully, some small adjustments can help you avoid those common ice cream mistakes — like using the right proteins that are more easily incorporated into the mixture and knowing how higher-fat recipes might spin into a different texture than high-protein ones. Whether you are brand new to this versatile ice cream appliance or just looking for ways to improve your homemade ice cream sundae game, there are several useful and simple strategies that will help you get the most out of the machine and ensure you're not damaging it along the way. These are the most useful Ninja Creami hacks that will help you achieve the perfect texture and delicious flavor for your personalized ice cream right at home.
Buy a sound shield to minimize the noise
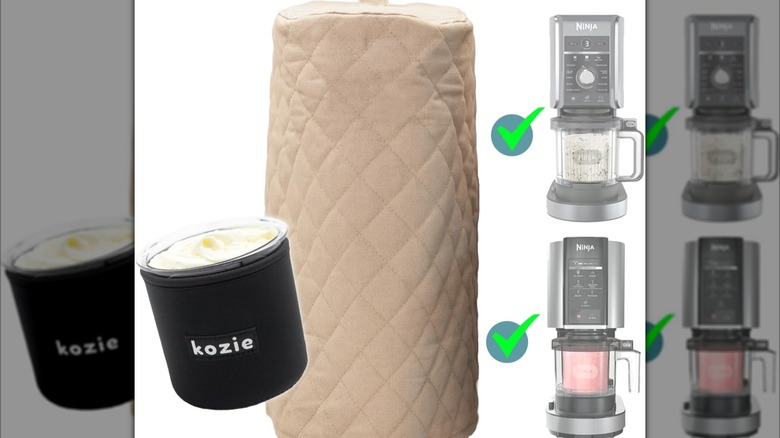
People love the Ninja Creami because it allows you to make your own recipes at home, without having to distinguish between high and low-quality store-bought ice creams. However, one of the biggest customer complaints with the Ninja Creami, and especially with the larger Ninja Creami Deluxe, is that the machine is really loud. For those of us who live in apartment buildings or with others and want to whip up a bowl of ice cream in the wee hours of the morning, this poses a major issue. Some customers have tried to DIY a solution by covering the machine with a blanket to reduce noise, but this could potentially cause it to overheat.
Rather, customers online have found a solution that helps reduce noise, but it comes at a price. There are noise shields created specifically for the Creami that have vents built in to allow for air flow. While they do not eliminate noise from the machine completely, these shields claim to reduce noise by up to 70%, depending on the brand. One woman on TikTok compared the noise before and after using a noise-reducing shield and noticed a significant difference. Now, you can blend your ice cream any time of day or night without worrying about waking up your family, housemates, or neighbors.
Don't overfill or add fillings mid-spin
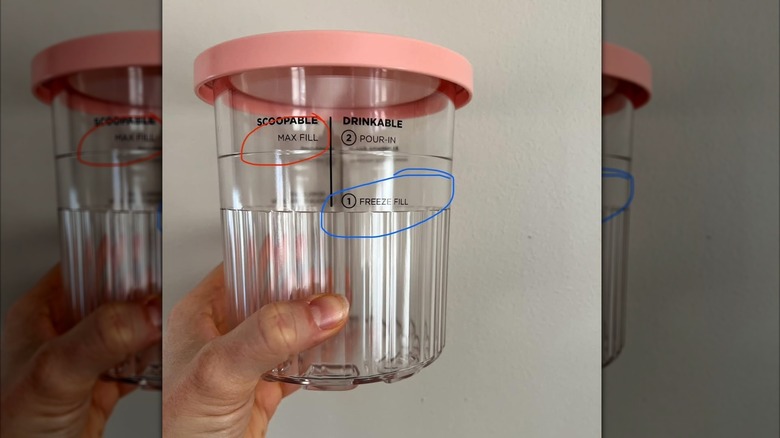
This was a problem I ran into in my first couple of batches of ice cream. The fill line on the Ninja Creami is absolutely not a suggestion. The Scoopable Max Fill line is the limit if you're making an ice cream or gelato. If you're making a drink like a milkshake or smoothie, you fill your base ingredients to the Freeze Fill line and then add your liquid additions to the Drinkable Pour-In line. It can be tempting to fill the Creami beyond these lines to get the biggest batch possible, but overfilling the container will impact the texture of your creation and can potentially hurt the machine.
That extra room left in the container is actually vital because the ice cream will increase in volume as it spins. I have cleaned up one too many counters from overflow, so learn from my mistakes. Especially if you are using a lot of solids in your base, like fruits, I find it's always better to go slightly under the line to be safe. Anything over the max line (and even sometimes when you're right on it) can end up freezing unevenly and making a mess.
Freeze for 16-24 hours before blending
Making the perfect Ninja Creami takes some prep work. Generally, you need to freeze your base mixture for 24 hours before spinning it into ice cream. It can be extremely tempting to take your mixture out of the freezer prematurely, but this will almost certainly leave you with a subpar result. It's always in your best interest to wait as long as you can.
If you take your ingredients out of the freezer before they're completely frozen, you'll likely end up with soupy ice cream, which no one wants. I like to press a spoon into the center of the base mixture firmly to make sure it's frozen all the way through. Another good sign that it's completely frozen is if a bump forms in the middle of the pint. If this does occur, you can flatten it out by pressing it down or scraping it before spinning.
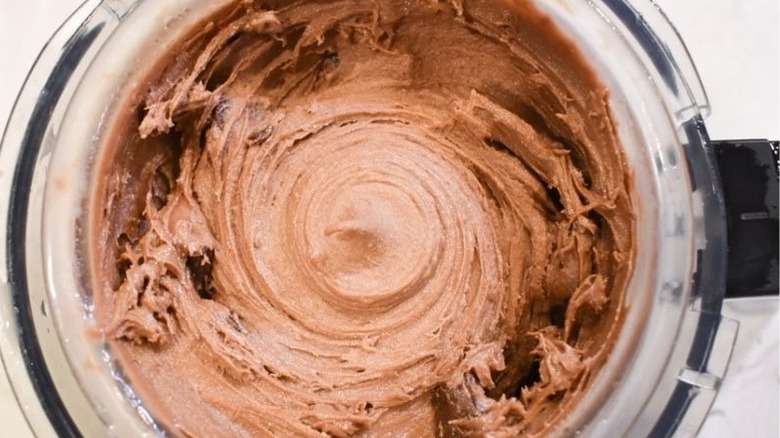
Use a binding agent

When it comes to making ice cream, the binding agent is a game-changer for texture. Binding agents include guar gum, xanthan gum, or Jell-O pudding mix if you want to add a specific flavor to your base. This ingredient is key because it helps bind together the ice crystals, which results in a much creamier product. While these binding agents are useful for most recipes, they are especially beneficial if you are making a low-fat recipe with a lot of thinner liquids in your base.
For instance, the difference between using a milk alternative like almond milk and a dairy milk can be quite significant, but adding the binding agent helps support those lower-fat ingredients so that you can still enjoy a creamy pint. I use guar gum and Jell-O pudding mix, depending on the recipe. Guar gum is convenient because it only takes about ¼ teaspoon per pint. Cheesecake-flavored instant pudding is a big favorite of mine, but there are tons of delicious Jell-O pudding flavor options out there. That being said, lots of Ninja Creami users prefer xanthan gum because it's cheap, odorless, and flavorless.
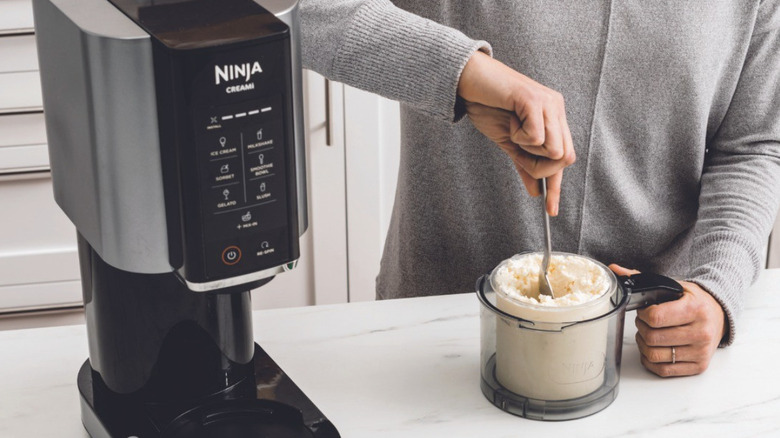
Know your settings

There are several settings on the Ninja Creami that make a big difference in how the pint is blended. You'll want to select your settings based on the texture you want, as well as what you are using as your base in your recipe. Settings include lite ice cream, regular ice cream, sorbet, gelato, smoothie bowl, milkshake, mix-in, and re-spin. If you are making a protein ice cream with low sugar and low fat, for instance, you are going to want to use the lite ice cream setting. This is one of the more powerful settings that spins for the longest amount of time, which is necessary to break down these kinds of bases that tend to freeze harder.
On the other hand, if you're using softer bases with higher sugar content, like bananas or full-fat dairy products, these can typically be blended using the regular ice cream setting. The sorbet setting is optimal for fruit bases that have little dairy, and gelato works for custard bases. Each setting is optimized for specific ingredients and spins at different speeds, for varying amounts of time, and with different levels of power, so choosing the right one is crucial to achieve the desired texture in your pint. If you're unsure which setting works best, there are several charts online outlining the functions of each setting.
Run the pint under warm water
Ice crystals will inevitably form around the sides of your pint when you freeze the base mixture, and as a new Ninja Creami user, this might worry you. Fortunately, there is a simple solution. Before you spin your pint, either leave it out for 10 minutes or so to allow the crystals to melt, or if you're impatient like me, simply run the pint under warm water for about 30 seconds. This will eliminate the crystals so that the texture remains smooth when you blend. If you use this strategy, avoid using hot water, as it could melt the contents of the pint.
After you see the ice crystals fade away, give the base a spin on the machine. Note that the ice cream can still turn out icy after the first spin. This is totally normal and fairly common for high-protein recipes. Use a knife to run along the sides of the container to eliminate any lingering crystals and incorporate the ingredients, and then hit the re-spin option, and you should end up with a thick and creamy pint in the end. If your frozen base comes out of the freezer with tons of crystals, it may be a result of too much water in your recipe. Consider adding a thickener, binding agent, or higher-fat ingredients to balance the mixture.
Use a blender to break up large chunks before spinning
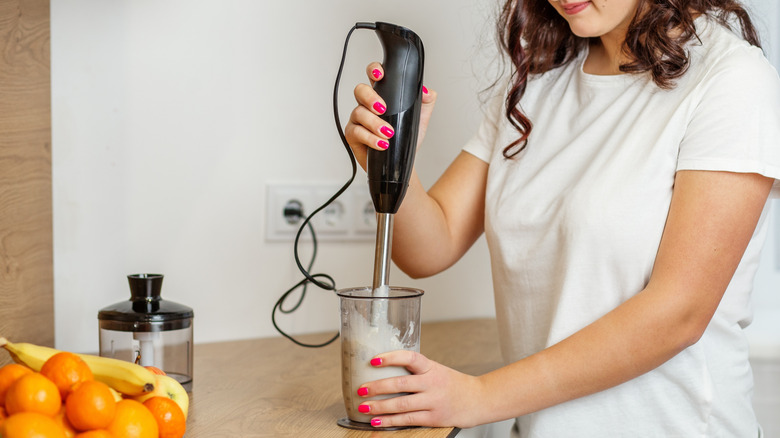
Many of the binding agents, protein powders, and mix-ins that you add to your base recipe tend to settle at the bottom of the pint. It's important to mix all of these ingredients together well before putting the base in the freezer. Failing to do so prevents the air from circulating properly and might make your final product denser and less consistent. Plus, it will not taste as good because the ingredients will not spin together in the way you intended.
You can use an immersion blender to remove any clumps that might form at the bottom of the pint. If you have larger ingredients like fruits, I find it is best to throw them in a blender or food processor briefly beforehand. Or, if you have mostly liquids and powders in your base, you can simply use a frother to incorporate them together. It's important to remember that the Ninja Creami isn't quite a blender, and it's not built to break down large, solid chunks, so this extra step is crucial.
Don't be afraid to re-spin
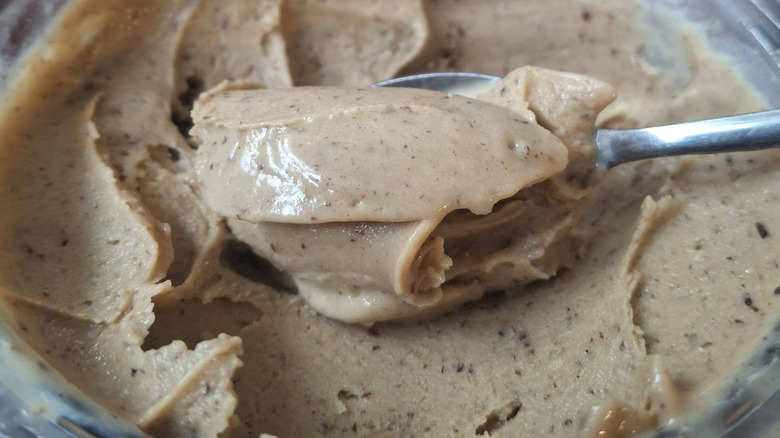
The first spin does not always yield the results you're looking for. I made a lot of protein-forward ice creams that came out extremely crumbly or icy after the first spin, even when using the lite ice cream setting. According to the experts at the Ninja Kitchen, the temperature of your freezer has an impact on the texture of your pint, which is why some come out crumbly or powdery after the first spin. This is why the re-spin setting exists.
Take the pint out of the machine, give it a scrape along the sides to incorporate the ingredients, and then put it back for a re-spin and let the Ninja Creami transform your crumbly mess into thick, creamy ice cream. For a soft serve texture, try re-spinning the pint two to three times. If you prefer a thicker, more traditional ice cream texture, then simply re-spin it once. Avoid re-spinning more than three times, as this will overprocess the mixture, which can overwork the machine. Meanwhile, your pint is likely melting.
Know which protein powders work best
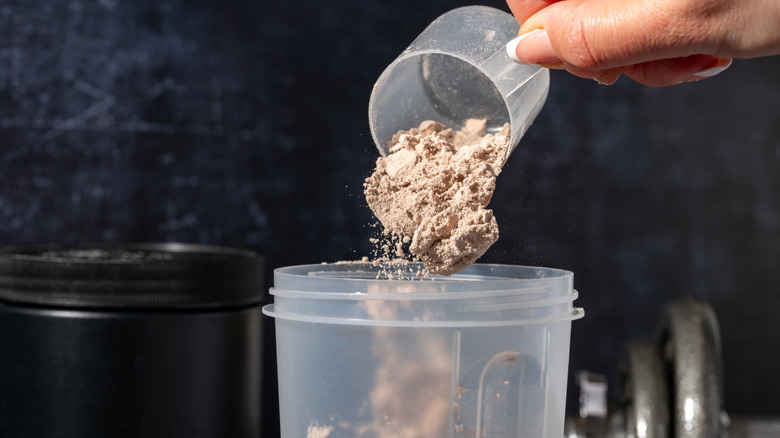
The protein powder you use is largely based on personal preference, but it is helpful to know that not every powder blends the same in the Ninja Creami. A lot of folks look for protein powders that don't have a grainy texture or typical "protein powder" taste, and there are tons of recommendations online. One seemingly popular option is Clean Simple Eats, which is made with all-natural ingredients and has 20 grams of protein per serving.
Still, I recommend using enough flavorful ingredients to mask the protein, and it might take a couple of pints to really hit your stride. To avoid using protein powder altogether, you can use a protein shake instead of milk and powder. One reviewer online who has tried dozens of brands recommends looking for a protein powder with guar gum or other thickeners in the ingredients list for the best texture. Also, plant-based proteins will likely require thickeners to improve texture; consider options like nut butters, cocoa powder, or bananas.