10 Rules For Cooking A Glazed Ham
It's hard to beat a good glazed ham. The combination of salty, juicy meat, a sharp, sweet glaze, and the caramelized crunch provided by the heat of the oven ... okay, now we're hungry. This dish is more than the sum of its parts, too. Although it can seem quite complicated to put together, glazed ham is actually relatively easy to rustle up, with glazes only taking a few simple ingredients and cooking requiring little more than some oven space and a bit of time.
However, what you do need (aside from a good piece of meat) is to know how to cook your ham without messing it up, and that needs you to know certain rules. Making this dish isn't just a matter of throwing it in the oven and hoping for the best. If you get one thing wrong, like messing up your glaze quantities or forgetting to create moisture around your ham, you can be left with a dry piece of meat that's anything but festive. Luckily, the rules around glazed ham aren't difficult to grasp or master. You just need to know what to stick to before you start, and that's where we come in.
1. Start with the right piece of meat
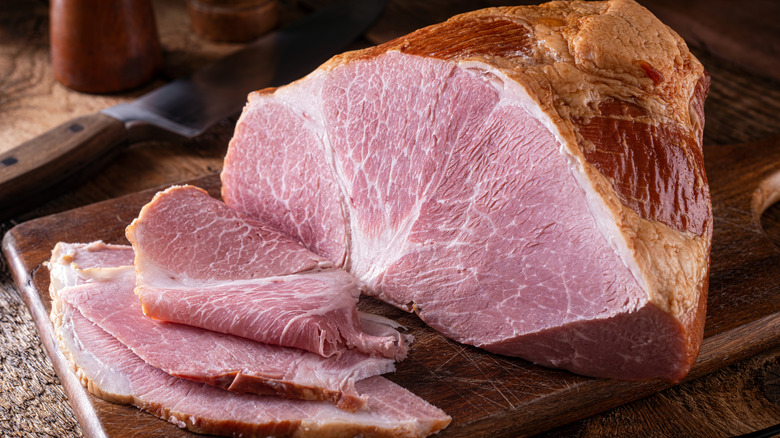
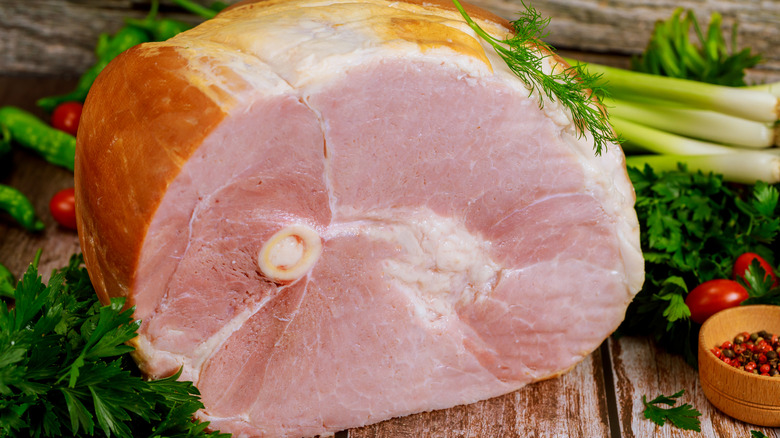
In truth, there are only a few ways that you can mess up a glazed ham. Picking the wrong piece of meat, though, is perhaps the quickest way to do so, and the one that people are potentially most likely to do. If you don't make glazed ham regularly, the options you have to choose from for your meat might be baffling. Do you start with a cooked ham or an uncooked one? Do you go for smoked or unsmoked? Is it better to get a bone-in piece of meat or a boneless one? Figuring out the answers to these questions is rule number one, and will put you on the right track.
The most crucial thing to remember is that you'll need a cooked ham joint, and not an uncooked one. When you cook glazed ham, you're simply reheating the meat and developing the glaze's flavors. If you opt for an uncooked ham, the meat will be gray, it won't have any of the flavor you expect, and you'll need to take care to cook it all the way through. Aside from that, the other factors are down to your personal taste. Bone-in ham will generally produce a juicier result, but it can also be slightly trickier to slice. Smoked ham will give your dish a more robust, intense flavor, but if you want your ham to be a little more subtle, go for an unsmoked version.
2. Calculate your ham and glaze quantities
As the adage goes, fail to prepare, prepare to fail — that's as true when you're making glazed ham as it is anywhere. When it comes to this dish, one of the major preparation failures you can make is forgetting to figure out exactly how much of your two main components you'll need. If you don't buy enough ham, your guests will be left hungry; if you don't make enough glaze, you may not have enough liquid to cover and baste it properly, and your dish will be disappointing.
To avoid both of these outcomes, calculate how much of each ingredient you'll need for the people eating. Generally speaking, you should aim for a half-pound per person if you're using a bone-in ham, or a third of a pound if opting for a boneless joint. You might need slightly less if your ham isn't the main dish, or slightly more if you know you've got some big eaters coming. Then, for your glaze, you should aim for one-and-a-quarter cups per 10 pounds of ham. Remember, this will be applied during the cooking process, so don't be tempted to tip it all onto your meat straight away. If in doubt, it's always best to buy or make slightly more than you think you'll need, so you have some spare (or so that you have a good amount of leftover ham).
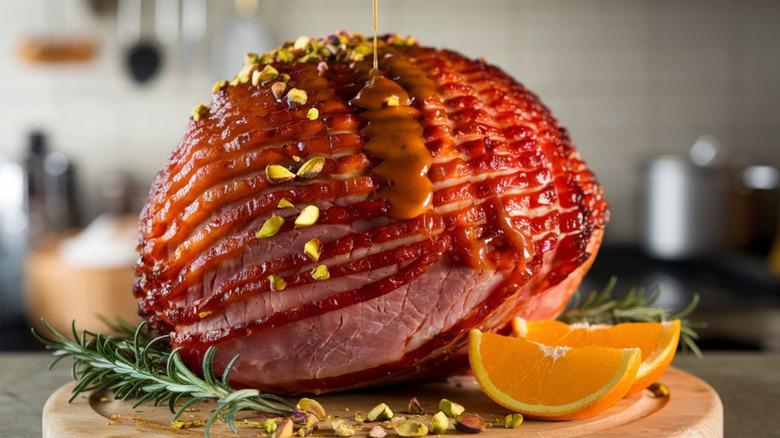
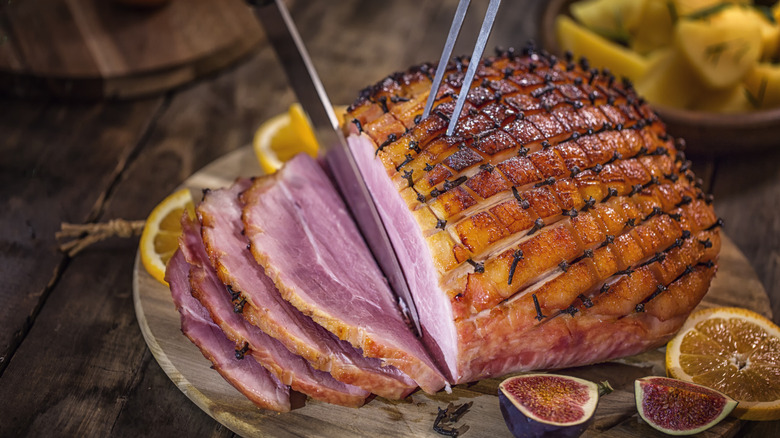
3. Remove the rind and score the outside
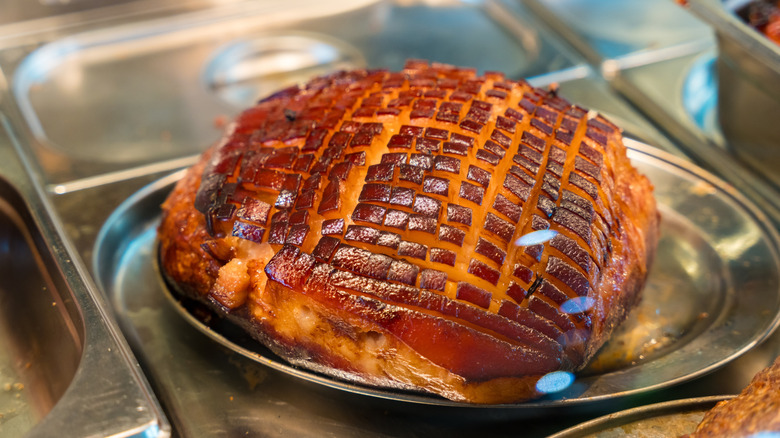
Have you ever wondered why glazed ham has that delightful criss-cross pattern on its outside? It's not just because it looks good. When you score ham on the outside, you give the glaze somewhere to go, and it's able to seep through to the meat underneath. The glaze is also able to pool, creating little pockets of flavor, and the edges of the fat caramelize and crisp up nicely, providing texture. If you don't score your meat, the glaze drips off too quickly, and the flavor isn't as pronounced.
What this means is, you need to score your ham before cooking it. Before you do that, though, you need to remove the skin or rind on the outside. This rind is tough and pretty much impenetrable, and if you cook your ham with it still attached, not only will it be lacking in flavor, but it'll be pretty awful to eat. Slice the rind away using a sharp knife, exposing the fat underneath, and then trim the excess fat away until you just have a thin layer left on top. Additionally, when you're scoring it, make sure that you don't cut into the meat itself — you want to leave this untouched.
4. Make sure you're starting from room temperature
If you know anything about cooking meat, you'll likely know that you need to start from room temperature for the best results. The same goes for glazed ham, and you shouldn't think otherwise just because the meat is precooked. When you start with a room-temperature piece of ham, it'll warm through more evenly, as opposed to potentially having cooler spots when you pull it out of the oven. The moisture in the ham will also distribute more smoothly, making every bite as tender and juicy as the last.
Plus, it's really important to remember that recipes for glazed ham are generally written assuming that you'll be starting with room-temperature meat. As a result, they use cooking times that apply to ambient temperatures, and if you follow their instructions with cold meat, you could end up with a poor result. Ham's pretty dense, so you'll want to take your meat out of the fridge an hour or two in advance of cooking it. Cover it, leave it on the side, and get on with making the glaze as you wait for it to warm up.
5. Ensure that you're creating moisture in your oven
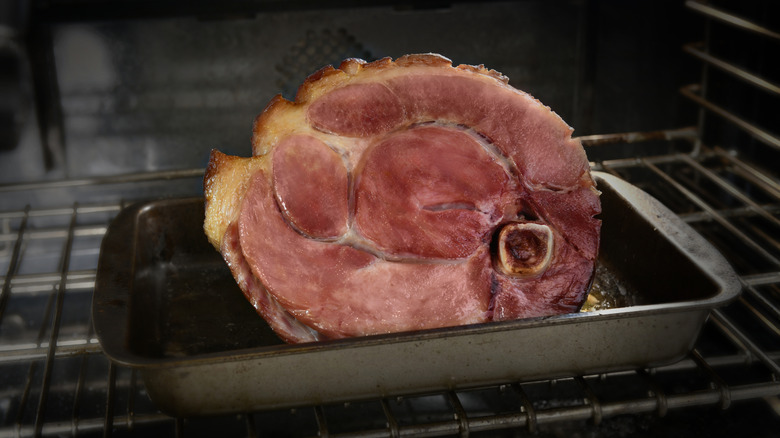
Ham is generally quite a lean meat, and this can cause some issues when you're cooking it. The ham needs to sit in your oven for quite a while to come up to temperature, and because you're working with lower temperatures and longer cooking times, this can risk drying it out. There's not a lot of fat to keep it lubricated, and while the glaze can help lock in moisture, it can often not be enough.
It's therefore a top tip to create some moisture in your oven, to keep the ham nice and juicy as it warms up. One easy way to do this is by pouring some water into the bottom of your cooking pan. As the ham heats up, the water will too, releasing steam into the oven and around the meat. You can also cover your ham with some foil, which will stop its natural moisture from being wicked away by the hot oven air. However, remember that you don't want your ham to end up too wet, as this can stop the glaze from properly sticking to the outside.
6. Baste your ham as it cooks
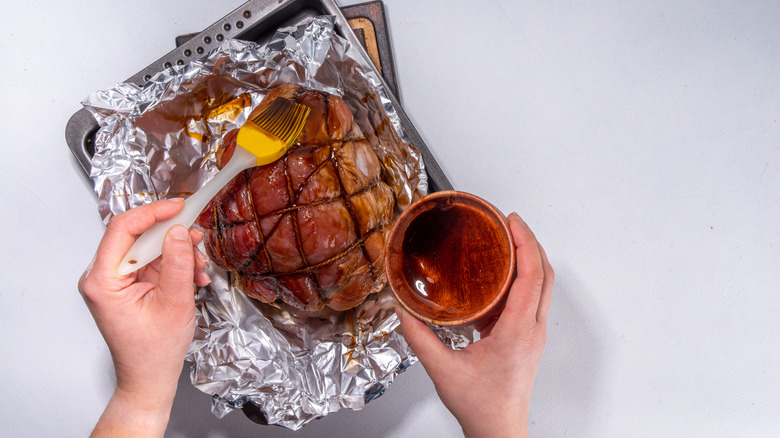
You didn't think you only applied your glaze one time when baking a ham, did you? No, no — this is an ongoing process, people! After you brush on your glaze for the first time, you then need to do so again and again, basting your ham continuously as it cooks until it's bright, glossy, and well-coated. Doing this has several functions, the first of which is to build up the layers of glaze on the outside, ensuring that the ham's flavorful and that the coating on its exterior is thick and punchy. Basting your ham as it cooks also stops it from drying out, because when the glaze's moisture cooks off, it'll begin to get brittle and burn. Applying more glaze helps to prevent this from happening, and keeps its exterior flavor developing.
As for how often you should baste your ham, you should do so more frequently than you might think. Aim to apply new glaze every 10 to 15 minutes as it cooks. Make sure you get a good basting brush that holds the glaze well, with flexible bristles that allow you to get into every nook and cranny. Lastly, don't take your ham out of the oven for too long while you baste it. Otherwise, it'll keep cooling down, making it take longer to finish cooking.
7. Keep your temperature low
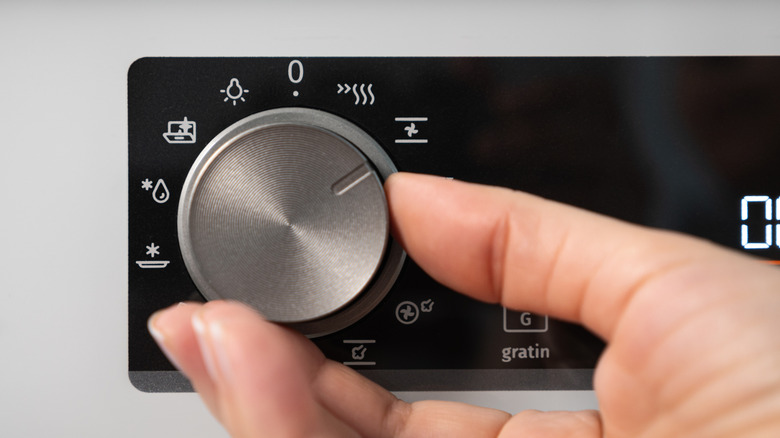
Cooking a glazed ham should be a long, luxurious process, and it's one that we invite you to indulge in. Generally speaking, it can take anywhere from 90 minutes to five hours to properly cook a ham, so it really is an all-day affair. Some people, though, try to hurry things along by ignoring the low-and-slow instructions that recipes give, and cranking up the heat, but this is a cardinal sin that will result in a terrible ham.
When you throw the heat up while cooking ham, you run the risk of both drying out the meat and overcooking the glaze on the outside. This will produce tough, stringy slices that are coated in a bitter, charred crust, which has none of the developed flavor that you crave from this dish. What's more, the temperature throughout your ham will likely be uneven, and you may end up with a cool interior and a searingly hot outer edge.
It's really important to keep your oven temperature low. You should follow the recipe's instructions, of course, but as a general rule, you shouldn't be going over about 325 F when cooking glazed ham. You should also bear in mind that different ovens can run hot or cool, so grab yourself an oven thermometer to ensure that everything's fully accurate.
8. If you're worried about your glaze burning, apply it just before the ham's ready
Baking glazed ham is a constant dance. You want the glaze to be bronzed and glossy, but not burnt — and it can burn in the blink of an eye. Ham glazes are incredibly high in sugar, and you need to be careful cooking them, or they can char and leave your dish totally ruined. While you can counteract this by basting your ham, some people prefer adding the glaze for the last 20 minutes or so of cooking time, or slightly longer if you want a deeper flavor.
Doing this allows the natural color of the ham to develop more fully, which can give a greater taste contrast between the meat and the glaze. It's also more of a hands-off option, so it's a good choice if you know you'll be busy with other things in the kitchen as your ham cooks. Importantly, though, this usually works best if your glaze is thick, sticky, and glossy, as opposed to if you're using a thinner one. You want your glaze to adhere to your ham and make an immediate impact, but if it's on the runnier side, you may find that it drips away and doesn't produce as much flavor as you like. If you suspect that your glaze might be too thin, you should stick to the traditional basting method.
9. Use a thermometer to ensure it's perfectly cooked
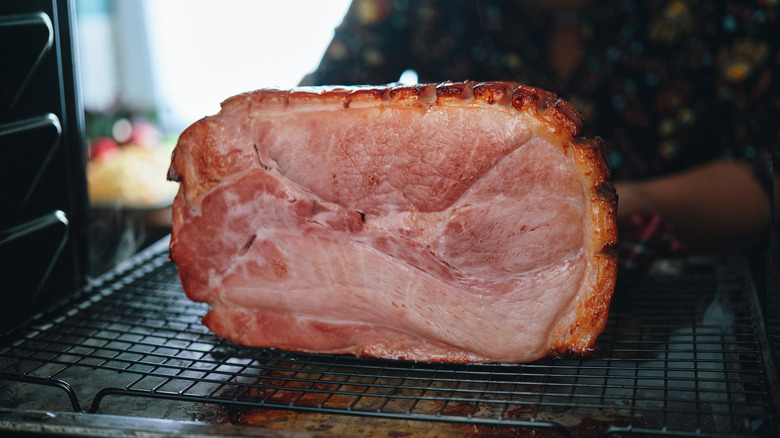
You know how when you make glazed ham, the ham's already cooked? Well, you still need to make sure it's heated up all the way through. This isn't just because you want it to be as tasty as possible, but also to prevent the risk of foodborne bacteria making you and your guests sick. Bacteria that produce illnesses like Salmonella and E. coli can begin to develop on room temperature food in as little as two hours, and the only way to ensure that your food is totally safe is to heat it to the correct temperature throughout. To prevent any risk, glazed ham should reach an internal temperature of 140 F or slightly higher, although some recipes advise that you should heat your ham to 165 F.
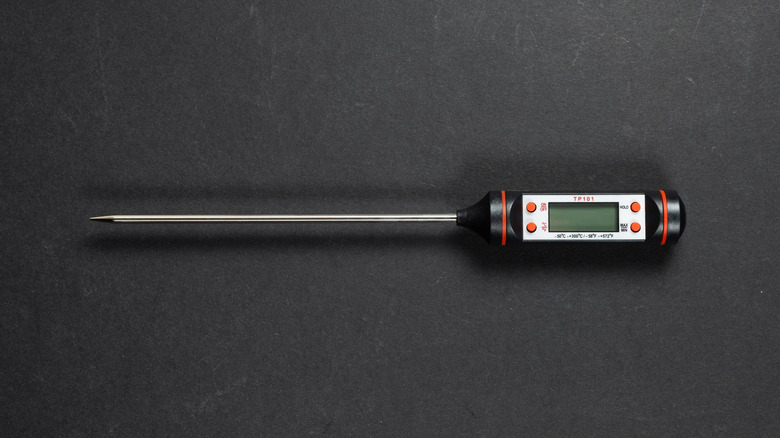
Unfortunately, though, most people can't tell how hot this is by looking at or touching your ham — and that's why a thermometer is key. Grab yourself an internal probe thermometer, and when you think your ham's done, insert it into the deepest part of the meat. If you get a read of the right temperature, you'll know that not only is it done, but it's going to be delicious.
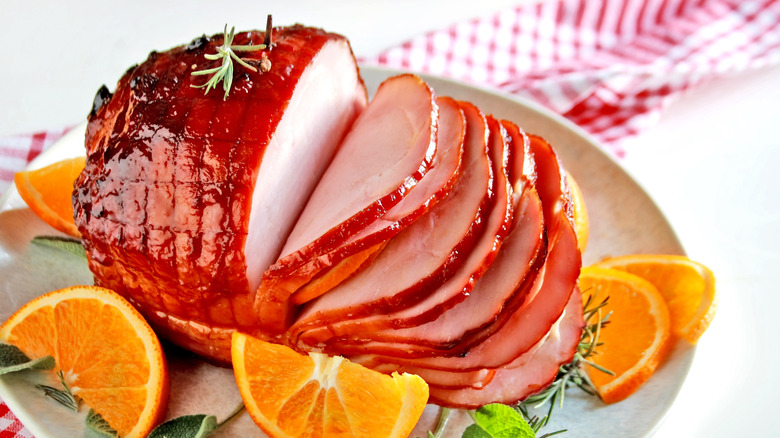
10. When it's done cooking, rest your meat
If you're not resting your glazed ham after it's cooked, you're not doing it right. Like any meat, whether cooked or uncooked, heating ham causes the moisture inside it to move around and redistribute, pushing its way to the outside as it warms in a bid to escape and evaporate. If you take your just-cooked ham and slice it straight away, all of this moisture will leak out and escape, and you'll end up with a mealy piece of meat. All of that hard work will be totally ruined. So, make sure you're resting your prized ham before you cut it up.
We have no doubt that you'll be keen to dig in straight away, and we have some good news for you: You don't have to rest it for too long. Some folks recommend resting your ham for just a couple of minutes before slicing it. Personally, though, we'd say that you should aim for at least 10 minutes of resting time before slicing it up. If you're worried about your ham getting too cold, cover it with some foil. Remember, though, that ham's just as good when it's slightly cool as it is when it's piping hot, so don't fret too much.