

12 Mistakes Everyone Makes When Decorating Cookies
We may receive a commission on purchases made from links.
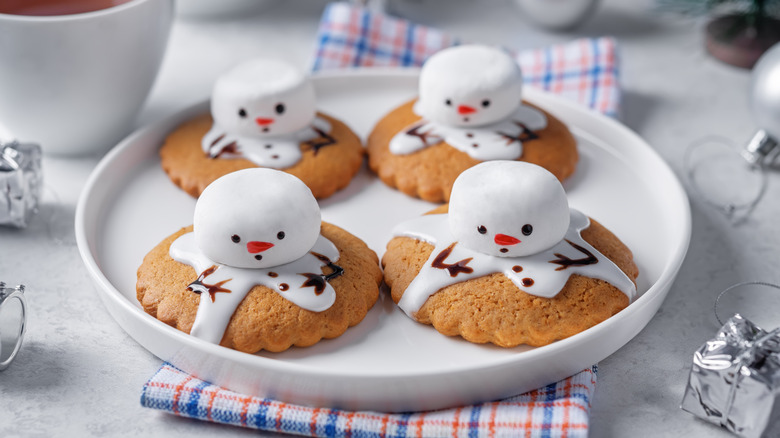
Long before I was a professional baker and pastry chef, I loved decorating cookies. As a child, slapping icing and sprinkles on sugar cookies shaped like trees for Christmas or pumpkins for Halloween was a highlight of the holiday season. Then I spent a large portion of my life baking and decorating thousands (if not millions) of cookies for every occasion imaginable, only to transition to sharing the joy of doing this with my own children. Needless to say, cookie decoration has been a large part of my life. But in the beginning, there were a lot of mistakes I made repeatedly — and I see other people making those exact same mistakes because they've never received professional guidance on how to fix them.
The good news is that the cookie decorating mistakes everyone makes are actually easy to fix. It's just a matter of having someone point out what went wrong, why it happened, and what to do instead. And that's what I'll be doing today. From runny icing to shattered cookie bases and everything in between, here are 12 mistakes everyone makes when decorating cookies, with professional advice on what to do instead.
1. Not giving yourself enough time

If you're just decorating some Christmas cookies with the kids, it doesn't matter if everything comes out perfect. It's really more about the experience than the end result. But if you're decorating cookies for your best friend's baby shower? Or designing them for your nephew's Pokémon-themed birthday party? Aesthetics matter — and those aesthetics take a lot of patience, which equates to considerable time.
Don't expect to rush through your project and receive professional results. This is true for all forms of culinary decorating, but especially for cookies. I recommend blocking off a reasonable part of your schedule and dedicating it to your decoration efforts. If you're a beginner, allot 5 minutes per cookie for simple to moderately complex designs, plus an hour for the combined prep and cleanup. If you're making 24 simply designed cookies, you should be blocking off 3 hours. More complex designs should be given extra time per cookie, ranging from 10 to 20 minutes each. Remember that this is for decoration alone. You should be baking your cookies at least a few hours in advance, but preferably the night before.
2. Trying to decorate the wrong kind of cookie
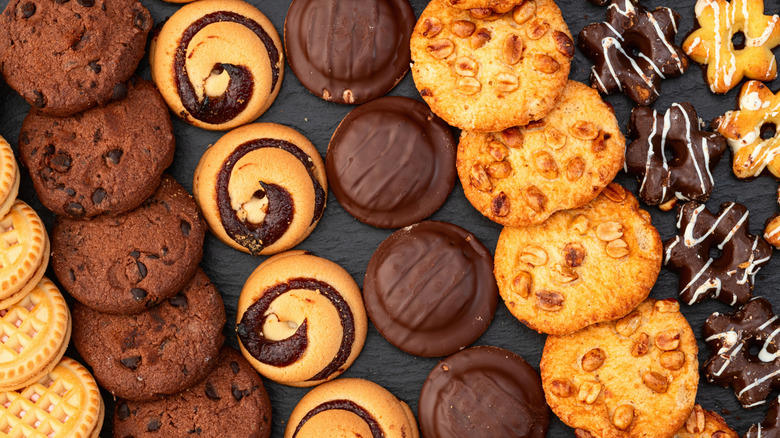
There's a reason most cookies you see with colorful, intricate designs are either sugar cookies, gingerbread, or shortbread cookies. When baked properly, these cookies end up with flat, level surfaces that take icing and other decorative elements well. Options like peanut butter, oatmeal raisin, or chocolate chip cookies don't take designs well. Not only are they rounded, but they're also lumpy — these two aspects combine to create something where icing, edible pearls, and even sprinkles are more likely to simply slide off than stay in place.
Now this isn't to say you can't make other types of cookies prettier. You just shouldn't expect to do intricate designs. If you need to jazz up rounded cookies, a basic drizzle of chocolate, white chocolate, caramel sauce, or peanut butter sauce works well — just remember to thicken the icing a little more than you normally would so it sticks. A bit of edible glitter spray will work on most things, too.
3. Not waiting for the cookies to cool
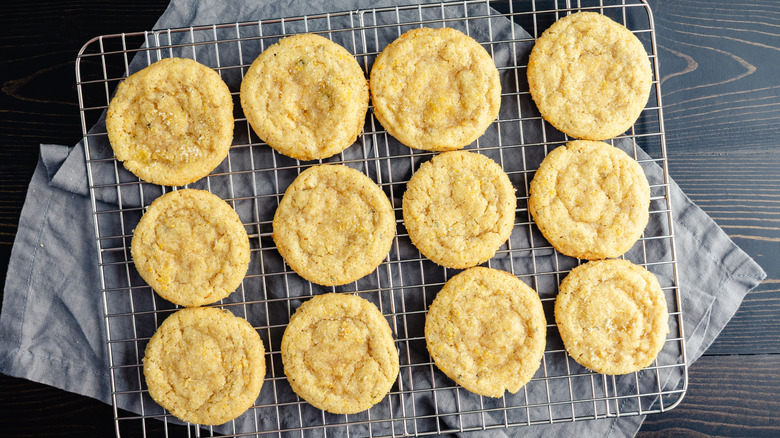
If your icing and decorations are sliding around on your cookie's surface or slipping off the side to make a big, gooey mess, you should probably wait to frost your cookies until they cool. Like several mistakes on this list, this one circles back to having patience. After all, hot or warm cookies plus icing equals a big, melty mess — it's just basic pastry chef math.
Anything you use to adhere decorations to cookies and any transfers you use are likely made predominantly out of sugar. That includes icing, as well as sugar pearls, sprinkles, royal icing transfers, and edible image sheets. Sugar, as you likely know, melts in high heat and dissolves in water. Depending on the decorations you're using, you could be running into both problems. Obviously, if a cookie is hot, there's heat. But if you're using transfers or large items with a lot of coverage area, they could be sweating underneath, too. Both situations lead to a decorating disaster.
4. Not considering the flavors of the cookie vs. the decorations
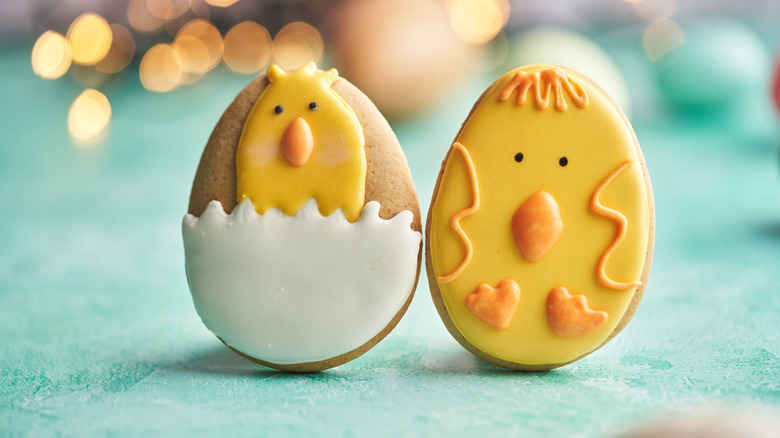
Many potential decorations are unflavored, so they can go on anything without issue. Powdered sugar, edible gold or silver leaf, and edible flakes are common examples. A basic confectioner's glaze also has a largely neutral flavor. However, plenty of other decorations have mild to robust flavors of their own — and in these cases, not considering how the taste of your cookie will pair with that of the decorations can result in disaster.
Royal icing, for example, has a sweet and sugary flavor that you can add almost any high-quality flavor extract to. Although the base is neutral, many recipes are flavored by butter or extracts like vanilla, almond, lemon, or orange. And you wouldn't want to pair orange-flavored royal icing with a peanut butter cookie. While many people say sprinkles don't have a taste, I think they have a sweet, slightly artificial profile that only perfectly matches sugar cookies. Drizzles and coatings like dark chocolate, milk chocolate, white chocolate, caramel, peanut butter, and others have obvious robust tastes of their own. Consider the balance of all potential flavors before you start decorating, and your cookies will end up tasting significantly better.
5. Using low quality ingredients or decorations
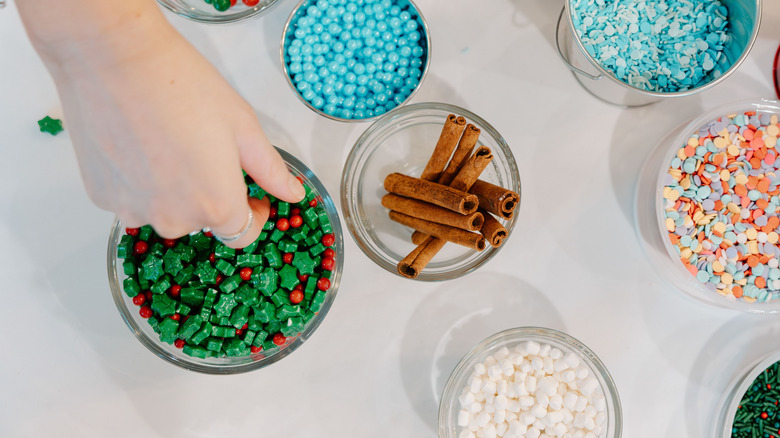
I love saving a few bucks as much as the next guy, but unfortunately, you really do get what you pay for most of the time. So it only makes sense that you need to buy high-quality cookie decorating materials if you want professional results.
While every ingredient benefits from being of better quality, there are a few that I would stress are the most important. If your budget forces you to choose a few things to splurge on, my recommendation would be to grab the best butter, powdered sugar, food coloring, and baking chips. Butter and powdered sugar will be the base of your royal icing or traditional buttercream frosting, which are usually the primary elements in cookie decorations. Low-quality food coloring can leach into your cookie, incorporate poorly, or transfer to everything it touches. Baking chips (like semi-sweet chocolate chips or butterscotch) will give your cookie notable flavoring that might even be the dessert's primary profile.
This doesn't mean you have to buy the $300 imported pure vanilla extract or spend the equivalent of your mortgage on supplies. I like to stick with options that fall in the middle of the price range and come from brands I trust. Watkins, Wilton, Ateco, Chefmaster, and AmeriColor are all brands I've personally had good experiences with.
6. Using an icing with the wrong consistency
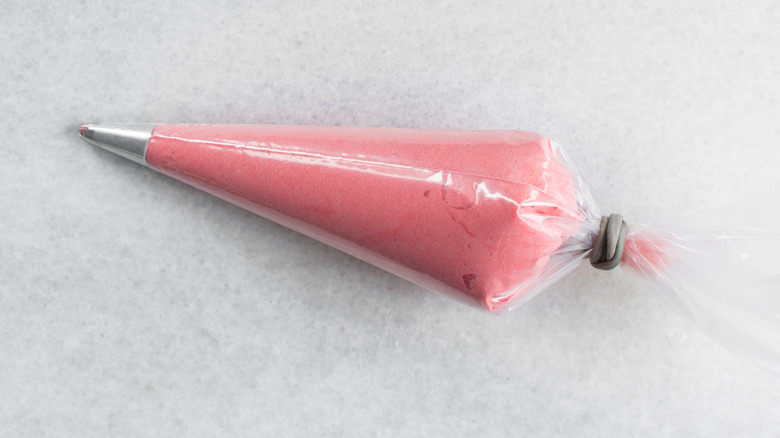
You don't want icings that are too thick or too thin for their job — icings that are too thick will be hard to pipe and won't spread properly while settling, but if icings are too thin, they won't hold their shape and may not dry properly. While this is most commonly a royal icing mistake, it holds true for all types of icing, including buttercream, ganache, ermine, cream cheese, and Chantilly. You'll use these non-royal icing varieties significantly less when decorating cookies, but I've used them all at some point.
If you're going to fill cookie sandwiches, use a fluffy but sturdy icing consistency. It should be strong enough to remain between the cookies without completely flattening, but fluffy enough to take up space while looking aesthetically pleasing. Outline icing should be about the consistency of toothpaste, while flooding icing should have a texture reminiscent of honey. Icing used for intricate 3D details like flowers or leaves should be slightly thicker than standard cake icing, and I strongly recommend buttercream over royal icing for this.
If your icing is the wrong consistency, it's an easy fix. If your icing is too thick, add ½ teaspoon of milk or water at a time, stirring only until combined, until you achieve what you're looking for. If your icing is too thin, add 1 teaspoon of powdered sugar until it's thick enough for your needs.
7. Failing to sift the powdered sugar
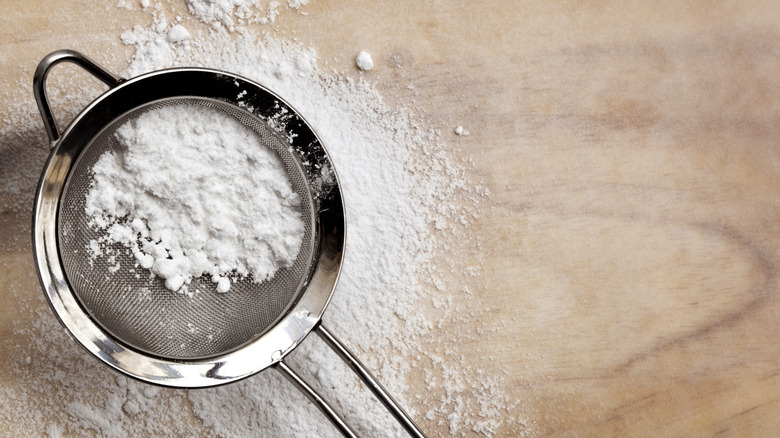
When baking cakes, cupcakes, brownies, or anything else, you're probably aware that you need to sift your dry ingredients together to avoid clumps (as well as other issues). But are you sifting your powdered sugar when decorating cookies? If not, you may end up with lumpy icings or uneven dustings, which affect not only the aesthetics of your cookies, but also the taste and texture.
What you should do instead is run your powdered sugar through a sieve — for the most accurate results, you should do this after you measure your sugar for icings, just like you'd do with flour. If you're using powdered sugar for a dusting, sift it directly onto the cookie's surface. This rule also applies to cocoa powder used for dusting or to flavor icings.
There are a few different sifters you can use for this, but my recommendation is a round stainless steel option. This three-piece set by Aruizun is one I have in my own kitchen. I like it because it works well, is affordable, and offers a smaller size for dusting alongside larger sizes for big batch recipes. Just gently shake the sifter back and forth while tapping it against the heel of your palm to encourage powdered sugar to filter through.
8. Not creating an outline before flooding
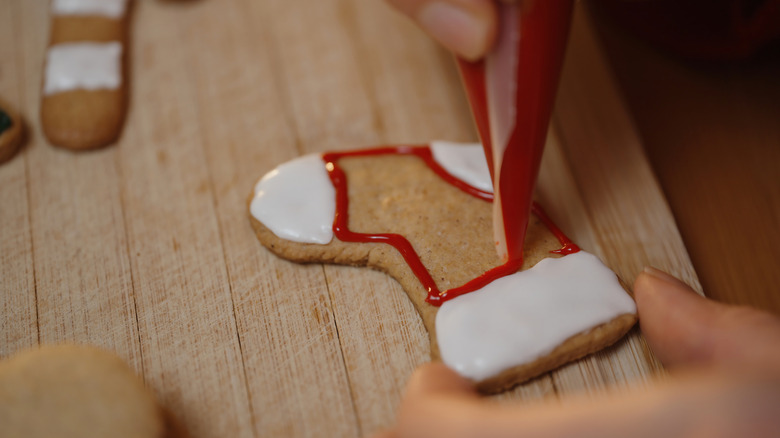
This rule is almost exclusively for creating designs using royal icing, but as you get more comfortable, it's possible to use this for precise ganache or glaze placement, too. Without an outline, your icings don't have a physical barrier or stopping point, so they'll just keep running off the sides. Now, there may be times when you want something like ganache to trickle off the sides, and in those cases it's appropriate to skip this step. But if you want clean lines and uncovered sides to your cookie? An outline is crucial.
Not only should you create an outline, but you should let it dry some before flooding (filling in with a smooth layer of icing) your cookies. Aim to begin flooding when your outline is stiff but a little tacky for the most consistent coloring. Besides simply keeping the flooding in place, an outline will assist in the icing evening out. Since there's a border, the flood won't run over; it pushes back on itself to settle properly with a more level surface.
9. Adding too much weight (or overcomplicating the design)

Cookie designs don't have to be complicated to be beautiful. In fact, some of the most eye-catching cookies I've seen were simple and made good use of icing with limited additions. This includes some of my personal favorite creations that I've done over the years.
Keeping your cookie designs relatively simple goes beyond visuals or even time investment — if you add too much weight to your cookie, it'll fall apart when you try to pick it up. Plus, thick icings may never dry, and edible attachments may never be fully secured. Be mindful of how heavy, bulky, or overstimulating your design is and be willing to adjust accordingly.
Most cookies are relatively small, so it can be easy to overestimate how much space you have for the design in the first place. Trust me, I've been there myself. Instead of pushing forward and trying to cram more details into a smaller space, take a few minutes to adjust your original design to properly fit the area you have.
10. Not letting previous layers dry before building on them
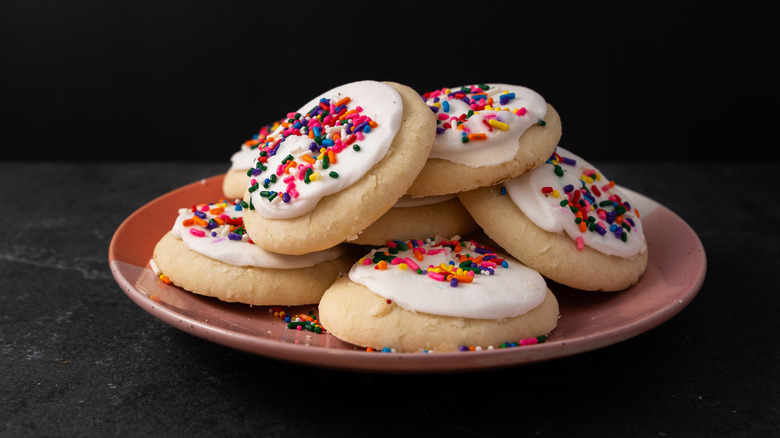
If you're not letting previous layers dry before building on them, you'll end up with a one-dimensional mess with runny colors, blended borders, and sunken top elements. Not only does this make for uninspiring cookies, but it also leads to extreme frustration.
You don't necessarily have to let previous layers dry completely before building on them. In fact, there are a few times when you would want to avoid that. If you're creating a separate layer (like drawing a skeleton face on a black base), you'll want the first layer to be entirely dry. If you're adding elements onto the same layer (like barely raised red zigzags alongside a green base), you only want the first color to be tacky, not fully dry. Attaching heavier three-dimensional decor like ribbons or edible pearls requires the previous layer to be fully dry — unless you're using the first base as the "glue," in which case you'll want it to be tacky.
Since I've never been known to have an excess of patience, I like to keep myself busy while waiting for things to dry. I create the same layer on every cookie like an assembly line, and then do a brief tidy as needed before circling back to work on the next layer. This almost always works for me, although I occasionally have to find something else to do if I'm decorating a small batch of cookies or using a very simple design.
11. Working on a cookie for too long
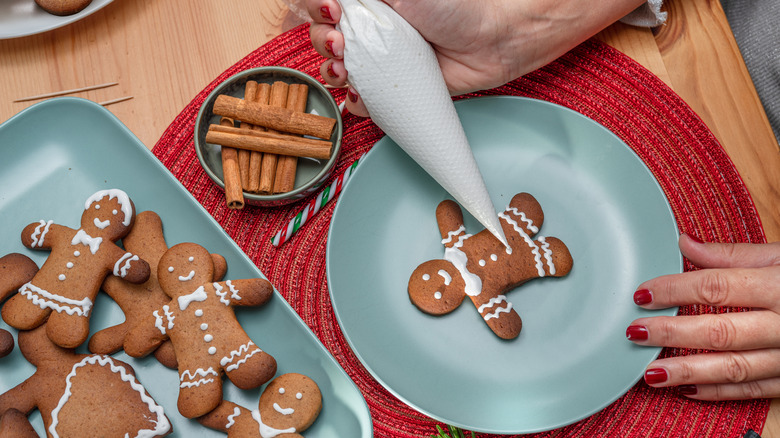
Working on a cookie for too long can lead to a slew of problems. Sometimes heat, humidity, and constant body heat transfer can cause the icing to melt or never fully dry in the first place. These issues are easily solved by ensuring your kitchen is temperature-controlled and avoiding touching the cookies while decorating unless completely necessary. But there are much more likely scenarios you'll run into if you work on cookies for too long.
Your piping bags are the primary problem. If you leave them out too long, the icing inside will get crusty and clog your tips. When it does come out, it'll be lumpy instead of smooth. Other issues might include your layers drying too fast for wet-on-wet details or color bleeding from high humidity.
Thankfully, there's an easy fix here. First and foremost, I encourage you to keep practicing because the more confident you become in your cookie decorating, the faster you'll go. After decades of practice, I can complete simple to moderately complex designs in 2 to 10 minutes. Originally? It could take me 10 minutes for a single simple cookie. For now, create small batches of icing to work with, cover icing bowls with moist paper towels, and stick to designs you can complete in 15 minutes or less.
12. Rushing the drying time

When your cookie designs are finished, they need ample drying time before you do anything with them — this includes moving, stacking, or packaging them. If your icing is wet and chosen edible glues haven't dried, handling the cookies in any form can lead to bleeding colors, lumpy textures, transferred icings, crushed details, and so much more. Even worse, this will happen at the very end of the process, when you've already dedicated so much time and effort into your cookie decorations.
Decorated cookies should dry at room temperature. A dry, cool (not cold) room is ideal, but avoid placing them in the refrigerator regardless. In the right environment, simple to moderately complex designs should easily dry overnight or within a 24-hour period at most. But this isn't always true, and it's better to trust your eyes over the clock. If the temperature is high, the room is humid, or the design is more complex, you may need up to 48 hours for your cookies to be completely dry and hard.