Forget Dairy Queen: The Budget-Friendly Way To Make Blizzards At Home
When it comes to frozen treats, there's nothing quite like a Dairy Queen Blizzard. These iconic cups are filled with velvety smooth, soft-serve ice cream that's blended with candies and cookies of the sweet and savory variety, creating a bite that is creamy and delicious. But, sometimes, going to the DQ isn't a practical option — for you or your pocketbook. That's when it's time to break out the stand mixer. This essential kitchen tool, along with ice cream and your favorite toppings, is all you need to make a DIY version of this iconic dessert in your own kitchen. It will taste just as good, and it will be a lot cheaper.
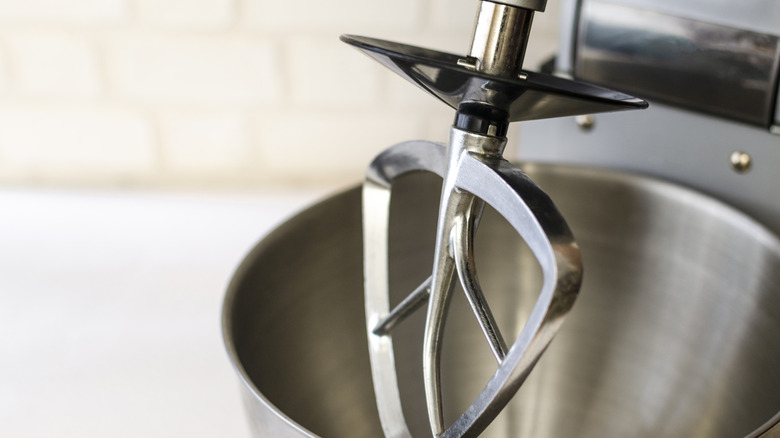
While a blender might be the first thought when it comes to small appliances to use for this task, don't. A blender is going to give you the consistency of a milkshake, not the dense texture of a cup of ice cream that can be turned upside down and not fall out. For this same reason, leave the milk in the fridge. Once you have your stand mixer out, it is important that you skip the whisk and use the paddle attachment to get the best results. It will have a churn effect on your ice cream and mix-ins.
Chill the bowl
Use whatever flavor of ice cream you want for your dupe. The ice cream aisle is your canvas here. Chocolate, rocky road, or cookies and cream fans, this is your opportunity to become the Vincent Van Gogh of DQ Blizzard, whipping up flavors we may never see again. Be bold. However, if you are trying to mirror a traditional Dairy Queen Blizzard flavor, vanilla ice cream is the best option. Once you decide on your ice cream choice, let it sit out for a couple of minutes so it isn't like cement when you try to scoop it. It shouldn't be like soup either. It just needs to soften, ever so slightly, before you turn your mixer on medium.
Another pro tip: Allow your mixing bowl to cool in the freezer for about ten minutes. Starting with a chilled container will keep the ice cream frosty and slow down how quickly it melts as the paddle does its thing. Choose the medium setting and allow the paddle to churn your chosen ice cream until it is creamy. You may need to scrape down the bowl as this is happening. It can take anywhere from a minute to three minutes, but once it has the appearance of thick, soft serve, you are ready for those Reese's Pieces, Oreo chunks, marshmallows, brownie bites, or whatever you want to add. Be sure to break them up so that they are combined. Best. hack. ever.