10 Cake Decorating Tips Every Beginner Should Know, According To A Professional Baker
If you're an avid home baker, you probably love baking all sorts of cakes, whether a classic buttermilk vanilla cake or a fancy red velvet cake. While the process of baking the actual cake and preparing the frosting is quite mesmerising and fun, most beginners find icing and decorating a cake quite daunting. Honestly, it can be. It looks pretty easy when professional bakers do it, but in reality, a lot comes into play if you want a flawless-looking cake. You need to make sure the frosting is at the right consistency, your cake should be leveled before you start, you have to use the right tools while cleaning them periodically, and a lot more. Since professional bakers are aware of these factors and are well-trained, cakes from a bakery always look and taste better than what you'd make at home. But just because the process seems scary, it isn't impossible. You don't need to give up on your dream of decorating a beautiful cake at home just yet, even if you're an absolute beginner.
With over five years of professional experience as a pastry chef, I'm here to give you some tips that came in handy during the early days of my career, and will surely help you decorate a cake just like a professional baker. Sure, it takes some practice as well, but these tips can be the first stepping stone in your journey of decorating beautiful cakes that look nothing less than those from a bakery or a fancy patisserie.
1. Make sure the cake has cooled down completely before you start
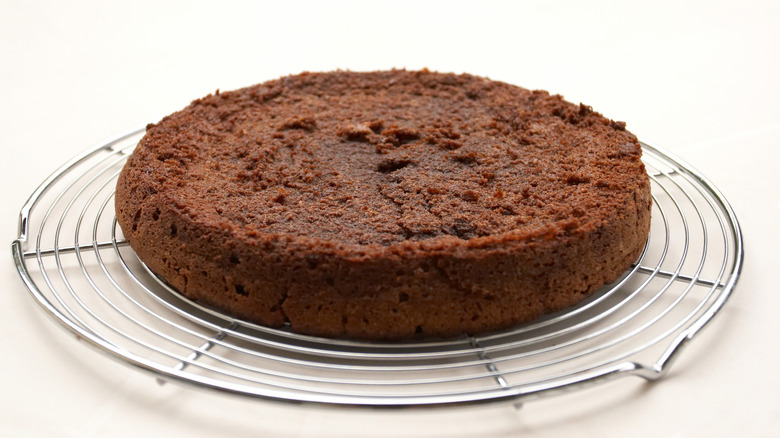
The first — and possibly most crucial — thing to keep in mind before icing and decorating your cake is to make sure it has cooled down completely. Many beginners try icing a warm cake, but that's a rookie mistake, as it will lead to a disaster. The first thing that'll happen if you ice a warm cake is that the frosting will melt immediately, especially if you're using heat-sensitive options such as whipped cream or buttercream frosting. Even if you're using something like chocolate ganache, it might not melt immediately, but it will eventually, and then it'll slide off the sides and look messy. Not to mention that any icing melting off the sides from within the layers could make your cake wobble and ruin its structure.
Other than these issues, the cake may also start tearing, and that will be a lot harder to fix later. Given the fact that a lot can go wrong, I'd recommend placing your cake on a wire rack while it's warm. This is one way to ensure thorough cooling without any condensation due to steam, which is very likely if you cool the cake on a flat surface. Also, if the cake still feels warm when you touch it, you need to let it cool a little longer before you start layering and icing it.
2. Level the cake properly
Once the cake has cooled down, you might want to start topping the layers with frosting right away. I'd recommend not doing that, as it's likely that not all layers will be the same size, or even flat, for that matter. If you start topping a layer with frosting and then place another layer on top, the chances of your cake turning out lopsided will be pretty high. The cake may even tilt to one side, which could make the frosting slide off. Plus, icing the outer surface will become a really difficult task if the cake tilts. Lastly, in some cases, the cake could collapse due to uneven layers, as one side of the layer could be a lot thinner than the other.
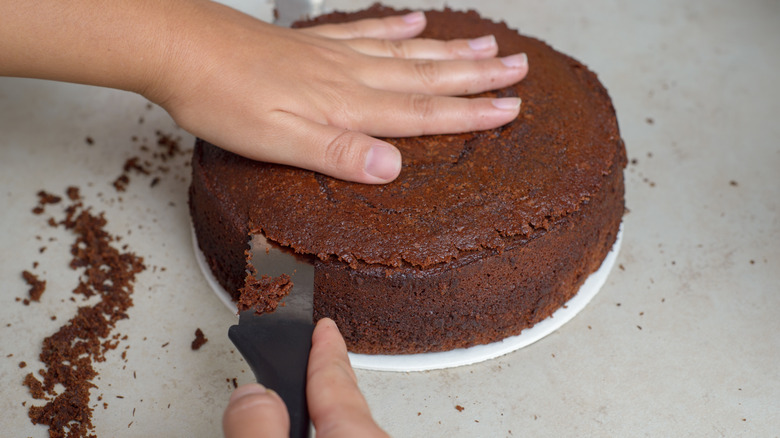
So once you've cut out layers from your cake, make sure you level them out with a serrated knife by slicing off uneven bits until the surface is as flat as it can be. Try not to slice off too much, as that could make the layers really thin, and then the icing won't stay put.
I'd highly recommend keeping a serrated knife handy, as it slides through more evenly compared to a regular knife and is a great tool for cutting out layers as well. You can also use a cake slicer if you have one, as it makes it much easier to get perfectly even layers.
3. Make sure the frosting is at the right consistency
Before you start icing your cake, the frosting needs to be at the right consistency, regardless of which type you're using. If your frosting is even slightly runny, it will spread too much and start dripping off the sides. On the other hand, you'll have to apply a lot of pressure to spread it out if it's too hard, which could tear the cake. As such, let's go over the ideal consistency for common types of frostings.
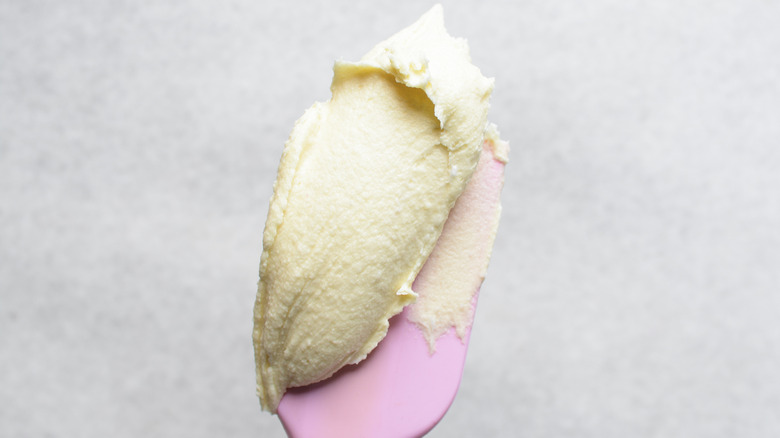
If you're using buttercream frosting, it needs to be soft enough to spread easily, but still hold its shape well. It should be smooth, and not grainy, as the latter is a sign that the frosting isn't mixed properly. In case your buttercream frosting is a bit too runny, you can fix it by adding just one ingredient, which is confectioner's sugar. Make sure you sift the sugar before tossing it in, so the frosting doesn't turn lumpy. If the frosting is a bit too thick, you'll just need to whip it a little more to get the right consistency.
Similarly, a ganache should also be at a spreadable consistency while holding its shape properly. Lastly, be extra careful if you're using whipped cream, as it's very easy to misjudge its consistency. If it falls off the spatula when you try to pick it up, you'll have to whip it a little more. If it looks grainy, it's overwhipped, and the best option in that case is to start over.
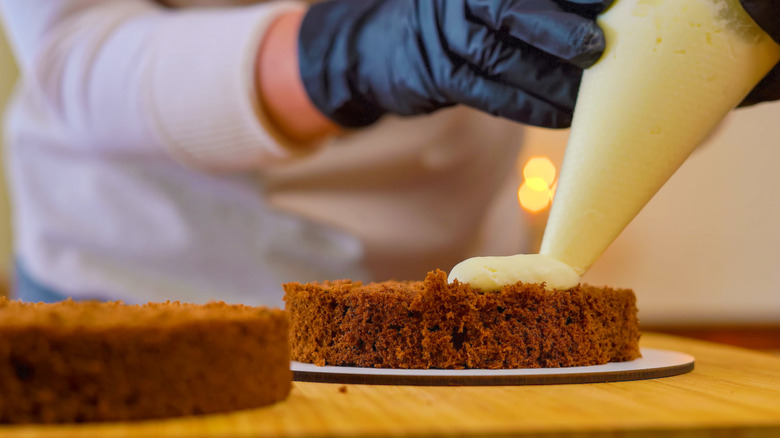
4. Start with a small amount of frosting and let the layers chill and set properly
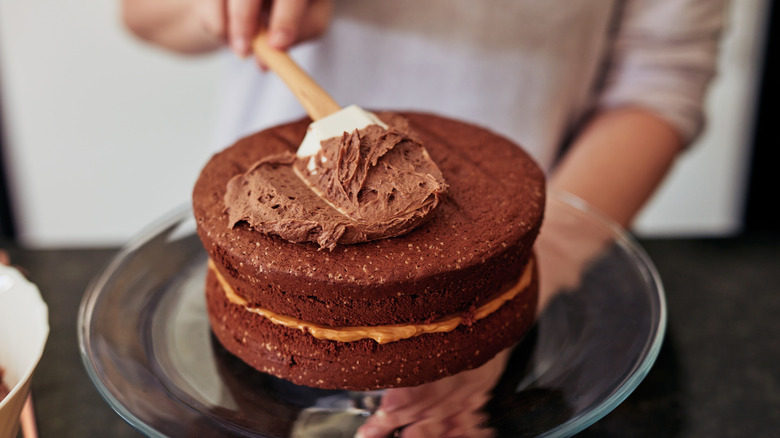
Sure, it's really tempting to top each layer of cake with oodles of frosting — even more so if you're a bigger fan of the frosting than the cake itself. However, that's not the best way to go about it for several reasons. If you top the base layer with too much frosting and then try to spread it out, you'll end up spending a lot of time just removing the excess. This will compromise the cake's texture, as it will wind up overworked due to all that scraping. Additionally, your frosting will get grainy as loose crumbs from the cake will mix in with it when you scrape off the excess.
The right approach is to start with a couple tablespoons of frosting, and spread that out on the base layer. If the frosting doesn't seem enough, you can always top the cake with some more later. After you're satisfied with the amount of frosting on the base layer, place the next layer and repeat the process. It's crucial that you let the cake chill and set properly after you're done layering, and before you start icing the sides and the top. Chilling the cake will give it a more stable structure, making icing the outside a lot easier.
5. Use the right tools
You might think that you can ice your cake with whatever tools you have on hand, such as a butter knife or a spoon. That doesn't work, though, especially if you want your cake to look like it's straight out of a patisserie. In fact, using the wrong tools is one of the biggest cake frosting mistakes you might have been making so far. This is because each tool is specifically designed to give your cake a smooth finish — something that regular kitchen tools and cutlery cannot do. Additionally, you'll realize that they make the whole process a cakewalk once you get used to them.
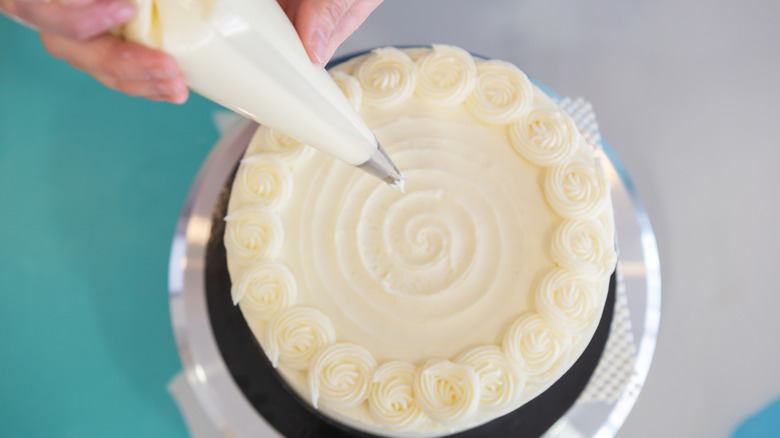
It's easy to wonder if the right tools for icing and decorating a cake will burn a hole in your pocket. Honestly, they won't, as you don't need to invest in fancy pastry chef-level equipment. I'd only recommend buying a few palette knives, an offset spatula, piping bags, nozzles, and a turntable. Palette knives and offset spatulas make spreading the frosting a breeze, and a turntable will make it much easier to ice the sides evenly. A few basic nozzles and piping bags will help if you'd like to decorate your cake by piping out designs on top or the sides. You can also buy a bench scraper; though isn't absolutely necessary, as an offset spatula can pretty much serve the same purpose, especially while you're still learning.
6. Don't press the cake too hard while layering
After you spread frosting out on the base layer, you might want to place the next layer on top and then press it down, possibly believing the pressure will keep it in place. However, this actually increases the chances of the cake leaning to one side, as excess pressure could make the structure uneven. Additionally, pressing the cake layers too hard could lead to the frosting leaking out. Lastly, the cake could crack or tear due to excess pressure — especially if it has a delicate crumb.
Considering all that can go wrong, you should instead be gentle when placing the next cake layer on top of the frosted base. Only press it very lightly if you feel it isn't staying in place. Once you feel the layer is stable enough, you can ice it, and then repeat the same process with the rest of the layers. If the frosted layers seem uneven or as if they're leaning slightly to one side, I'd still suggest not pressing the cake hard. Instead, lift the layer and add a little more frosting where it seems uneven, then spread that out. That should do the trick.
7. Always start with a crumb coat
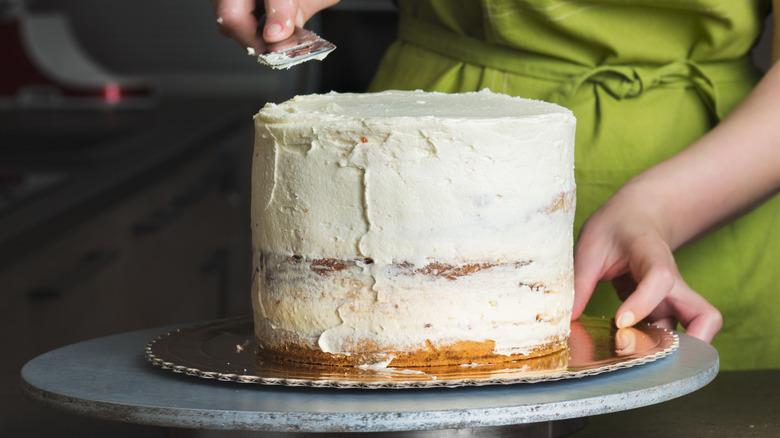
Before you ice the sides and the top of your cake, it's essential to apply a crumb coat. In case you're wondering what a crumb coat is and why your cake needs one, here it goes: A crumb coat is basically the first layer of frosting you're supposed to spread out on the sides and top of the cake. Since most cakes have a lot of loose crumbs, a crumb coat helps catch and keep them in place. This makes icing the cake later much easier, and also makes it look more polished.
For crumb coats, a little frosting goes a long way. You'll have to start by placing your layered cake on a turntable, as that makes the process more effective and easier to perform. Once you have it ready, start by spreading a thin layer of frosting on the sides with an offset spatula, while constantly turning the turntable for a smooth finish. Scrape off any excess while you spread the frosting, rather than doing it later. You need to do exactly the same for the top of the cake. As soon as your cake has a thin layer of frosting on it (thin enough that you can still see some of the actual cake), your crumb coat is done. After that, let the cake chill until the icing sets, and then you can start with the final layer of frosting.
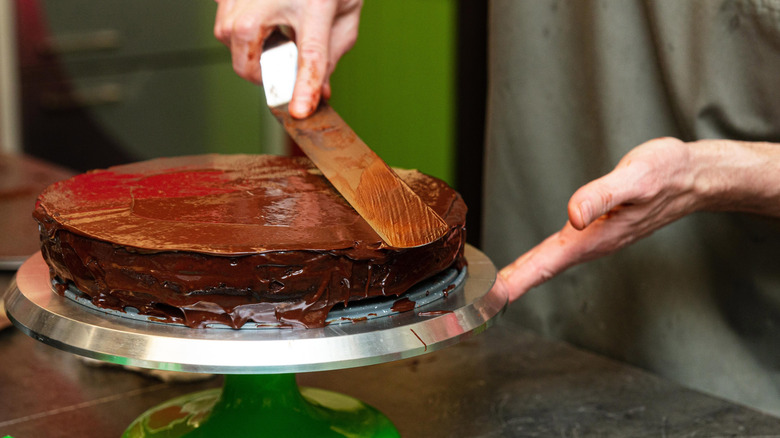
8. Apply very little pressure while spreading out the final layer of frosting
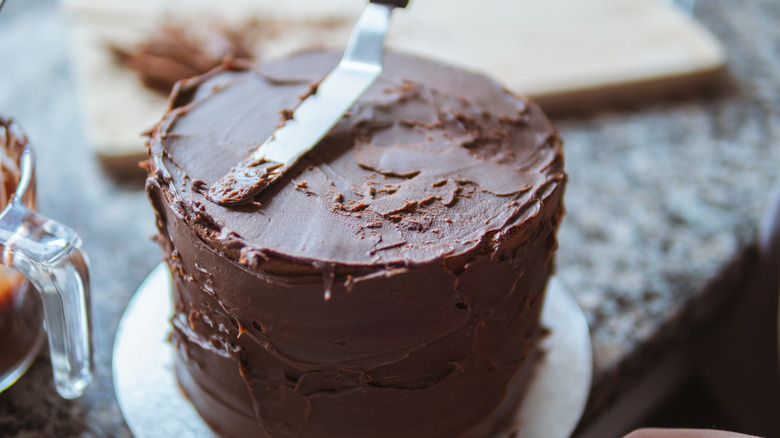
Once the crumb coat sets, you can start spreading the final layer of frosting. However, you need to ensure you apply as little pressure as possible. Too much pressure while spreading the frosting could create an array of issues, as most cakes are fairly soft and delicate. The crumb coat can break, the cake could get dents, and in some cases, it could also lose its shape. Additionally, you might also end up scraping the frosting off instead of spreading it.
So when you're spreading out the frosting, just hold the offset spatula firmly, and let it glide across the cake as you rotate the turntable. If you feel the spatula is scraping the cake even slightly, I'd recommend stopping, pulling it away, and starting again with minimal pressure.
At this stage, you might see a few patches where there's too much frosting, and a few others where there isn't enough, which is quite normal while icing a cake. Instead of scraping the excess off with a heavy hand, do it gently. Lightly spread more frosting where needed, and repeat the process until you get a smooth finish.
9. Clean your tools from time to time
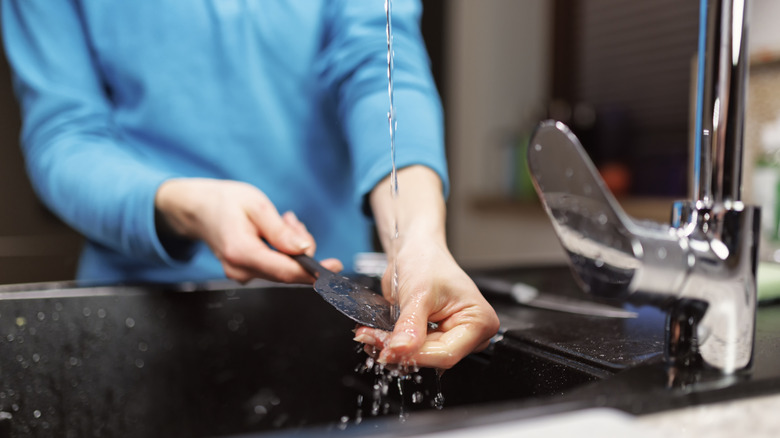
You might think that there's no need to clean your offset spatula (or a bench scraper if you're using one) until you're done. Let me tell you: Not cleaning your tools periodically while icing is one of the biggest mistakes you can make, as it can make your cake look dull. This is because it's likely that your offset spatula (or bench scraper) has loose crumbs and dried frosting stuck to it. So if you don't clean the tool, you'll essentially spread those crumbs and dried-up frosting on your cake, which will very obviously ruin the final look.
It's also important that you clean your cake board while icing, as otherwise the frosting stuck on it (especially right around the cake) will dry up. Cleaning that up later will be a task, and since you'll have to apply a lot of pressure to remove the stuck frosting, you might inadvertently end up damaging the cake. I recommend using hot water to clean your tools, and paper towels dipped in warm water for the cake board, as that's the best way to get rid of dried-up frosting or any grease. Additionally, clean your piping nozzles with wet paper towels from time to time, as otherwise the frosting will dry out near the tip, causing an uneven and messy look when you push out icing.
10. Fix mistakes as you go
As a beginner, it's natural that you'll make a few mistakes while icing and decorating your cake. Honestly, even professional chefs make plenty of mistakes, so it's nothing to worry about. That said, it's crucial to fix mistakes then and there rather than waiting until the end. The reason is simply that blunders are a lot easier to undo while the frosting is still soft and at a spreadable consistency.
Sure, fixing mistakes once frosting sets is possible. However, it's meticulous work, and requires unnecessary time and energy. Once the frosting dries, it gets a lot harder to work with. The best bet then will be to scrape everything off and start over. The worst-case scenario is that you end up damaging your cake somehow while fixing mistakes, so you'll have an added blunder to fix along with the ones you already need to.
Instead, just keep some hot water and paper towels handy while you're icing and decorating your cake. If the frosted cake's surface seems a little dull or has a couple of dents here and there, you can dip your offset spatula in hot water and glide it across the cake to do the trick. Similarly, if the frosting starts dripping from the cake, you can use a paper towel to catch it before it spreads further and ruins the look. I'd also recommend dabbing bumpy spots with paper towels, as that will give your cake a cleaner finish.