10 Must-Know Tips For Making Perfect Cream Cheese Icing

We may receive a commission on purchases made from links.
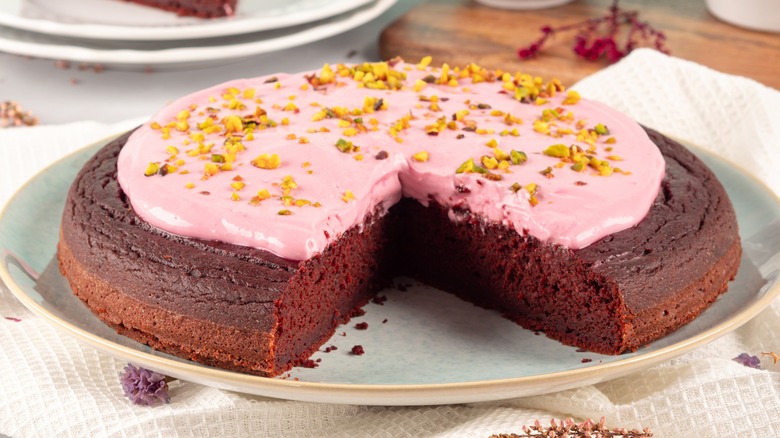
When you're looking to top your baked goods, there's a range of icings you might use. One of the most common types is buttercream icing, which is what you'll often find on cupcakes and cakes. However, another excellent icing to add to your repertoire is cream cheese icing — a diverse, rich option that can add depth, contrast, and sweetness to various dishes. One of my favorite things to use cream cheese on is homemade fudgy brownies, but it's also fantastic icing for carrot cake, red velvet cake, cinnamon rolls, and even French toast, to name a few. While cream cheese icing is very easy to make once you get the hang of it, though, a lot of people struggle with it at first.
During my 15 years in the food industry, I regularly made cream cheese icing. In fact, those cream cheese icing brownies I mentioned were a fan favorite specialty of mine that people would regularly request when they came into the bakery. And, of course, I made so many carrot cakes around Easter every year that I could almost make them in my sleep, icing and all. These many experiences have allowed me to hone my cream cheese icing craft and, today, I get to share what I've learned with you. Without further ado, here are my tips for making perfect cream cheese icing.
1. Make sure your ingredients are in the right proportions
I've often heard it said that cooking is an art and baking is a science. In fact, this was the exact phrase I was told when cross-training in baking and hot foods by my mentor, and it's something I stand by today. While you can fiddle around with proportions and measurements when cooking most things, baking is where you want to stick exactly to recipes — and that includes when making icing.
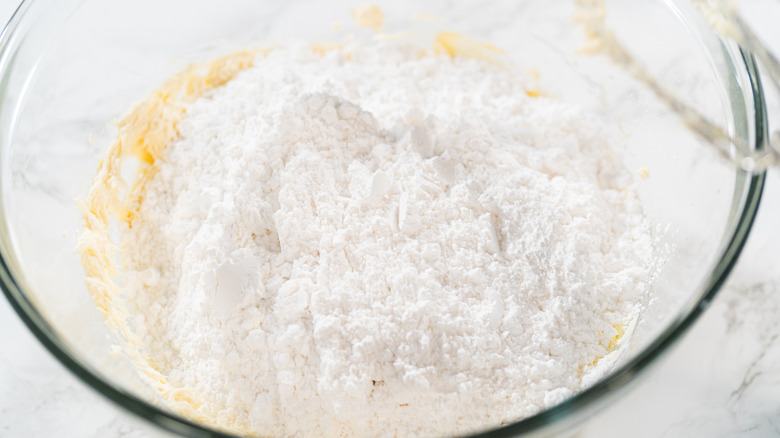
The most basic cream cheese icing recipe calls for just four ingredients: Cream cheese, milk, confectioner's sugar, and vanilla extract. Some recipes will also call for a pinch of salt or some butter. If you use too much cream cheese or milk, the icing will become too runny, which means it won't hold its shape once piped. Depending on how runny it is, you may not even be able to pipe it at all because it will leak out the end of your bag. On the other hand, if it's too stiff, it'll be too hard to work with and too heavy on your baked goods. This is why it's crucial to get your ingredients in just the right proportions.
If your icing is already too runny, slowly add more confectioner's sugar until it's the right consistency. Then, place in the refrigerator to further harden. If your icing is too stiff, add one tablespoon of milk at a time and stir until it's thinned out enough.
2. Use full-fat cream cheese for the richest flavor
Many people try to watch the fat content of their diets, which is a totally understandable and valid thing to do. However, it's the fat in cream cheese that makes this icing so rich. Without enough of it, cream cheese icing will have a very dull flavor profile and may even have an "off" taste. Consider using reduced-fat or low-fat options in your baked goods, instead, if you really want to decrease the dish's total content. For example, replacing milk with water in boxed cake mixes is an easy swap that usually won't drastically change your results.
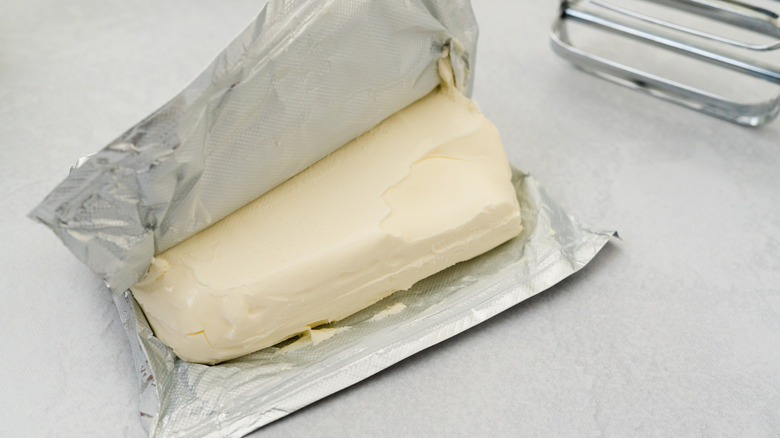
When making cream cheese icing, only use full-fat options, which are what you can find available in bricks — those rectangular packages you find most standard cream cheese in. Read the label to make sure it doesn't say "reduced fat." You'll also want to avoid any whipped, spreadable, or low-fat tub cream cheese varieties, as these won't produce the right end result.
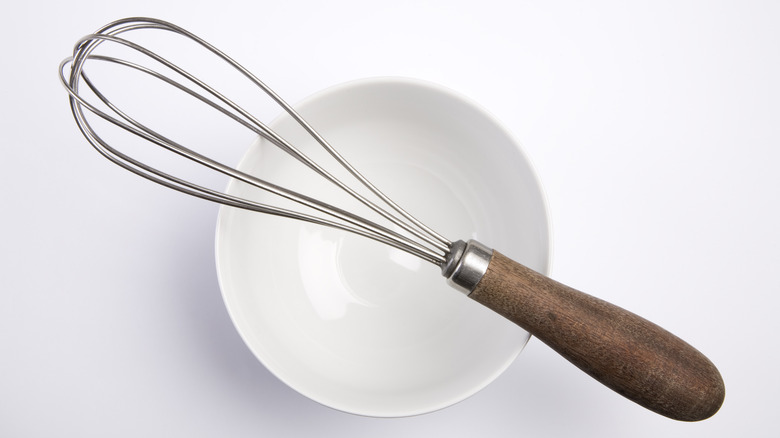
3. Sift your powdered ingredients for the smoothest results
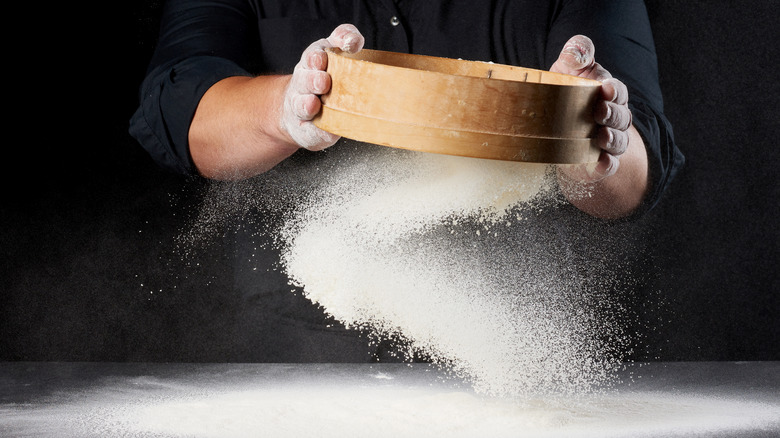
Taking a few moments to sift your dry ingredients before adding them to your wet ingredients can make a world of difference in both the creation process and the final results. When creating any icing, you want to achieve the smoothest results possible, and cream cheese frosting is no exception to that rule. Sifting helps you achieve this by breaking apart any clumps in the dry ingredients before you add them to your mixing bowl.
There are several types of sifters you could use for this process, but my personal favorite is this Stainless Steel Fine Mesh Round Flour Sieve. It's very simple to use, comes in varying sizes, and is incredibly versatile. Plus, I like the coverage this gives you if you want to use it for powdering the tops of cakes or pies. However, this Bellemain Flour Sifter with Rotary Crank Handle is also excellent for sifting your dry ingredients if you prefer.
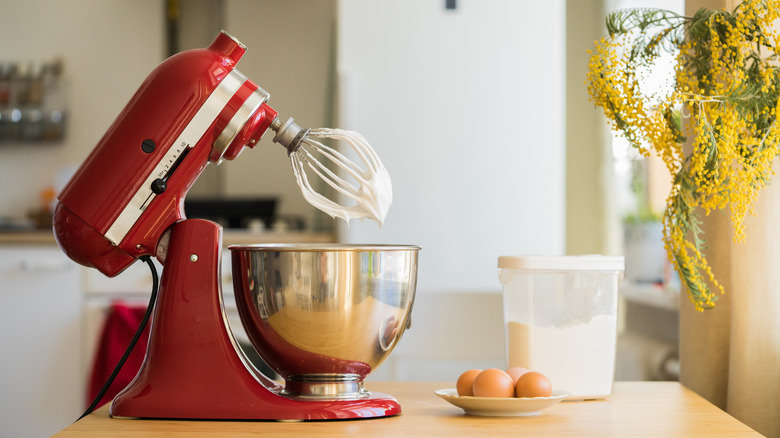
4. Whip your butter
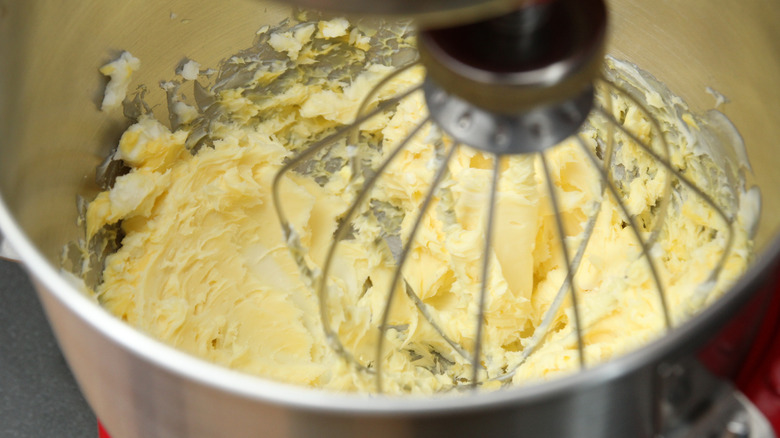
While it's true that cream cheese icing is a little denser than other options, you still want a bit of an airy texture for the best results. That will be the easiest to work with, the best tasting, and the most aesthetically pleasing. If you've been dropping your butter and cream cheese into a bowl and then mixing it up until it's smooth, you've been skipping a crucial step that will drastically elevate your final product — whipping your butter.
Whipping butter will cause it to become light and fluffy, which is exactly what you're looking for. This will lend the same texture to your finished cream cheese icing. Doing this while combining it with the cream cheese won't bring about the same results. Those five extra minutes will make a world of difference.
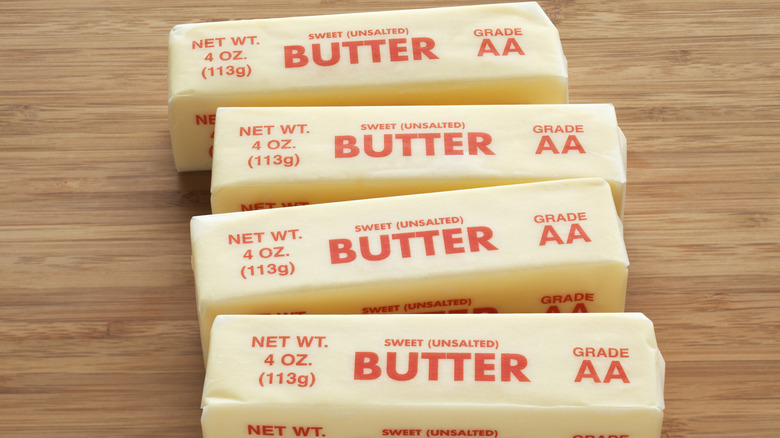
It's also important to use the right kind of butter if you want your cream cheese icing to taste its best. Opt for unsalted, full-fat butter in the sticks. Avoid salted butter, because it will add too much sodium to your icing. You'll also want to avoid any tubbed butter options since these are often partially or even completely margarine.
5. Add your ingredients in the right order
I've already mentioned that baking is a science, but it bears repeating. When you're doing a science experiment, there's a very specific order you need to do things in order to receive reliable results. Your cream cheese icing is the same, and requires you to add each ingredient in a specific order if you want to achieve the best final product. The reason for this is that each individual ingredient requires different processes and unique mixing time lengths (among other considerations).
The correct order to add your ingredients to your mixing bowl is: Butter, cream cheese, vanilla extract, dry ingredients. Once the butter has been whipped, you should add the cream cheese and mix again. Then, add your vanilla extract and stir. Finally, sift dry ingredients into the bowl before thoroughly combining them. Voila! You should have a bowl of perfect cream cheese icing, ready to be used on your favorite treats.
6. Use room temperature ingredients for the easiest process
When making your cream cheese icing, it's important that most of your ingredients are room temperature if you want the easiest process. The sole exception to this rule is your milk, which should still be cold, to prevent foodborne illnesses. Your cream cheese and butter, in particular, can be challenging to work with straight from the refrigerator. However, if these products become too soft, your icing will become a runny mess.
Keep in mind that room temperature doesn't mean warm or melted. You're looking to strike a balance between too hot and too cold, where the products are soft but still solid. The cream cheese and the butter are the right temperature when you can gently press a finger into the outside of the brick or stick and make a dent without resistance. Make sure to avoid allowing the cream cheese to become runny or the butter to start melting.
7. Avoid overmixing or undermixing
Overmixing and undermixing are among the most common issues across all baked goods and sweets, in my personal experience. That's because it's so easy to veer slightly too far into one direction or the other. Unfortunately, this can cause some serious issues with your icing. If you overmix it, you could end up with a runny mixture that doesn't hold its form enough to be piped. Undermixing can lead to unincorporated ingredients and lumps that make your icing both look and taste bad.
It can take some practice to strike the perfect balance when mixing your icing. Your goal should be to do the final mix (after adding the dry ingredients) until everything is incorporated and the mixture is smooth. Once you see that, stop mixing to prevent going too far. This does require you to keep an eye on your mixture, so I don't recommend walking away if you're using a stand mixer, even for a moment.
8. Experiment with flavor varieties for diverse icings
Cream cheese icing can easily be transformed into various flavor varieties for unique results. I highly recommend that you experiment with these options, as it's a simple way to elevate your icing to a professional level that can really wow your guests. Examples of things you could add include extracts, chocolate, browned butter, and spices.
You can find a range of high-quality flavor extracts to use in your cream cheese frosting, but my favorites are from Watkins, because they've proven to produce reliable results for me. Consider swapping out your vanilla extract for Watkins Pure Coffee Extract to create a bold, slightly bitter taste that pairs perfectly with the richness of the cream cheese. Or, use Watkins Pure Almond Extract to produce sweet, slightly fruity notes. Using melted chocolate can also provide additional richness and sweetness in your cream cheese icing.
Adding browned butter to your cream cheese frosting will add a layer of complex, nutty flavor that pairs perfectly with homemade cinnamon rolls or spiced cakes. Although you can add a range of spices to your cream cheese icing, my favorites are warming spices, like cinnamon and nutmeg. These warm flavors provide a nice counterpoint to the richness of the icing, helping it to pair perfectly with a wide range of desserts.
9. Refrigerate before using to avoid runny messes

Even if you nail the consistency of your icing perfectly with your proportions, it's almost a guarantee that it'll be just the tiniest bit too soft or even runny when you've finished making it. This is because some of the ingredients in the icing (including the starring cream cheese) will continue warming while you mix everything together. Thankfully, there's an incredibly easy way to solve this issue — just pop your bowl of icing into the refrigerator and allow it to sit awhile before using it. As the temperature of your icing is brought down, it'll begin to firm back up and regain its perfect consistency.
How long you'll need to leave your cream cheese icing in the refrigerator will depend on many things. Sometimes it takes as little as ten or fifteen minutes, while other times it takes half an hour or more. I suggest making your icing the night before to ensure it's ready to be used when you need it. Also, keep in mind that cream cheese icing is not shelf-stable like some of its counterparts, so any leftovers should be placed back in the refrigerator to prevent spoilage and avoid foodborne illnesses.
10. Use it on the right baked goods
Cream cheese icing is delicious and decadent, but its flavor profile isn't made for everything. Using it on the wrong baked goods could lead to a strange taste that's overpowering, ultra contrasting, or downright gross. Thankfully, there are ample pairing options available to you that you can use to hone your cream cheese icing skills on.
My favorite option for cream cheese icing is fudgy brownies, as the intense richness of both dish parts enhances the other to create something incredibly indulgent. The warm, spicy flavor profiles of cinnamon rolls, gingerbread, and carrot cake provide a beautiful balancing counter note to the sweet creaminess of the icing. The slightly spiced earthiness of pumpkin treats, like cakes or bars, is also balanced by the cream cheese icing's flavor profile. Other excellent ideas include using it on red velvet cake, as a fruit dip, or to garnish your pancakes and waffles.