Carving Pumpkins Just Got More Fun With This Cookie Cutter Hack
We may receive a commission on purchases made from links.
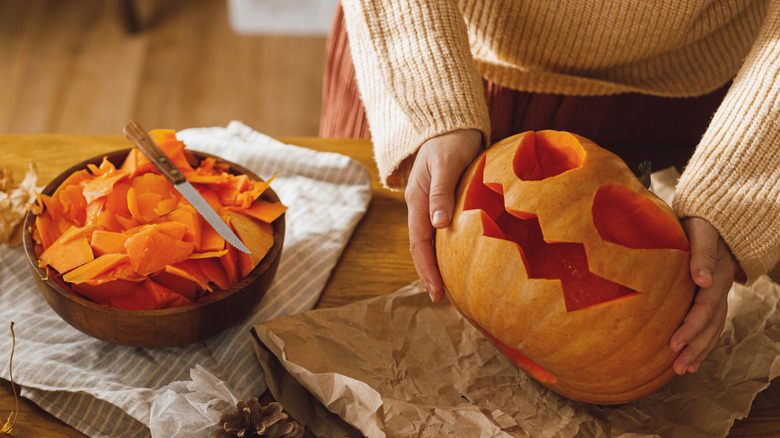
Carving pumpkins is one of the most popular activities during the fall season. While jack-o'-lanterns have been associated with Halloween for centuries, knife injuries are still an issue. Even with a good pairing knife, puncturing through the skin of a pumpkin takes some force and precision, but can be dangerous when not done properly. Fortunately, you can reduce how much you carve with a knife by creating your pumpkin faces with cookie cutters and a mallet.
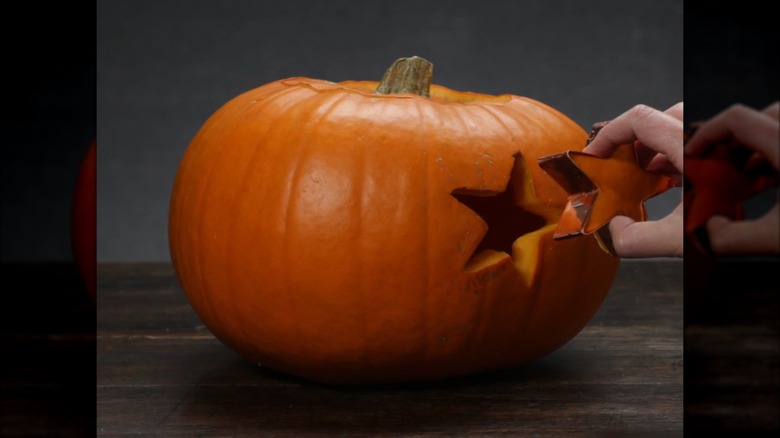
Believe it or not, cookie cutters are very useful tools beyond making cookies. For instance, the clever hack for hassle-free cake decorating involves using these tools to shape frosting and topper designs. Meanwhile, a cookie cutter is the secret to pro-level cocktail garnishes with stamped shapes made from fruit peels. Similarly, you can place Halloween or fall-themed cutters onto the outside of a pumpkin and hammer the design through with a mallet. Be careful not to do it too hard because you don't want to cave in the wall of your pumpkin. Also, make sure you use sturdy metal cookie cutters because they'll stand up better to the mallet and be easier to punch through the tough pumpkin skin and flesh.
After hammering the cutters all the way through, you should be able to pull them out, leaving you with the perfectly cut-out shape of your choice. For pieces that just don't come out easily, apply pressure to the inside of the cut-out with your thumbs or the handle of the mallet.
Cookie cutter recommendations and tips for carving pumpkins
When you use cookie cutters to create your pumpkin carvings, you have a slew of options. You can use metal ones you already have at home, or buy new fall and Halloween-themed ones like the seven-piece stainless steel set from Keewah. On the other hand, kids may have fun using a variety of animal shapes, like the seven-piece stainless set of woodland animals from LUBTOSMN.
Before you use the cookie-cutter hack, you can do a few things to make carving your pumpkins easier. The first step is to cut the bottom of the pumpkin open rather than the top, because most of the guts will come out with it, and placing and balancing a candle inside will be less challenging. As one of the only knives you need in your kitchen, a pairing knife works well for control and precision. The second is using a hand mixer to loosen all the pumpkin fibers and seeds, making it more effortless to scrape the guts with your hands or an ice cream scoop.
Since carved pumpkins can start to show signs of deterioration in just a week, you have a few options to keep them looking fresher for longer. Spray it with a mix of water and bleach or WD-40, or cover all of the exposed flesh with petroleum jelly, which seems to have the best results for the longest time. The caveat is that you might want to use a battery-powered candle inside since these applications are flammable. And, if you want a little scent from your cookie-cutter-carved pumpkins, sprinkle the inside with cinnamon.