How To Reuse Old Wooden Cheese Boards For Stunning Kitchen Decor
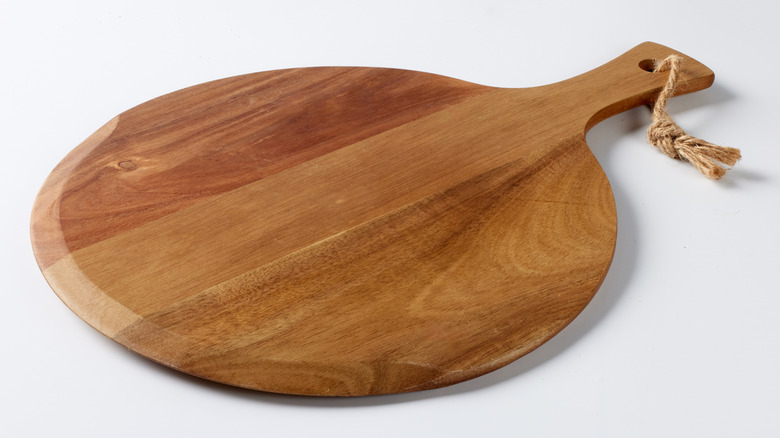
Those single-serving wooden cheese boards with their charming handles were perfect for that party you hosted when you paired cheese and wine like a pro. But since then, they've been sitting idle, gathering dust in the back of a pantry. Now's the perfect time to pull them out, give them a good wipe, and turn them into a fun DIY project.
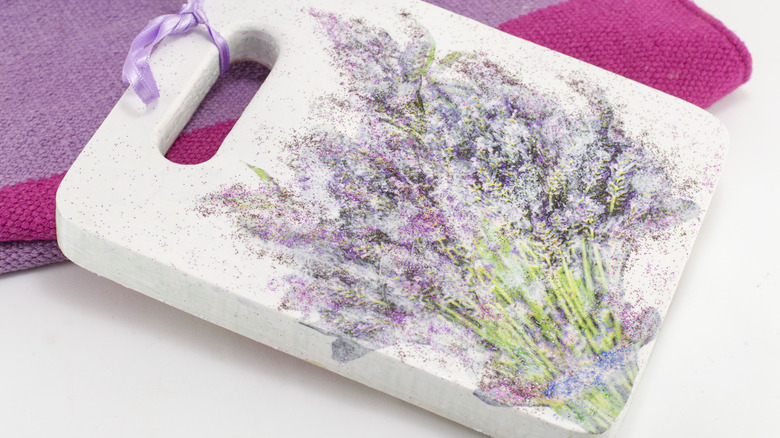
With their built-in grooves or juice wells acting as natural frames, these boards are ready to showcase your creativity. For example, Instagram DIYer tinalemac offers a creative approach by using decoupage with decorative paper napkins.
Add a custom design or decorative touch to the center, and you'll have a stylish, personalized accent that brings new life to your kitchen walls or backsplash. Simply separate the top printed layer of the napkin, cut out your desired motifs, and arrange them on the board. Once you're happy with the layout, apply a layer of decoupage glue to the board, press the cutouts into place, and finish with a few coats of glue on top to seal and protect your design.
Turning mini wooden cheese boards into chic kitchen wall art with decoupage
Whether the cheese boards have been hiding in your closet or on a thrift store shelf, the first step is to wash the boards with hot soapy water and allow them to dry completely. Using the juice wells or grooves as a guide, sand the middle so the paint will adhere well to the prepared board. If your board doesn't have any grooves or lines, you can create your own "frame" by taping off the edges, leaving a circular or oval shape in the center, depending upon the shape of the board. Then paint the desired background color in the taped or framed section. You may need a second coat, but be sure to let it dry completely before moving on to the next step.
The design you choose for the framed center is completely up to you, and inspiration is just a click away. Decoupage is a wonderfully versatile decorating technique, so don't feel limited to using napkins. You can easily substitute with fabric scraps, vintage newspaper clippings, greeting card illustrations, or even dried and pressed flowers to create a look that's uniquely yours.
To protect your walls or tile backsplash, consider displaying your artwork independently, or gallery-style, using adhesive strips or suction cup wall hooks. Just be mindful of placement; hanging them above the stove or sink could expose your designs to heat, steam, or splashes, which may cause wear over time. It may not be a celebrity kitchen design tip, but it's a beautiful way to decorate on a budget.