Prep School: How To Reverse Sear Steak
Before I talk about the reverse sear, I should talk about the regular sear.
Searing is the basic cooking process of applying high heat to the outside of foods to give them a golden-brown crust. Mostly we use it on tender meats, like steaks and roasts.
Why should you sear meat?
The reasons for searing are many:
-
A golden-brown crust on a steak or roast looks more appealing than a damp, gray exterior.
-
The toothsome texture of that crust provides a delightful contrast to the creamy tenderness of the interior.
-
The crust's flavor is decidedly different from that of the interior, offering a salty, charred taste that contrasts the sweeter interior meat.
-
The rich aromas of searing meat draw us to the table and make our mouths water—an important physiological reaction called trigeminal response. This makes us experience the meat as juicier and also aids in digestion.
One thing searing does not do is "seal in the juices." Mythical poppycock notwithstanding, the previously mentioned actual results of searing make it more than a worthwhile endeavor.
How does searing meat work?
Searing takes advantage of chemical processes known as the Maillard reaction. The process involves high heat and is similar to the caramelization of sugar, but it works on amino acids instead. Maillard reactions begin at temperatures in the high 200s, well above the boiling point of water. That's why we dry meat before cooking: If there's water in the pan and the temperature is below 212 degrees, the meat won't brown.
When cooking meat, most cooks sear first, either in a stovetop pan or a very hot oven. After achieving the crust, the meat is placed in a lower temperature oven until the interior reaches the desired temperature.
The problem with starting by searing
The problem with searing is that you've already cooked the outside of the meat to where you want it before the inside is done. As you cook it, the crust extends farther into the meat while the center is still coming up to temperature, which results in a band of dry, gray meat that falls between the crust and the pink center.
The solution
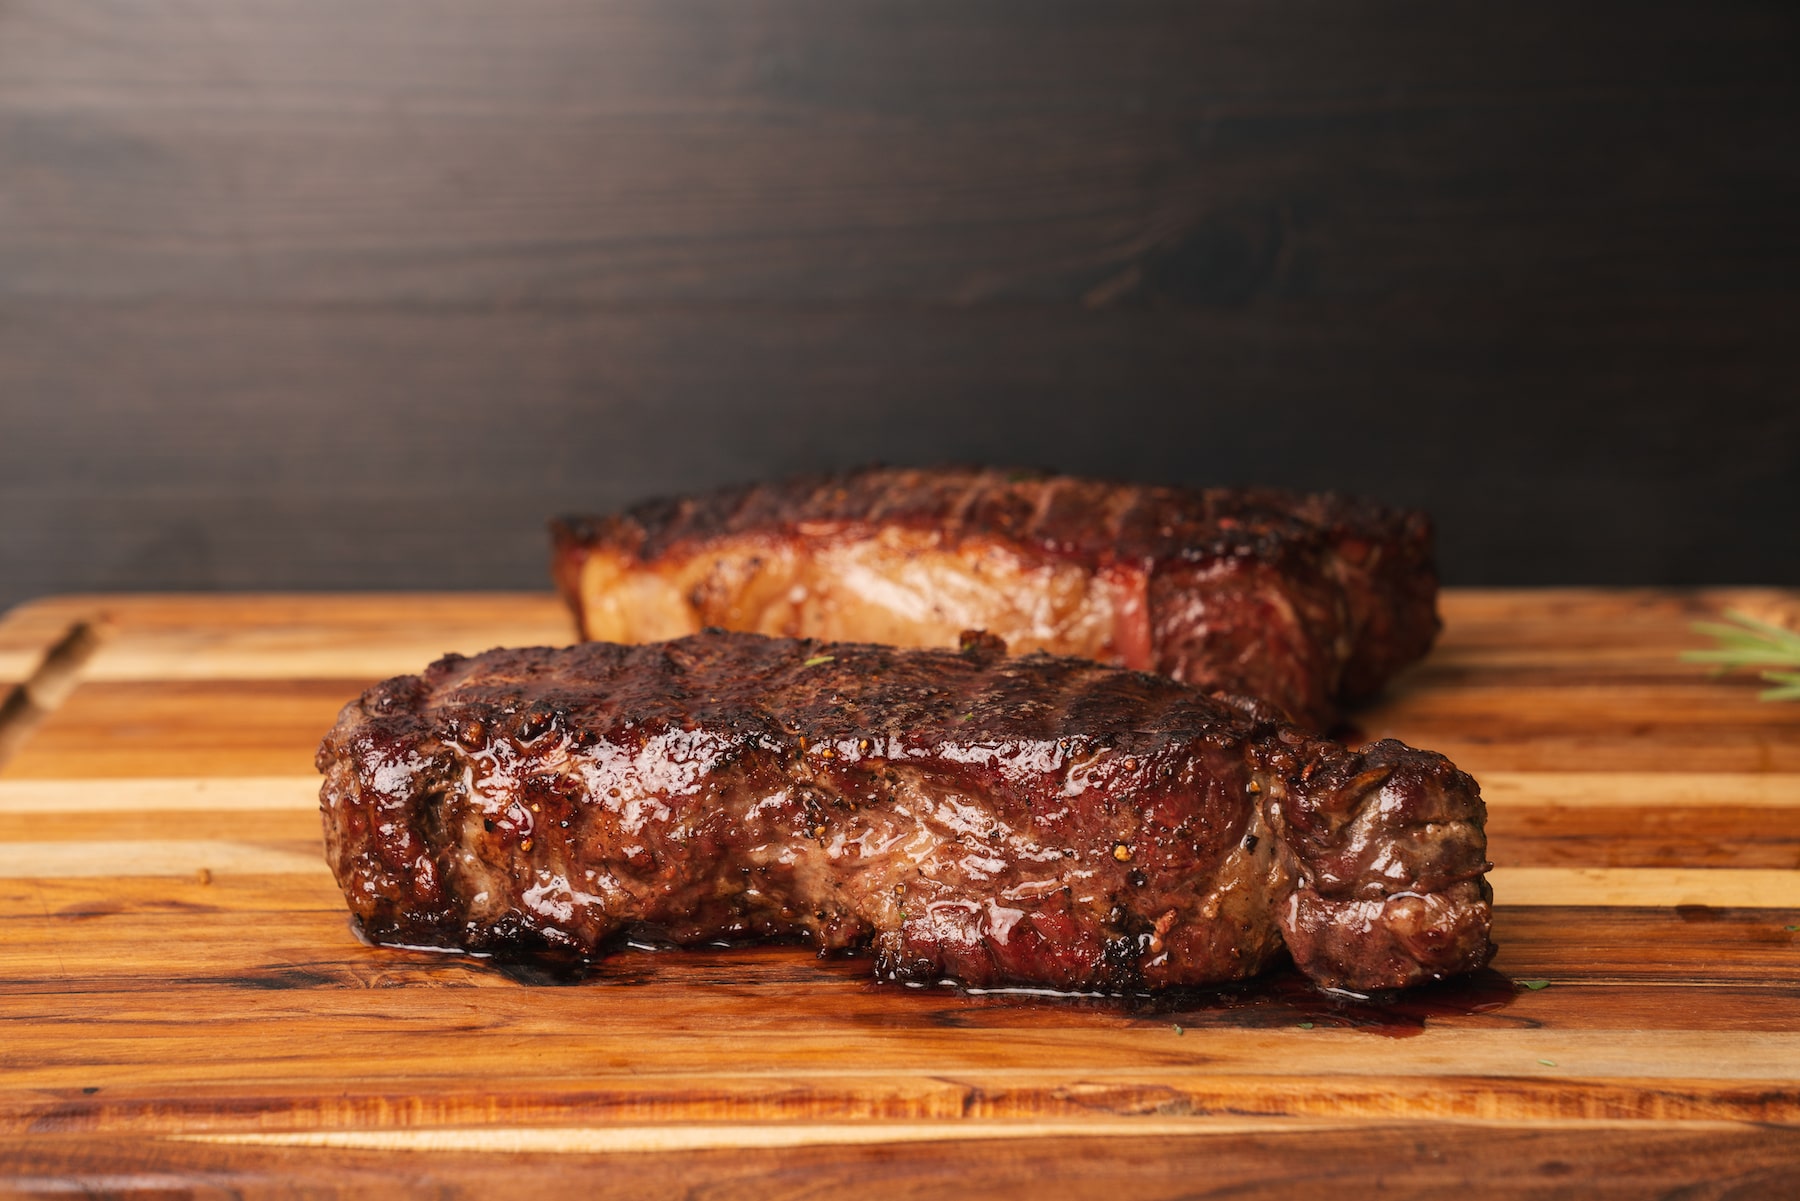
Imagine bringing the entire piece of meat from its raw state up to the desired temperature all at once. In other words, for medium-rare, imagine the entire steak or roast at 130F from end to end. Of course, it'd still look wan and damp on the outside — decidedly unappetizing. However, if you took that piece of meat and seared it quickly, you'd have a beautiful piece of meat that's golden brown on the outside while the entire inside is exactly the doneness you like. And that's the reverse sear.

How to reverse sear
Start with any roast or steaks that are at least 1 1/2 inches thick. Preheat your oven to 275F. Line a sheet pan with parchment paper and place an oven-safe wire rack on top of the lined pan. Place the meat on the wire rack and season it with salt and pepper or your favorite spice rub. Place the whole thing in the oven and roast it until the interior is about 15 degrees below your desired final temperature — anywhere from 30 to 50 minutes. Start checking the internal temperature with an instant-read thermometer after 15 minutes to get a sense of where you are in the process.
When the center reaches your target temperature, remove the meat from the oven. If you want, you can tent it and let it rest at room temperature for up to 90 minutes.
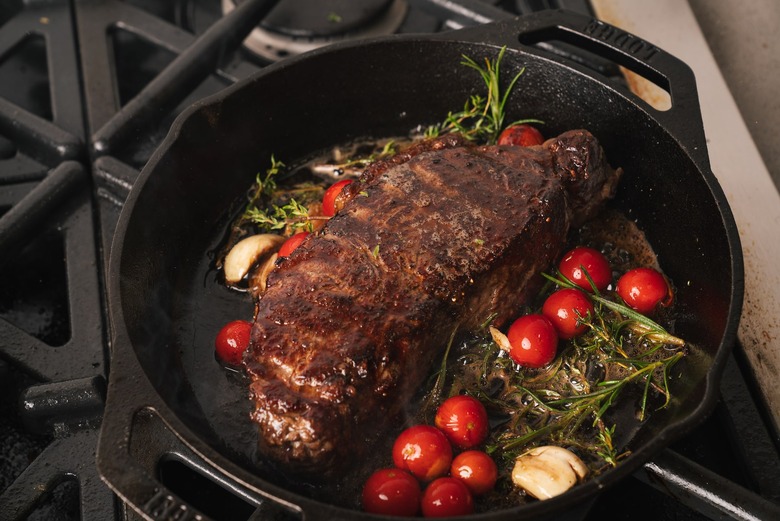
For steaks: Set a heavy bottom pan—cast iron is perfect—over the highest heat you can muster. When the pan is smoking hot, add a touch of oil and lay in the steak. It should take only 1 to 2 minutes per side to get a nice sear.
For roasts: Crank the oven to its highest setting—usually 500 to 550F. Place the roast in the oven until the outside is golden brown, about 10 to 15 minutes.
A note about times and temperatures: Remember, all equipment is different. Different ovens have different hot and cool spots. Different pans conduct heat differently. Thus, never expect perfection your first time out. Get to know the process, learn from your experiences, and make adjustments to your method.
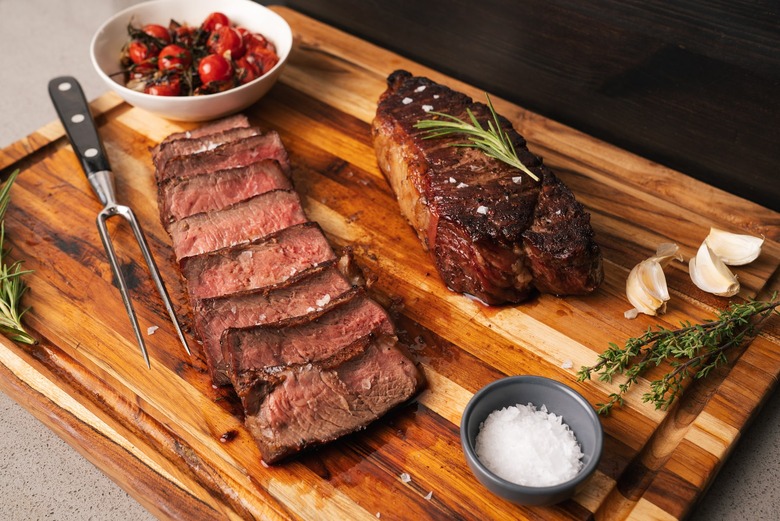
Garlic and Herb Reverse Seared New York Strip Steak
Now it's time to put all this knowledge to practice. This recipe will make you a believer of the reverse sear method. And while it says the tomatoes, garlic and herbs are optional, let's just say they are highly recommended.
For the Garlic and Herb Reverse Seared New York Strip Steak recipe, click here.
.