

5 Kitchen Appliances To Clean With White Vinegar
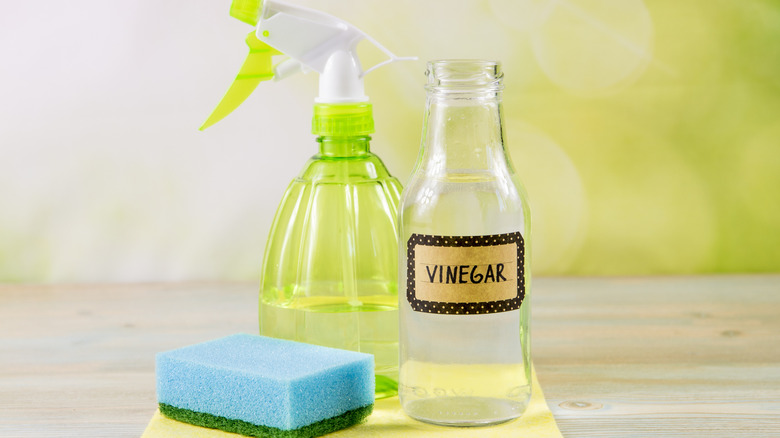
White vinegar is a kitchen staple, but it's not just for recipes — it can also come in handy for cleaning several kitchen appliances you use every day. Its acidity helps loosen mineral buildup and other kitchen grime, which is why you'll find it in cleaning instructions for everything from coffee makers to countertop ice machines. There's even some science behind why vinegar is such a useful kitchen cleaner, and the best part? It's probably already sitting in your pantry, and we know five places where you can apply it.
Not every appliance can handle a spray or a scrub with vinegar. Different materials, seals, and internal pieces have specific cleaning needs, and even appliances that vinegar works on may require a dilution or cleaning cycle. Before you start cleaning, soaking, or pouring, check the manufacturer's instructions for your specific model to make sure vinegar is safe to use. Once you're in the clear, grab your vinegar. Whether you're tackling mineral scale, cloudy film, stuck-on food, or baked-on grease, vinegar can give these five appliances a deeper clean.
Vinegar keeps mineral buildup out of your countertop ice maker
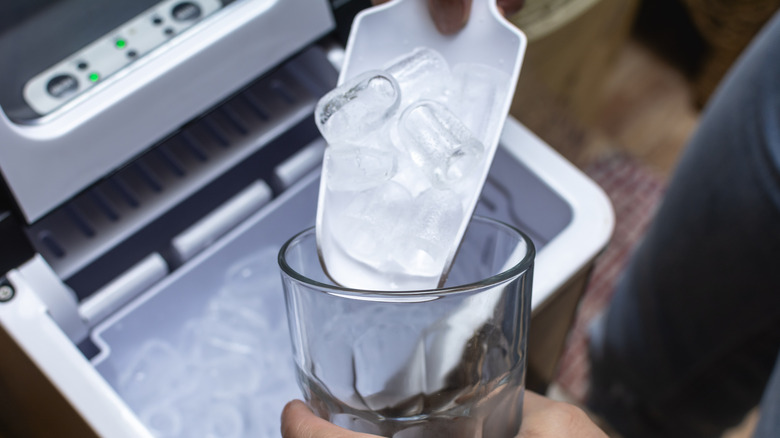
A countertop ice maker has so many advantages: no spilling water from ice trays, making nugget ice for drinks, or filling in for a freezer that doesn't make ice. But water continuously running through a small machine can leave behind more than just ice: Mineral deposits and other buildup collect quickly, resulting in cloudy ice, a musty smell, and slower ice-making.
White vinegar can get your ice tasting back to normal and give your machine a refresh. Mix equal parts white vinegar and water, pour the solution into the reservoir, and run the cleaning cycle. For heavier buildup, some manuals suggest letting the solution soak or running the cycle more than once. A vinegar-soaked cloth can clean the easy-to-reach areas like the ice chute and interior surfaces.
Once the scale is gone, rinse the machine two or three times to flush out any remaining vinegar. How often you need to repeat this process depends on the hardness of the water and how frequently you're using the machine. Look for visible white residue, cloudy ice, or slower ice production to signal that it's time to get out the vinegar.
Remove stuck-on food from your slow cooker
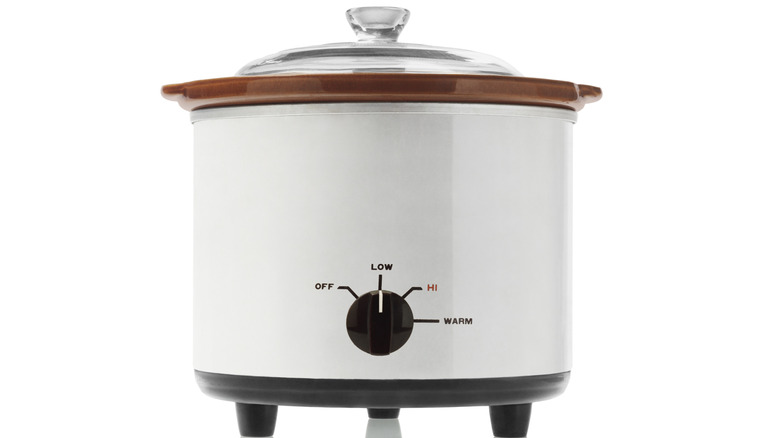
Your slow cooker does most of the work to get dinner on the table, but unfortunately, it doesn't take care of the cleanup. Sauces can leave a ring around the inner stoneware, and splatters that are repeatedly heated can take more than a quick wash or wipe to remove.
To get your slow cooker looking like it's new, fill it with water just above the food line, then add distilled white vinegar — 1/2 cup for a 3-quart cooker or 1 cup for a 6-quart model. Slowly add the same amount of baking soda, let the fizzing settle, cover, and turn it on low for one hour. After the hour, remove the lid and scrub any remaining residue with a soft sponge. Allow the slow cooker to completely cool, then wash with soapy water and leave it out to dry.
The removable interior gets this deeper vinegar treatment, but the heating base can get some surface-level care, too. To spot-clean grease or odors, use a cloth dampened with white vinegar, making sure the base is unplugged before you begin. Let both the insert and base dry completely before starting your next slow cooker meal.
Clear up a cloudy blender with vinegar
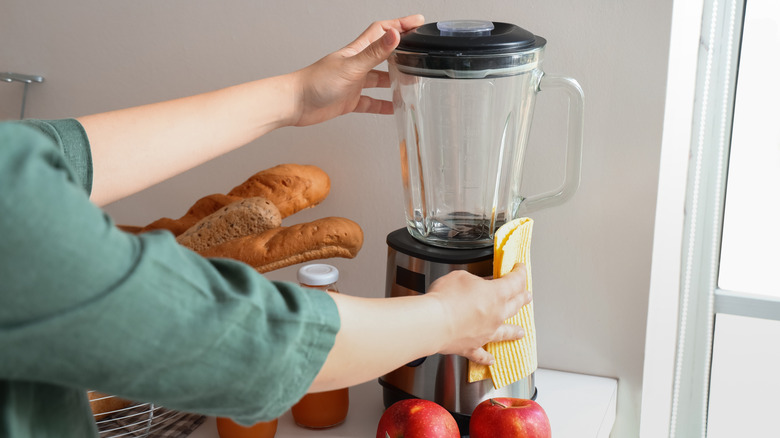
A blender can put in a lot of work, from smoothies and purees to sauces and blender pancakes, so it can be frustrating when the container starts to look cloudy, even when it's clean. Meanwhile, another round in the dishwasher or some elbow grease might not get the cloudy white film off, since the cause isn't always leftover food.
The cloudy haze can develop from minerals in fruits and vegetables as well as hard water. If you've ever dealt with stubborn spots on glassware, it's a familiar problem. To clear up the film, pour 1 cup of white vinegar into the blender container, add warm water up to the halfway point, and let everything soak for several hours. For an extra-cloudy container, an overnight soak can give the vinegar more time to work. Once time is up, empty the mixture and scrub away any remaining residue. So your next smoothie doesn't have a vinegar aftertaste.
If the cloudiness remains, it may not be buildup at all. Spices and grains can scratch some containers over time, and vinegar can't reverse permanent etches. Since this method is relatively hands-off, it's worth a try — as long as your model's care instructions approve of using vinegar.
Use vinegar on stubborn air fryer grease
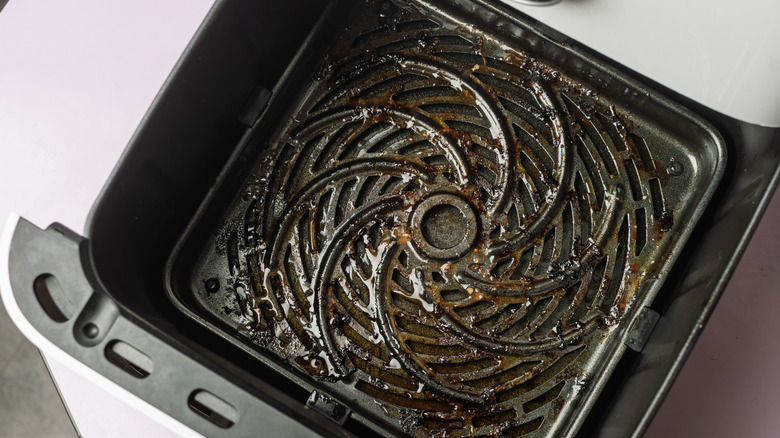
Air fryers are so useful for giving food a crispy exterior without the mess of deep-frying, but they can still collect plenty of grease. Oil, butter, and bits of food can end up on the basket, racks, walls, and other interior surfaces, where repeated heating can make buildup basically glue itself to the air fryer.
For everyday maintenance, warm water and dish soap are usually enough for the basket or tray. Some removable parts are even dishwasher-safe, making it a little easier not to skip the cleanup. But every so often, your air fryer might need more than an everyday clean, especially when crumbs fall to the bottom or grease has had a chance to harden.
For a deep clean, a soft cloth dipped in a mixture of water and vinegar can cut through this baked-on grease. For stubborn, cooked-on residue that's been sitting for some time, pretreat with vinegar spray — made by mixing equal parts vinegar and water — leave on for a few minutes, and wipe it away. For removable baskets with heavy buildup, soaking it in the same solution for about an hour can soften what's stuck on and save you some elbow grease. Once everything is grease-free, wipe any lingering vinegar and let the air fryer dry completely before putting it back to crisp.
Descale your coffee maker with white vinegar
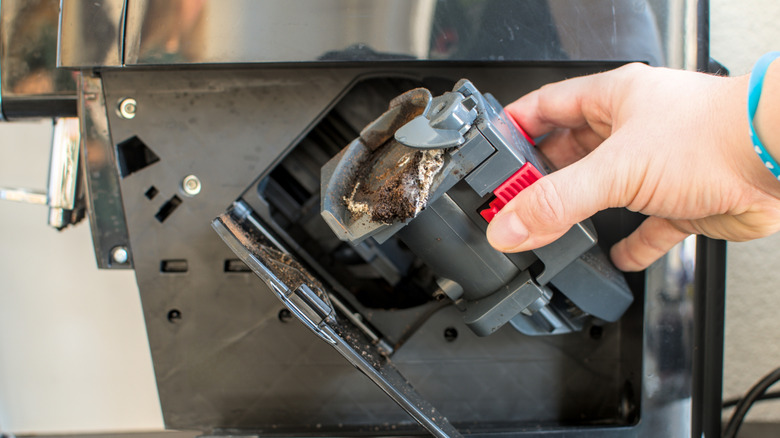
If your coffee maker has been taking longer to brew or your morning cup tastes different despite using the same beans, the problem may be inside the machine. Cleaning the carafe, basket, and filter should be done after every brew, but coffee oils and minerals can accumulate over time, especially in places that are harder to reach with a sponge. To keep your coffee tasting like the beans you used, your machine might need descaling.
The frequency of descaling will depend on your appliance, how often you use it, and whether you use soft or hard water. Using hard water typically means more frequent cleaning. Cues to watch for include longer brew times, a noisy pump, weak or sour-tasting coffee, or visible white flakes. Some modern machines have a descale light, signaling it's time to get out the vinegar.
The user manual should specify whether your machine allows white vinegar and the correct ratio to use. Some manufacturers recommend filling the reservoir with a 1:1 mix of vinegar and water and running a cycle, stopping the brew halfway. Let the solution sit for 30 to 60 minutes so the vinegar can penetrate the buildup. Finish the cycle, empty the carafe, and fill the reservoir with clean water. Run at least two water-only cycles, and keep cycling plain water through if you can still smell vinegar. Wash the removable parts with warm, soapy water and let the entire machine air-dry before brewing your next pot.