Chocolate Crème Sandwiches
Chocolate Crème Sandwiches
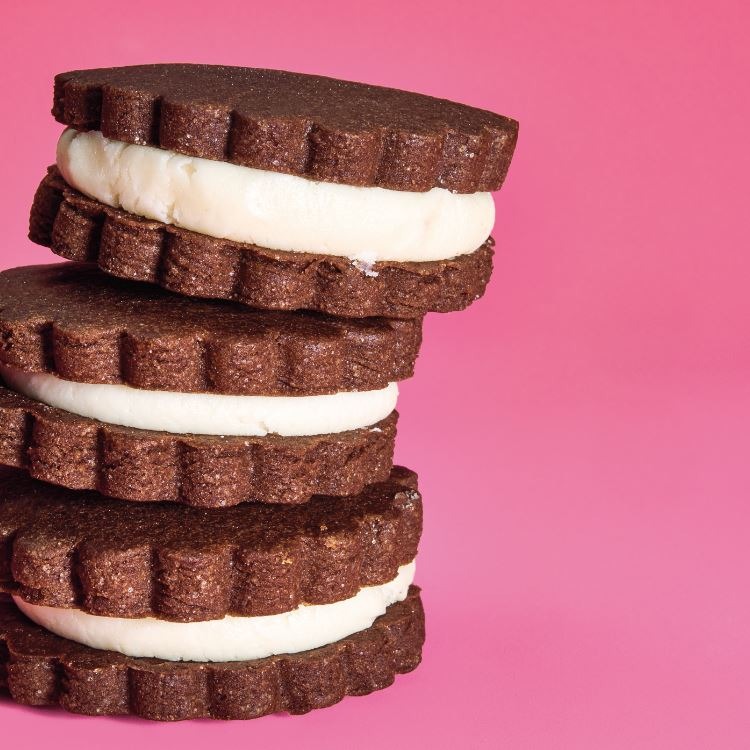
These are not Oreos, but they will no doubt remind you of them. Mine are a little less brittle and a little less sweet than the originals, but they’re just as snackable. Snackable, as in perfect for kids’ lunch boxes and as in just right for midnight.The dough for these cookies is a joy to work with: It doesn’t budge in the oven. Whatever size and shape you choose for the dough is what the cookies will be. I usually cut these with a plain 2-inch round cutter — however, because they are so well behaved, you can use a scalloped cutter or choose to make them a different size.The filling is just as variable. I’ve chosen classic vanilla, but you can flavor the crème with a small amount of peppermint, orange or lemon oil (start with a few drops and keep tasting), pure rose extract or espresso powder. You can also tint the filling. Although the filling doesn’t truly set, it is thick enough to play with, and can be doubled to make chubbier sandwiches.A word on cocoa: The darker the cocoa you use for these, the darker and more like Oreos your cookies will be. I use cocoa powder made by Valrhona; it’s very dark brown with hints of red. If you want an even darker color, you can use a combination of black cocoa (available online from King Arthur Flour) and Dutch-processed cocoa powder. As with all cookies, it’s the taste that counts. Because cocoa has no fat, it will never have the richness of your favorite chocolate, but it will give rich flavor to whatever you’re baking, so choose your cocoa as carefully as you choose your chocolate.Recipe excerpted from Dorie Greenspan’s newest cookbook Dorie’s Cookies. Click here to purchase your own copy.
Ingredients
- 2 1/2 cup (340 grams) all-purpose flour
- 1/2 cup (43 grams) unsweetened cocoa powder
- 1 stick plus 5 tablespoons (13 tablespoons; 6½ ounces; 183 grams) unsalted butter, cut into chunks, at room temperature
- 2/3 cup (134 grams) sugar
- 3/4 teaspoon fine sea salt
- 1 large egg white, at room temperature
- 1 teaspoon pure vanilla extract
- 3/4 stick (6 tablespoons; 3 ounces; 85 grams) unsalted butter, cut into chunks, at room temperature
- 1 1/4 cup (150 grams) confectioners’ sugar
- 2 teaspoon pure vanilla extract
- 1/4 teaspoon fine sea salt
Directions
- Whisk the flour and cocoa together.
- Working with a stand mixer fitted with the paddle attachment, or in a large bowl with a hand mixer, beat the butter, sugar and salt together on medium speed until smooth, about 3 minutes. Add the egg white and mix for 2 to 3 minutes, scraping the bowl as needed, until the white, which will curdle the mixture at first, is fully incorporated and the mixture is once again smooth.
- Mix in the vanilla. Turn off the machine, add the flour and cocoa all at once and pulse until the risk of flying flour has passed. Turn the mixer to medium and mix until you have a dough that holds together and forms clumps when pinched — it shouldn’t come together in a ball.
- Scrape the dough out onto a work surface and knead it until it comes together. Divide the dough in half and flatten into disks.
- Working with one piece of dough at a time, roll the dough between pieces of parchment paper to a thickness of 1⁄8 inch. Slide the dough, still between paper, onto a baking sheet — you can stack the slabs — and freeze for at least 1 hour.
- Getting ready to bake: Position the racks to divide the oven into thirds and preheat it to 350 degrees F. Line two baking sheets with parchment paper or silicone baking mats. Have a 2-inch-diameter cookie cutter (or the cutter of your choice) at hand.
- Working with one sheet of dough at a time, peel away both pieces of parchment paper and put the dough back on one piece of paper. Cut the dough and place the rounds on the baking sheets, leaving an inch between them. Gather together the scraps from both pieces of dough, re-roll them and freeze until firm.
- Bake for 12 to 14 minutes, rotating the pans top to bottom and front to back after 7 minutes, or until the cookies feel firm to the touch. Transfer the sheets to racks and allow the cookies to rest for at least 5 minutes before lifting them onto the racks to cool to room temperature.
- Cut and bake the remaining dough, using cool baking sheets.
- Working with a stand mixer fitted with the paddle attachment, or in a large bowl with a hand mixer, beat all the ingredients together on medium speed until smooth, about 4 minutes. The filling will look like cream cheese.
- To finish the cookies: Put a spoonful of filling on the bottom of half of the cookies. Top with the remaining cookies, bottom side down, and jiggle the cookies, twisting them in opposite directions, to spread the filling evenly. The cookies can be eaten immediately, although the filling will be soft and squish out at first bite.
- If you’d like neater cookies (with filling that will still squish, but less so), give the filling a couple of hours to set and firm a little, or chill the cookies for 1 hour.
- Storing: The rolled-out dough can be frozen, wrapped airtight, for up to 2 months. The dough can also be cut into rounds, wrapped airtight and frozen for up to 2 months; no need to defrost before baking. The filling can be made ahead and kept tightly covered in the refrigerator for up to 3 days. Once baked and filled, the cookies are best served that day, but they can be wrapped well and refrigerated for up to 2 days. The cookies are good cold or at room temperature.