The Affordable Way To Bake Fresh Bread Without A Stand Mixer
Kneading bread dough in a stand mixer takes all the manual labor out of preparing dinner rolls, crusty baguettes, and tender loaves. Plus, it's a much cleaner method because everything is contained within one bowl. Having said that, stand mixers can be an expensive investment if you aren't a prolific baker. Luckily, you can make no-knead breads — that have a longer fermentation time and use more water — instead.
The action of kneading bread dough is the key technique that develops the gluten inside the flour. When this gluten is worked, the dough becomes more elastic, resulting in a final bake with a better structure and crumb. However, with no-knead breads, you can achieve a similar result via a slow rise, known as "passive gluten development." These bread recipes, which feature all the ingredients found in regular doughs, such as flour, yeast, and salt, also include more liquid by design, which creates an initial mixture that's sticky and loose versus smooth and elastic. When coupled with a slow, overnight fermentation, these high-hydration doughs produce breads that have a light and airy crumb and are effortless to prepare.
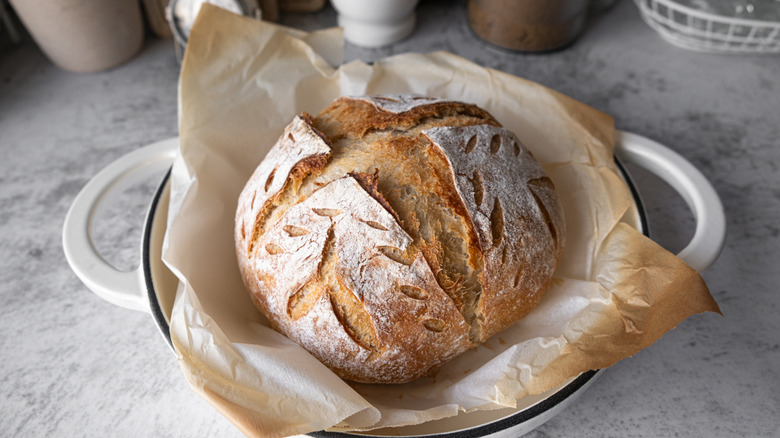
For instance, in this recipe for no-knead sourdough, the dough is simply allowed to rise for up to 18 hours and gently shaped into a ball before it's baked in a pre-heated Dutch oven. Similarly, these no-knead water-rising twists are shaped and twisted into lengths after the wet ingredients are combined with the dry ones and allowed to double in size.
How to make no-knead bread dough
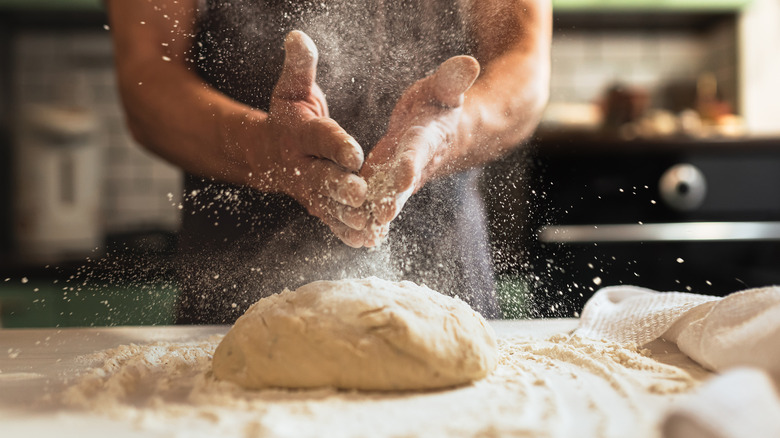
To make a basic no-knead bread dough, combine your flour, salt, and yeast in a bowl. Then, pour in your water and stir everything together to create a very wet mixture. Cover and allow to rise for several hours (preferably in the fridge overnight) so the gluten proteins can naturally form bonds and create a flexible dough that results in a final loaf that has an airy crumb and malty flavor. Once your mixture has risen, gently release it from the sides of the bowl and stretch and fold the edges into the center, rotating the bowl each time. Continue folding and rotating until the dough looks smooth before upturning it onto the counter and shaping it. At this point you can allow it to rest for another 10 minutes so the gluten inside can relax. Place the dough in a preheated Dutch oven, clamp on the lid, and bake (feel free to remove the lid for the final few minutes so the crust can develop a golden color).
After 45 minutes (including 15 without the lid) at 450 degrees Fahrenheit, you'll have a crispy, delicious homemade loaf of bread. Just be sure to wrap any leftover bread in a cloth bag instead of plastic to hamper mold growth. After all your patience, you'll want to maximize its shelf life.