14 Toast Hacks You'll Wish You Tried Sooner
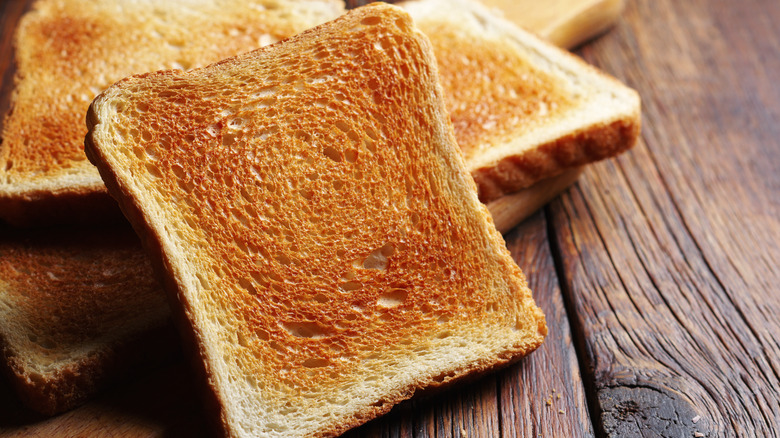
The majority of Americans get through a loaf of bread weekly, with over 80 million people in the United States consuming two per week, according to Statista. And if it's being eaten at breakfast, it'll likely be in toast form. Toast can be as simple or as exciting as you wish to make it, depending on what you're topping it with. Not only does toasting bread improve its texture, giving it a crunchy exterior that gives way to the still-soft bread on the inside of each slice, but it also adds flavor, thanks to the Maillard reaction caused when the dough is heated, resulting in its brownness.
But it can be surprisingly troublesome to make the perfect slice, with the bread frequently burning, becoming soggy, or getting an inadequate brownness in the toaster. In this article, we focused on finding the easiest hacks using everyday kitchen items and appliances to showcase ingenious ways to avoid common mistakes or issues with your toast. We sourced some of our favorite ones from other toast enthusiasts' TikTok and YouTube videos, collected information from scientific studies, and took inspiration from professional chefs — all in an attempt to make your toast and what you make with it as delicious as possible.
1. Use your oven rack to make toast for a crowd

Unless you have an industrial-sized toaster, making it for more than a few people can be tough. By the time you've toasted your last batch of slices, the ones you started with can be cold and brittle. Trying to keep them warm or re-toasting them, however, can make them dry out or become overcooked.
Luckily, you can make a batch of toast in no time using your trusty oven, as a TikTok from America's Test Kitchen shows. All you have to do is shift the vertical positioning of your oven racks so that they're pretty close together and then pop a baking sheet between them. Slot your pieces of bread in the above rack so that they stand vertically, their bottom sides resting on the baking sheet. Turn on the oven and bake them until perfectly browned.
@testkitchen This easy oven hack gives you enough toast for a crowd in no time. #toast #howto #kitchenhacks #easyrecipe
This hack allows you to toast as many pieces of bread as you can fit in your oven, and the circulating heat inside the appliance means that every side cooks evenly. It also means you won't end up with some pieces of toast that are better cooked than others. After turning off your oven, it doubles as a holding rack, allowing the pieces to cool slightly without getting moist.
2. For easy buttered toast, use a vegetable peeler
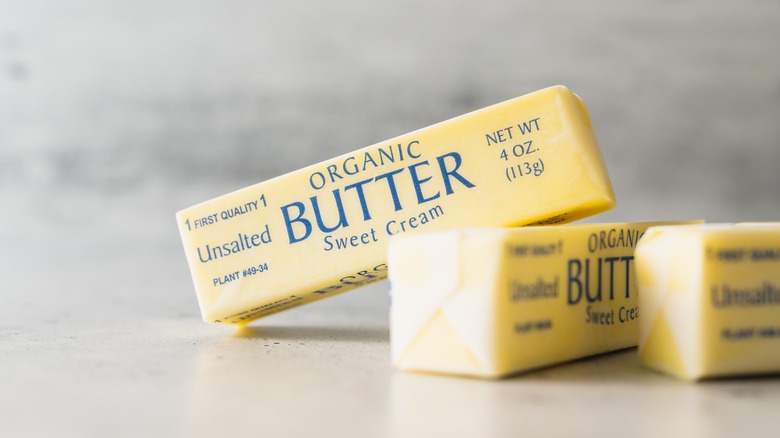
A stick of soft butter over crunchy toast is a taste and texture sensation, but pull your butter out of the fridge too late, and you'll run into trouble. The butter needs to be about 65 to 67 degrees Fahrenheit before it's truly softened. While it's possible to spread before then and can be warmed quickly by the heat of your toast, dealing with pieces of butter that are too thick or a stick that's too cold to work with can tear up your bread and ruin your breakfast.
But an easy TikTok butter hack can solve this toast issue. Instead of using a knife to cut into your butter, use a vegetable peeler to pare off as many slices as you need. Using a peeler gives you wafer-thin pieces of butter that come up to a spreadable temperature in no time and won't destroy your toast. The sharpness of the peeler means that this is effective even with butter that's just come out of a cold fridge. As an added bonus, this utensil also keeps your stick of butter aesthetically pleasing instead of looking like it's been hacked at with an ice pick.
@laurentokk Never stress over cold butter again😌👌🏽 #lifehack #butter #kitchenhack #yourewelcome #fyp #JustDanceWithCamila
♬ Renai Circulation (English Cover) [2012 TV Size] – Lizz Robinett
3. Tent your toast to stop it getting soggy
Even the least confident chefs can likely make toast — but even the most experienced ones can't avoid theirs getting soggy sometimes. Toast becomes soggy when moisture forms between the warm underside of the bread and the item it's served on. The hotter your toast is, and the less porous your serving surface is, the more moisture will form.
While toast racks can solve this issue somewhat, not everyone has one. The solution, though, is to practice your house of cards skills with a simple cooling hack. Instead of placing your bread flat on your plate, stand your pieces upright and balance them against each other, making a tent shape. The heat and steam from the toast will escape upwards instead of pooling underneath it, leaving you with bread that's crunchy on both sides.
This hack is particularly useful if you need to free up toaster space for the next batch of bread but not planning on eating your toast immediately. Remember, though, that if you're just making toast for yourself, there might be an easier way to avoid it getting moist. Once your toast has finished cooking, leave it in the toaster until you're ready to eat it. The upright position will allow steam to escape, while the residual heat from the toaster will keep it warm.
4. To make the perfect toast, set a timer

Some people go their whole lives without mastering toast. In truth, though, the key to getting it just right is by getting seriously specific with your timings. A group of scientists led by consultant food researcher Dom Lane undertook a thorough study on Daily Mail that involved toasting 2,000 slices of toast in the pursuit of finding the ideal time, heat, and type of bread for the perfect toast. Lane and his team found that to get the optimum mid-brown color that gave the best balance of crunch to softness, bread should be toasted for exactly 216 seconds.
However, this result only occurred if every other component of making the toast was just right. The 216-second time works best in a 900-watt toaster set to a medium-high temperature. Your bread should also have just come out of the fridge, made with a pale dough and, ideally, seeded. To reduce sogginess and keep your bread at the right temperature, your toast should be served on a warm plate. Lane topped it off by instructing that you should butter your toast as soon as it's finished cooking to get the ideal melt on your fat.
5. Toast your bread on one side for perfect sandwiches
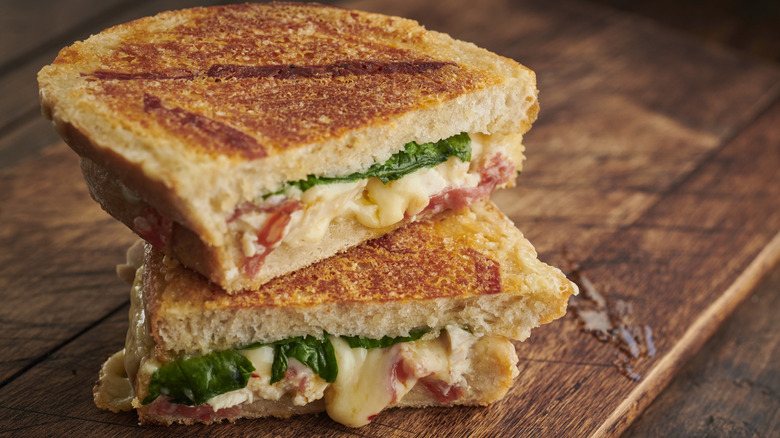
Using toast to make sandwiches is a next-level move that also provides some structural advantages. Bread becomes stronger when it's toasted, and using toast makes your sandwich less likely to fall apart. This is particularly useful when using clunky ingredients that threaten to overpower your bread or slices that are especially flimsy or soft.
However, using toast can come with its own drawbacks — mainly that it can make your sandwich too rigid and scratchy. So why not have the best of both worlds? "I like to toast my bread on one side and then build my sandwich with the toasted side on the inside," says HaiSous owner and chef Thai Dang via Time Out, revealing his sandwich toast hack. "This prevents the sandwich from getting soggy, but it also prevents the roof and bottom of your mouth from getting scratched up due to the crusty toasted side. You still get nice texture from bread and toasted side." This can be difficult to do if you're using a regular toaster, so we would recommend using your broiler to toast your slices.
6. Use a coffee warmer for small pieces of toast

If you're using small pieces of bread to make toast or are toasting a bagel or muffin, using a full-size toaster to do so can seem frivolous. But by employing a coffee warmer toast hack, you can cut down on energy use and make your toast in a novel way. Your coffee warmer on your drip coffee machine can be used to toast bread and, given enough time, gives your toast a uniform, satisfying crust. It's worth pointing out that using a coffee warmer will take quite a bit longer than a toaster will, and you may need up to 20 minutes to get a proper toasted edge — but it's a great set-it-and-forget-it method while you're working on your other breakfast items.
Bear in mind, though, that using a coffee warmer comes with a few issues. Without sufficient pressure on the top of the bread, the toast can come out uneven. It's best to use sturdy pieces of bread that have densely packed dough, upon which you can place a weighted object to press the bread onto the heat. Additionally, coffee warmers can sometimes wear away over time or become stained with old coffee drips. So, to avoid giving your bread a strange flavor, place a piece of foil between the bread and the metal.
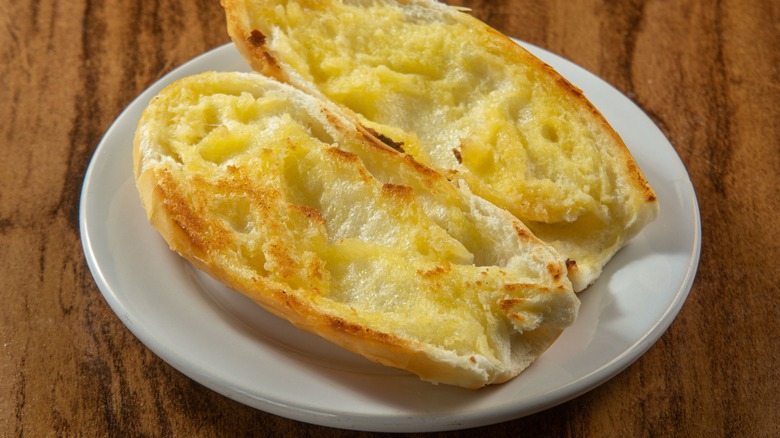
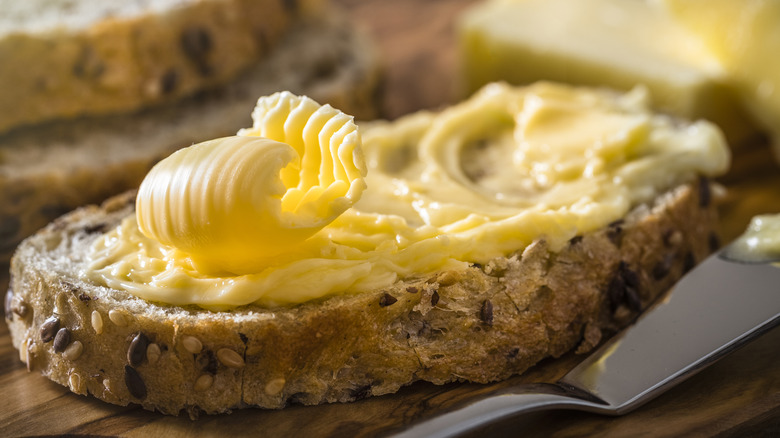
7. To melt your butter fast, grate it onto your toast
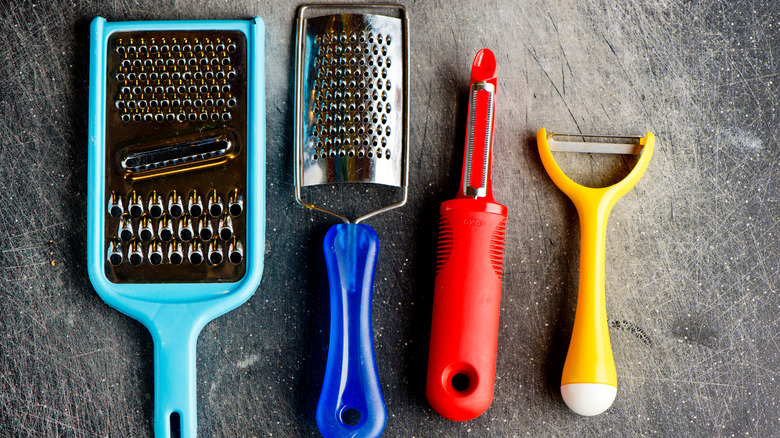
If you're sick of waiting for butter to warm up so you can spread it on your toast, you can use a cheese grater to create perfectly spreadable butter in mere seconds. All you have to do is grab your stick of butter and grate it directly onto your toast. Because the pieces of butter that come out are so small, they soften pretty much immediately on your warm toast, making spreading them a breeze.
This hack is best performed when your butter is at its coldest, as otherwise, it will start to lose its shape and become hard to grate. It's also important to pick your grater carefully. While box graters work well, the pieces they produce can be a bit clunky and can be difficult to angle over the toast. The best solution is to use a Microplane grater. These graters are made with extremely small holes to provide a super-fine grate and will allow the butter to melt in mere seconds.
8. For a perfectly-toasted baguette, fire up your oven
While baguettes are known for their crusty exterior and feather-soft dough, this can sometimes create too much texture contrast. Toasting the inside of your baguette helps to firm up the dough, making the whole thing pleasing and crispy and allowing it to retain its shape better when adding toppings.
But toasting a baguette is near-impossible with a standard toaster, as their shape makes it hard for them to fit in the thin slots. That's why you should use your oven. Cut your bread into the size you require, and then down the middle lengthways. Then, place it on a baking sheet, with the open side up, and light brush it with olive oil or a smear of butter. Pop them in an oven preheated to 400 degrees Fahrenheit for around five minutes, and you'll end up with the ideal mid-brown color, while the inside will remain soft and warm.
Remember, though, that this can use a lot of power for a single sandwich. So, if you want to keep things a bit more modest, you can also place your halved baguette under a broiler for a few minutes. Just ensure that the dough isn't making contact with the hot broiler, as this can cause it to burn fast.
9. Use an air fryer for lightning-quick toast
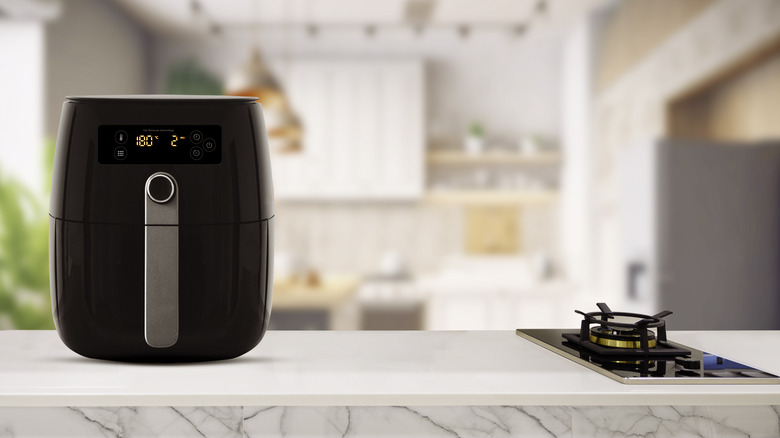
Toasters tend to have a life expectancy of around 5-10 years, but there are a number of things that can hasten their breakdowns, like a build-up of crumbs or corrosion. So what do you do when your toaster fails you, but you're craving some crunchy bread? Grab your air fryer if you have one. Air fryers are great for making toast as the hot air can circulate around the bread on the rack, meaning you don't have to flip the pieces halfway through. It's a particularly good choice for odd-shaped pieces of bread that might stick out of your toaster, making equal toasting a challenge.
Just pop your slices in your air fryer basket and set the machine to 400 degrees Fahrenheit. At this temperature, you'll get perfect toast in around three minutes. As most air fryers are pretty small, you might find that you can only toast a few pieces of bread at a time. Additionally, remember that while this method might be novel, you should only really be using it when your toaster is out of action, if possible. Air fryers use more energy than toasters, and therefore, using one to toast bread will expend more electricity.
10. For better toast, use stale bread
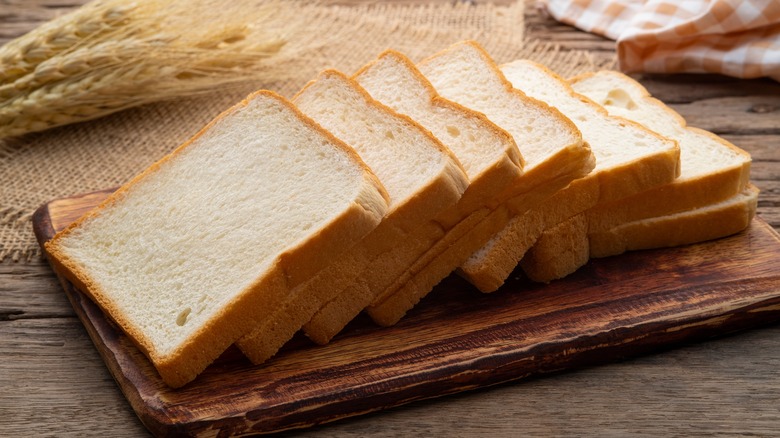
All bread has some degree of moisture, and when it's soft, this moisture sits in the dough's starch molecules. But as time goes on, the moisture disperses throughout the bread as these molecules recrystallize. This process is what causes your bread to go hard and stale. While this can usually render your bread totally useless and destined straight for the trash can, it actually improves its ability to toast.
Slightly stale bread is more rigid than the fresh kind, and this rigidity means that after toasting it, you end up with a slightly crispier result. This can be particularly useful if you're using softer bread with a higher water content, which may not firm up as much in the toaster as a slightly harder loaf; wait for it to go a little stale before toasting it. The heat also works to revive the bread somewhat, meaning that you're not just ending up with an overly dry piece of toast, as it will soften again on its inside. Stale bread is also great for making croutons, bruschetta, or any other recipes that require especially hard, dry pieces of toast.
11. Leftover toast? Make it French
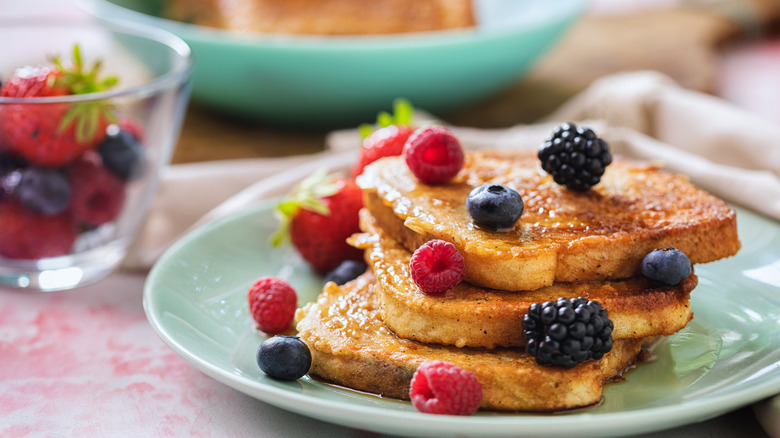
A piece of toast can be hard to revive once it's gone cold and hard. And all too often, these pieces end up being thrown straight into the trash can. But rather than waste your bread, give it a new lease of life by turning it into French toast. Take your day-old toast and soak it in your custard mixture before frying it.
Using leftover toast for French toast is ideal, as it has the ideal consistency to withstand the custard. While regular bread can disintegrate when soaked in the egg and milk mixture, day-old toast is dry and hard enough to soak it up while maintaining its shape. What this leaves you with is an exterior that's moist and juicy and an interior that is soft but retains its bite.
If you don't have any leftover toast, you can also whip up a batch specifically to use in French toast. Aim for a lightly toasted consistency to minimize any chance of burnt flavors getting into your food. When using toast to make French toast, make sure that the bread has completely cooled before dipping it into the custard. This will give any excess moisture or steam a chance to escape, so it doesn't get overly soggy.
12. To soften your butter for toast, use steam
If you're making toast for a crowd, being prepared with your toppings is essential to ensure that the toast doesn't cool before your guests have a chance to start spreading. But butter can present a real problem here. If you don't take your butter out of the fridge early enough, it will remain hard, making it difficult for everyone to take a portion.
Softening a full stick of butter can be done near-instantaneously, though, using steam and residual heat. Take an empty metal bowl and pour hot water from a recently boiled kettle into it before pouring it back out immediately. Place the warmed-up bowl over your stick of butter and leave it there briefly. The heat from the metal and leftover steam will permeate the butter quickly, softening it fast without melting it. Once removed, your butter should be easily spreadable. This method is much easier than softening butter in the microwave, as this can reduce it to a melted pile of fat in mere seconds — which may be useful if you're making a dessert but less useful for spreading on toast.
13. For awkwardly-shaped pieces of bread, use your skillet
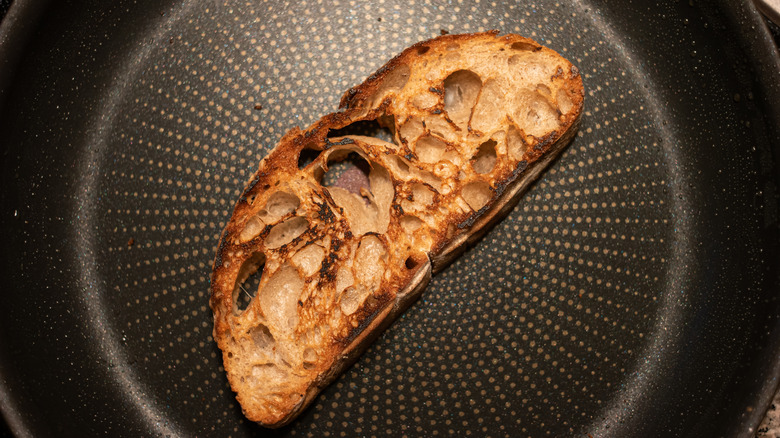
The majority of toasters come in a standard shape, with a square or rectangular slot for your slices of bread. But while that may work for a basic sandwich loaf, it's less helpful if you're trying to toast a ciabatta, burger bun, baguette, or a long, narrow slice of sourdough. When your bread doesn't fit into your toaster slot, you risk ruining its shape or potentially burning it when you shove it in or getting an unevenly-toasted slice by having some poke out of the top.
The best thing to do in these situations, though, is to abandon your toaster entirely and use your skillet. Warm up a skillet on your stove, and place your bread onto it, leaving it for a few minutes to brown until flipping over. While you can add butter to your bread before doing this, it's not necessary, especially if you're using a nonstick pan, which will prevent your bread from sticking to the skillet's surface. This method also allows you to keep a close eye on the level of toasting on your bread, avoiding the need to pull it out of the toaster to check it.
14. To keep toast crispy on the go, grab a paper towel

Eating a toasted sandwich is a delightful experience, but trying to keep one fresh is another matter. When you try to make a toasted sandwich in advance, the condensation that can be produced by the toast's heat can quickly turn it soggy. This is especially likely to happen if you're placing it in a sealed container, like a lunchbox, where steam and moisture will collect fast.
A quick hack, however, is to wrap your sandwich in a paper towel before putting it in your lunchbox. The paper towel will wick away any excess moisture, keeping your slices of bread crisp. Remember that this will only work if you're starting with toast slices that are completely cool, as placing a warm sandwich in a paper towel will cause the towel itself to become wet. It's also important to try and limit moisture elsewhere in your sandwich by using dry ingredients as much as possible, as the bread will suck up any moisture present. If you have wet ingredients, like tomato or cucumber slices, store them separately and place them into your sandwich just before you eat it.