14 Ways To Use A Food Processor You've Probably Never Thought Of
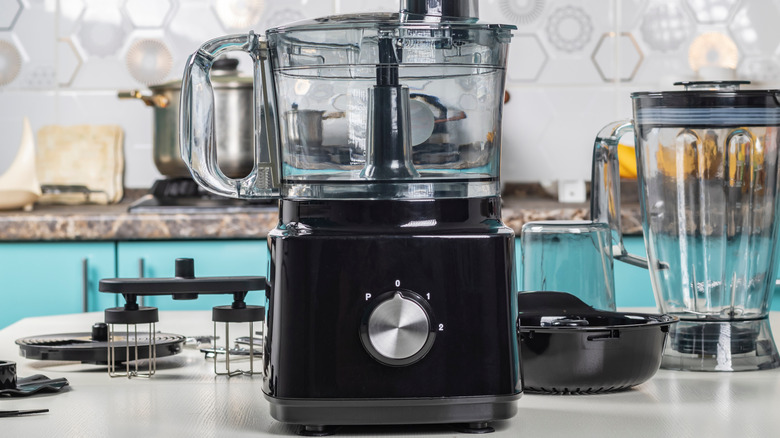
When was the last time you used your food processor, and what did you use it for? If the answers to these questions are "a while ago" and "blending food," you're missing out. Food processors can be used for so much more than merely mixing things. These ingenious appliances can grind, mince, purée, knead, grate, and shred, and it's likely you're not using yours to its full potential.
Virtually any food can be passed through a food processor, and oftentimes, doing so can give you the result of a manual task way more quickly. Cheese, for example, is a natural fit for food processors, and grating it in the appliance allows you to skip your box grater. You can also use your food processor to break down various ingredients into even finer particles, opening up your cooking game hugely. Various doughs, too, can be whipped up in the processor, either by using a different attachment or simply by tumbling your ingredients in and pressing start. In fact, whole recipes can be made in a food processor — if you've never thought of making ice cream or your energy bars in your humble countertop gadget, today's the day you start.
1. Make your own gluten-free flour
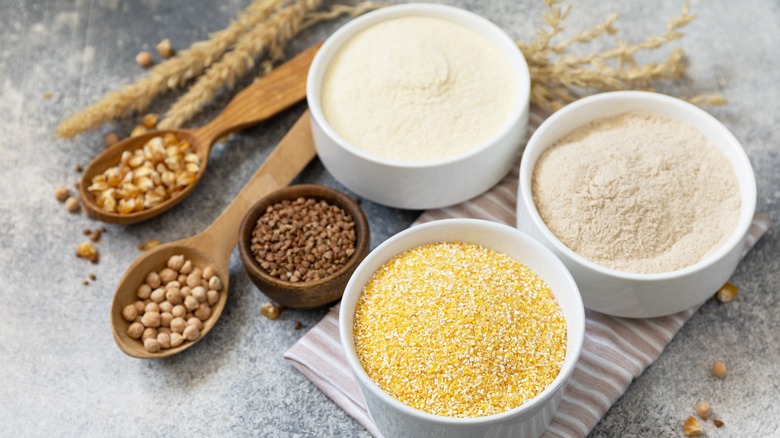
Gluten-free flour used to be the sole province of health food stores, but nowadays, almost everyone has access to it. If you don't, though, you can make it at home using your food processor. The grains that go into gluten-free flour blends, like quinoa or sorghum, can be easily pulverized in your appliance, breaking them down almost immediately into a fine consistency. Using this method is particularly useful if you're trying to obtain a fairly niche flour that isn't widely available in stores, but you can find the base grain for it.
Food processors are especially useful for making oat flour, and doing so couldn't be simpler: You simply put your oats in your machine, press start, and wait. It can be useful to stir the mixture a few times, to make sure your oats aren't clumping or that individual oats aren't left whole. You can also use your food processor to produce a blend of different flours by breaking down grains at the same time. Doing this can ensure that the individual components are incorporated fully and that every particle is broken down to the same size, making your flour easier to use and giving it a better texture.
2. Whip up homemade peanut butter in minutes
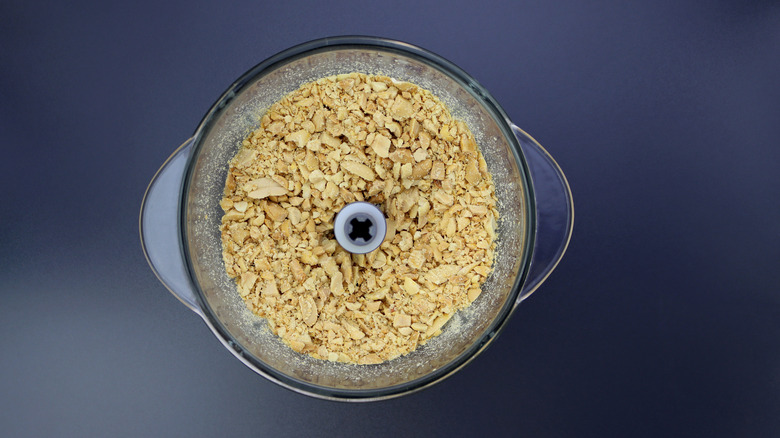
Store-bought peanut butter is convenient, tasty, and affordable, but we can understand why you might want to give it a miss. These products can often be heavily processed and contain added ingredients like sugar, salt, and hydrogenated oils, which affect both their flavor and their nutrition. Luckily, you can easily make peanut butter at home using your food processor. Doing this requires nothing more than the appliance, some peanuts, and a few minutes of your time.
Simply add your nuts to the machine and blitz them. You'll need to work in short shifts here: Every minute or so, stop your processor and scrape the nuts back down to ensure an even consistency. It's best to use dry-roasted, unsalted peanuts, which will give you the best flavor while allowing you to control the salt levels in your spread.
The most important thing when making homemade peanut butter is to keep the faith. At first, it won't seem like your peanuts will break down to a smooth enough consistency. As they're processed, though, they release their natural oils and make the peanut butter gloriously glossy and spreadable.
3. Produce your own powdered sugar
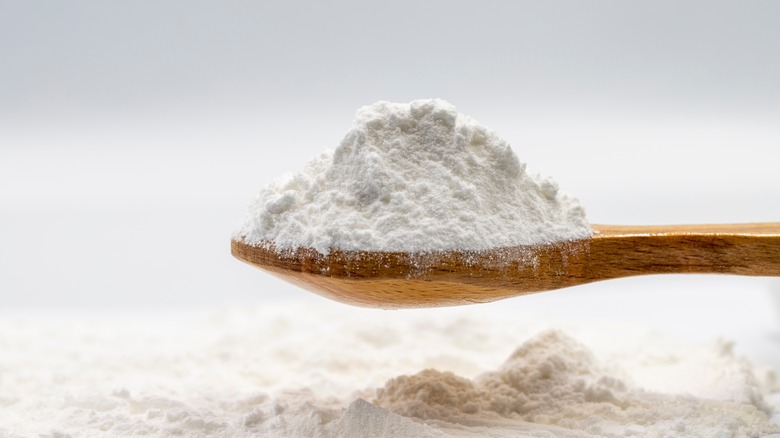
Powdered sugar is a standby for any baker, whether you're making cream cheese frosting to top your cakes or dusting your donuts. However, it's one of those ingredients that often sits in the back of the cupboard until you're ready to use it, making it harder to keep track of how much you have. If you've reached into your pantry to find that you don't have enough, the good news is that your food processor can break down regular granulated white sugar into powdered form easily and quickly.
You'll need to remember to add one key ingredient here: cornstarch. Cornstarch contributes to the sugar's powdery quality and works as an anti-caking agent, helping to keep it free-flowing and the particles distinct from one another. Cornstarch also helps the powdered sugar become smooth and dense when used in icing and frosting recipes. If you don't have cornstarch, you can use an alternative starch instead — potato starch is a good replacement. Breaking down your sugar particles can take a few minutes, and you may need to gently ease the mixture back into the bottom of your machine periodically to ensure the blades are working each piece. To check whether it's the right consistency, feel a little between your fingers and thumb: If it feels gritty or coarse, it needs some more time.
4. Use your food processor to make ice cream
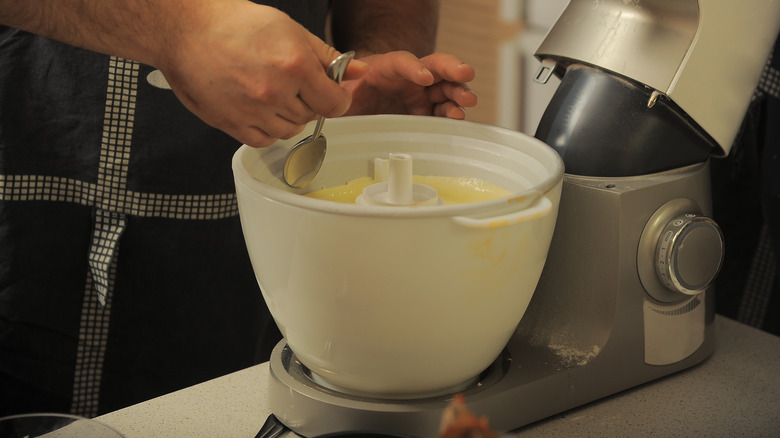
We're just gonna say it: We're sick of buying ice cream. Not only does it put a dent in your wallet, but it's all too easy to eat it in one go — and then what are you to do when you want your fix, and there's none in the freezer? You bust out your food processor. As well as your ingredients, you only need an ice cube tray to make homemade ice cream in your food processor, and the process takes barely any time at all.
You begin by pouring your ice cream mixture into your ice cube trays and freezing until it's completely solid. Then, pop the cubes of frozen mixture into your processor and whizz it all up. The cubes will break down and meld together, producing delicious, scoopable ice cream, which you can then decant into a different container and refreeze before serving. The reason this trick works is that freezing your mixture beforehand allows it to stay cold while it's mixing, a key factor in making sure your ice cream remains dense and smooth. The food processor's blades also imbue the mixture with air, giving it a scoopable consistency.
5. Mix up a quick pie crust
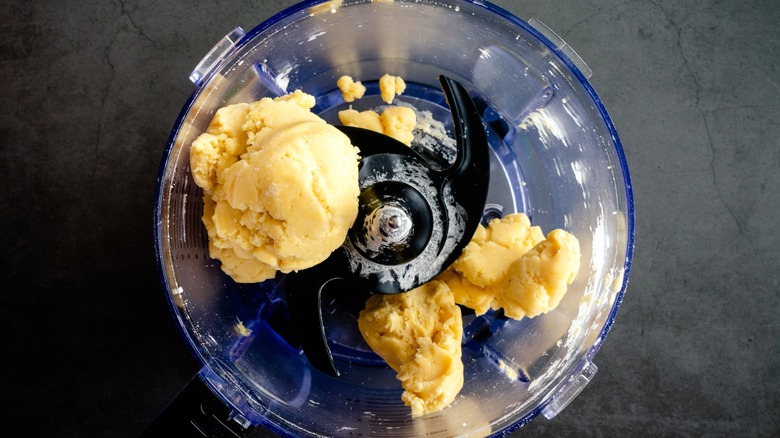
Rolling pie crust can take a long time, but it's normally the price you have to pay if you want a rustic-looking, homemade-tasting crust. Thankfully, with a food processor, you don't need to pay that price at all. A quick, flaky pie crust can be whizzed up in no time by first combining your dry ingredients with your butter and pulsing them together and then pouring in your water. The speed of your processor means that the ingredients incorporate quickly, saving you the hassle of bringing it all together by hand.
For the best pie crust, you'll need to keep an eye on your temperatures. Your butter and water will both need to be as cold as possible. The coldness helps keep your crust flaky when cooked, instead of dense and chewy. Luckily, this is where using a food processor makes things easier: The blades of your appliance will break down the cold butter way better than your hands. Additionally, make sure that you add your cold water slowly, instead of dumping it all in at once. Doing the latter can result in uneven integration and leave you with a dough that's got clumps of flour in it.
6. Use it to grind your meat
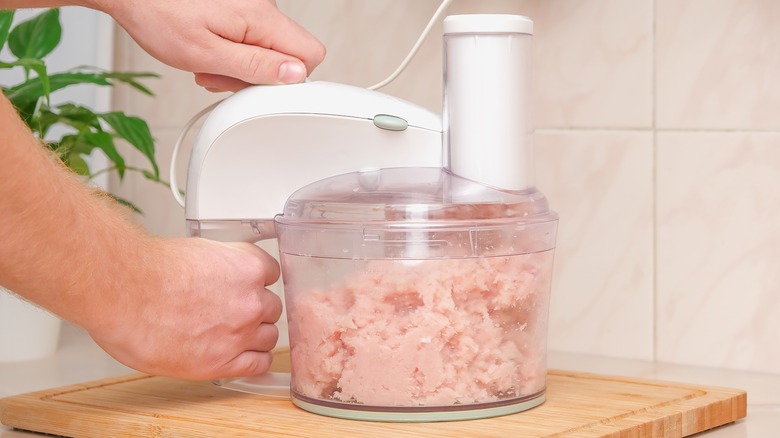
Everyone knows that meat goes off quickly, and once it's in your kitchen, you need to cook it fast. If you've got meat that's just about to go bad, though, don't throw it out: Grind it using your food processor. Doing so is easy and saves you from having to go out to buy pre-ground meat, instead allowing you to repurpose what's already in your fridge. It's also a great trick for when you can't find a certain type of ground meat but can find larger pieces (like chicken or turkey) or when you want to create your own blends of meat or protein-to-fat ratios.
Doing this isn't as simple as just throwing your meat into your food processor, though. If you put room-temperature meat in your machine, it will break it down into a mushy paste, instead of producing the crumbly pieces you'll probably want. Placing large pieces in the processor will also cause your meat to break down unevenly. So, it's best to chunk up your frozen meat and pop it in the freezer for 20 minutes or so, until it's cold and firm, before processing it. Plus, make sure that you've removed any bone, cartilage, or gristle before breaking it down.
7. Your food processor can be used to churn butter

Homemade butter can feel like a lot of work, so it's no surprise that most people opt to buy theirs from the store. There are a lot of advantages to making it yourself, though. Homemade butter tastes fresher and gives you an unparalleled creamy flavor, and making it at home allows you to control your seasoning level and add in flavorings of your choice. Plus, with a food processor, it's a total breeze.
Your food processor is the key to effortless homemade butter thanks to its ability to turn what could be hours of work into the stuff of minutes. Butter is made by separating milk from cream, usually by churning it, and then processing it further to remove any leftover buttermilk. When you whizz cream in your food processor, the butter solids separate from it quickly. You then simply need to strain the solids to get rid of the extra buttermilk, before rinsing them with some ice water, seasoning the butter, and then forming it into your shape of choice. The butter will last in your fridge for three weeks or so, but we recommend eating it as soon as possible for maximum freshness.
8. Shred your potatoes in seconds
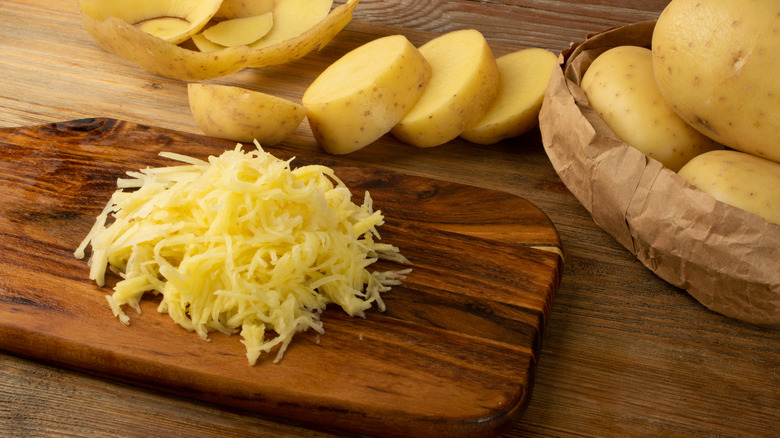
The most annoying part about making hash browns is shredding your potatoes. This task is usually done with a box grater, but more often than not you're left at the end with a knobby lump that you don't know what to do with, not to mention juice from the potato speckled all over your countertop. With a food processor, both of these things can be avoided, and you can shred your potatoes in seconds.
To do this, you'll need to use the shredding disc attachment. These plates come with perforated holes that shred your potatoes down to size and prevent them from breaking down further once they're through. Attach your shredding disc and then push your potatoes through the feeding tube. Take care not to stick your fingers in — use the tamper to press them down. You might find that some moisture is released doing this, but you can simply drain it off. Don't be tempted to just use your food processor's regular blade, either. This will break your potatoes down into tiny pieces instead of shredding them, and these pieces won't hold together easily in your hash brown recipe.
9. Quickly whip up a cauliflower pizza crust

Gluten-free pizza crusts are all the rage, and cauliflower has to be our favorite alternative ingredient to use. Mildly flavored, pliable, and with the ability to hold all your favorite toppings, cauliflower crusts have a lot of positives — but the main problem with them is how annoying it can be to break the cauliflower down.
While you can grate it, doing this takes a long time, and using your food processor will be infinitely quicker. Begin by breaking your cauliflower down into small florets, making sure to remove the leaves first. Pop them into your food processor and pulse your appliance until they're broken down into tiny chunks.
It's worth bearing in mind that fresh cauliflower has a high water content, so you may have to do a little extra work here to make sure it's as dry as possible. Once your cauliflower has been processed, tip it into some cheesecloth, ball it up, and squeeze out any leftover water. Don't waste this water, or the leftover leaves, either. You can add this water to vegetable stock for added flavor, and you can throw the leaves in a salad, stir-fry them, or even roast them and use them as a topping on your cauliflower base!
10. Grate cheese effortlessly with a food processor

Grating small amounts of cheese isn't hugely stressful. Grating larger amounts, though, is a different story and can take up a large chunk of your prep time. That's why you should be using your food processor. With your shredding attachment, grating large quantities of cheese takes seconds and gives you even pieces.
When you're grating cheese with your food processor, it's good to remember that you'll want your cheese to be as cold as possible. Trying to grate warm cheese, especially varieties with higher moisture content, can leave them smeared across your shredding disc. Most cheeses should be fine to shred straight out of the refrigerator, but if you're using one that's especially soft (like mozzarella), pop it in the freezer for 20 minutes or so to firm up. Don't cut your pieces too small, either. You want to work with the biggest pieces possible, so they're easy to press down through the feeding tube and don't get wedged between the attachment and the food processor's lid.
11. Make a speedy pasta dough

Making homemade pasta dough is relaxing, homely ... and very time-consuming. It's no wonder that most people buy their pasta ready-made, huh? However, once you realize that making it in a food processor can give you artisanal, affordable results pretty much instantly, you'll likely never buy overpriced fresh pasta again. Making pasta dough in your food processor combines the ingredients, kneads the dough, and keeps all of the mess in one container, saving you from having to wash multiple bowls and scrub your counter afterward.
Start by adding your dry ingredients to your food processor and pulsing the machine once or twice to ensure they're well-mixed. Crack in your eggs (no need to make a well in your flour) and process for around a minute. What you're looking for is for your dough to come together into a ball. If it's sticking to the sides of your processor and is too gooey, add some more flour and continue to mix. Once your dough is formed, allow it to rest as normal, before shaping, cooking, and eating it.
12. Mix up some homemade ranch dressing
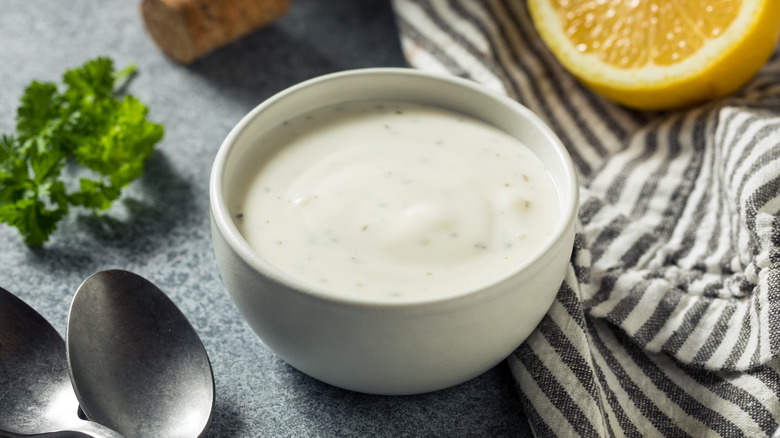
For a lot of people, having ranch dressing in the fridge is non-negotiable. If you're sick of buying endless bottles of the stuff, though, try whipping it up in your food processor instead. Making homemade ranch in the food processor gives you a tasty dressing that you can control the seasoning levels of, and which allows the freshness of its herbs to shine through. Making the dressing this way also allows you to customize your flavor preferences and avoid having to hand-slice your chives, parsley, and garlic, which can take a while, especially if you're making a big batch.
Begin by processing your aromatics. Pulse your chives, parsley, and garlic a few times, ensuring they're all broken down properly. Next, throw in all your other ingredients and pop on your processor, until everything's well-incorporated and smooth. Using a food processor helps to incorporate a little air into your dressing, giving it a slightly lighter, more bouncy consistency. If the dressing is a bit thick for your liking, though, you can always add some more milk — and if you want it to be even thicker, add some extra sour cream or mayonnaise.
13. Never buy hummus again — use your food processor
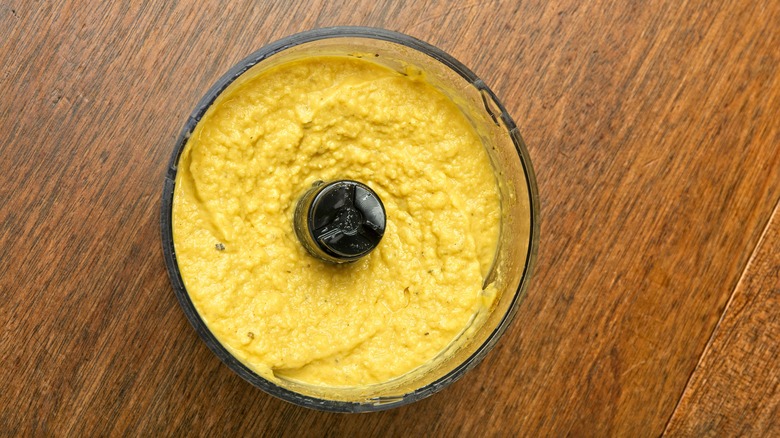
We're pretty sure that most of us have a full-blown hummus obsession by this point. If you've run out, though, grab some chickpeas and your food processor. Using your appliance to make hummus gives you a creamy, nutty dip that avoids the flatness that store-bought versions can often have. Plus, it allows you to keep things simple, instead of having to munch through hummus that has unnecessary levels of salt, fat, or additives like guar gum, which is sometimes added to store-bought varieties to improve consistency.
Making your own hummus in the food processor also allows you to control how chunky it is (although things can change very quickly with this appliance, so don't step away and leave it running if you like hummus with a grainier texture). Start your homemade organic hummus by tipping your chickpeas into your food processor and pulsing them a few times. Add your liquid ingredients and process until it's your desired consistency. You can use either canned or dried chickpeas to make your hummus, but using the dried kind will give you a creamier, fuller-tasting end product.
14. Whizz up some no-bake energy bars
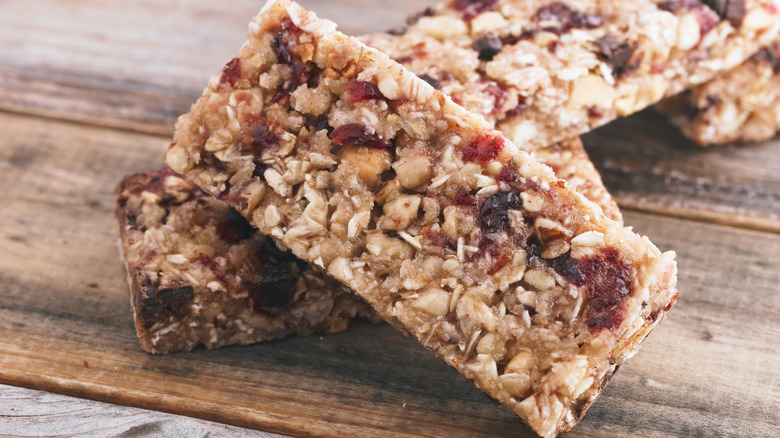
Buying energy bars can be a little hit-and-miss. Although there are some great products out there, more often than not, their energy comes from the presence of a lot of added sugar, which can flatten their flavor. Understandably, though, for most people, making homemade energy bars can feel like way too much work. These people haven't used their food processors to make them. Making no-bake energy bars in your food processor is as simple as combining your favorite ingredients, processing them until combined, and shaping them into slabs.
It's best to use a couple of ingredients that work to bind your bars together and stop them from being too crumbly. Peanut butter is useful here, as it provides structure, flavor, and satisfaction for your hunger. Oats are also an excellent ingredient, as they give your energy bars body, can be eaten raw, and provide loads of healthy beta-glucan fiber. In reality, though, you can throw anything to your energy bars: As long as it doesn't need to be cooked once added, the world's your oyster. Nuts, seeds, dried fruit, and chocolate chips are all fair game here!