The Poke Test Is The Foolproof Way To Check Your Sourdough's Rise
If you are just embarking on your sourdough-baking journey, you might be noticing that there are a lot of steps in the process that essentially come down to personal judgment. You have to make a judgment call on when the starter has grown enough to feed again, on when it smells and looks ready to use, and on what might be going wrong if it is doing exactly none of those things — and that's all before you even begin baking. Once the dough is finally assembled, you've got to let it rise properly to get a light and fluffy bake (another necessary judgment call). The promise of the tart and tangy taste of that finished loaf of sourdough is enough to keep you going on the perilous culinary voyage, but it helps to have a trick or two up your sleeve.
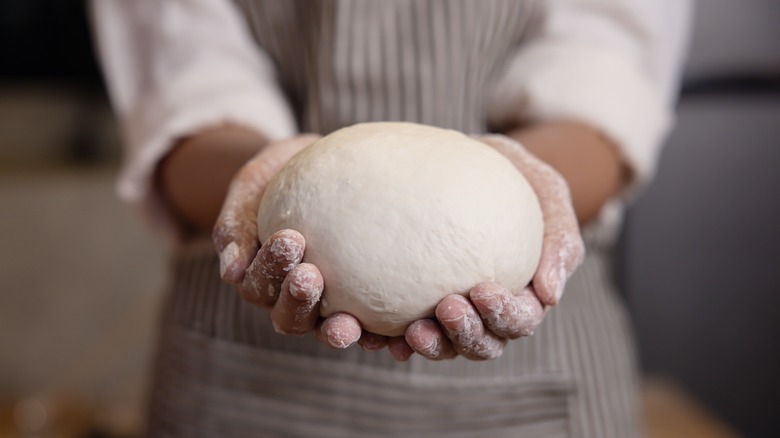
At the beginning of the breadmaking process, you can turn to the rubber band tip to accurately mark your sourdough starter, but luckily, you don't even need an extra tool to test the proofing stage. You just need your finger — because the poke test is true to its name. To check whether your sourdough has risen properly, all you need to do is press your finger gently into the dough and see how (and if) it springs back to the correct shape. The dough's reaction to the finger poke will tell you if it needs more time, if it's been left too long, or if it's ready for the oven.
No fancy tools needed to measure

First things first: The poke test is used during the dough's proofing stage. At this point, the bread dough has already gone through its bulk rise, when it sits unformed in its container and has time to ferment. The second rise is proofing, and before proofing, you'll have worked the dough into an actual bread loaf shape. If you've been baking for a long time, you might be able to tell when the dough has risen the correct amount — but it's usually not so easy. The poke test will still be a judgment call, but it's a little more concrete of a measurement than eyeballing it.
To avoid your finger sticking to the dough, put a little flour on it. Then gently press a finger about one inch into the dough. If the dough pops back up quickly, then it is underproofed and needs more time to sit. If it springs back more slowly and never entirely fills the dent you made, the dough has been properly proofed. If the finger dent just sits there and never pops back up, the dough is overproofed and sat too long. You can rescue overproofed dough, but it's easier to start this test at the very beginning of the proofing time window (that way, you'll catch it before it reaches the point of overproofing). Some factors, like the amount of hydration in the dough or whether the dough was cold-proofed, may affect the results of the test, but generally, it's a helpful assessment.
Why does the poke test work?

Bread doughs need these rising stages (typically bulk fermentation and proofing, sometimes more) because the yeast in the dough has to have time to turn the sugars into gas — the gas bubbles give the sourdough its light and airy texture and literally make the dough rise. If you don't give the dough enough time to rise or if you leave it too long, the bread can end up too dense with an unpleasant texture.
The perfect time to put the sourdough into the oven is when the yeast has reached its peak expansion (at least the peak before it's actually baking). The poke test helps indicate whether the yeast's gas production is still going on or whether it has dropped off. The dough's rapid reforming after you poke it with your finger shows that gas production is still ongoing; if it takes its time reforming, then gas production is slackening, and the dough is ready for the oven. Something as simple as the poke test helps you avoid mistakes when making bread.