Mistakes You Need To Avoid When Making Bread
We may receive a commission on purchases made from links.
Humans have been making bread for thousands of years — in fact, according to Haaretz, we've been making bread for well over 14,000 years. In that time, we have all but perfected the art. There are so many kinds of wonderful breads in the world: no-yeast sweet loaves like zucchini bread, quick loaves like soda bread, crusty artisanal breads, and more. It makes sense, considering bread is a unique and versatile food. Even so, it's one that takes a lot of time and care to get right. And that's especially the case when it comes to baking breads with yeast.
There are many mistakes that can be made at every stage of bread-making — so many that they might leave a person dissatisfied and frustrated with the whole endeavor. Luckily, we're here to help. We've compiled a list of common mistakes home bakers might encounter while making bread, so with our guide in hand, you're guaranteed to end up with a delicious loaf rather than a hard-baked mess. We have the answers for you, whether your bread is dense, dry, soggy, or flat — so before you set your oven, be sure to read through our guide so you can avoid making these mistakes.
1. Using expired leaveners
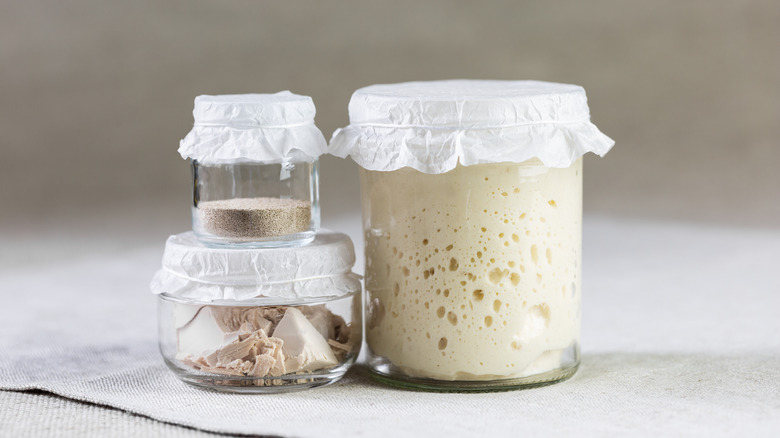
Leavening agents are key to making bread rise. Without them, bread comes out dense, flat, and sad. Even traditional flatbreads use leaveners (via the King Arthur Baking Company). Dry yeast is one of the most common forms of leavening for bread. Yeast is a living organism — and as such, you need to use healthy in-date yeast to achieve the best results, meaning that it's vitally important to ensure your leaveners are not expired (via The Guardian). Yeast jars and packets typically come with an expiration date on them. Check this before using it in your bread. If your yeast is on the cusp of the date, King Arthur Baking Company recommends the simple method of testing your yeast using warm water and sugar.
The Guardian also notes that yeast that's past its expiry date could work, provided that it's been stored properly and unopened, and that you use 1.5 times the amount the recipe calls for.
Of course, yeast isn't the only type of leavener out there. For baked goods like banana bread and soda bread, typically baking soda or baking powder are the main rising agents. However, there's a catch: These can also lose potency as they age, which could render your loaf unrisen. According to one recommendation made by Michigan State University, both baking soda and baking powder should typically be used between 18 and 24 months after first use.
2. Measuring incorrectly
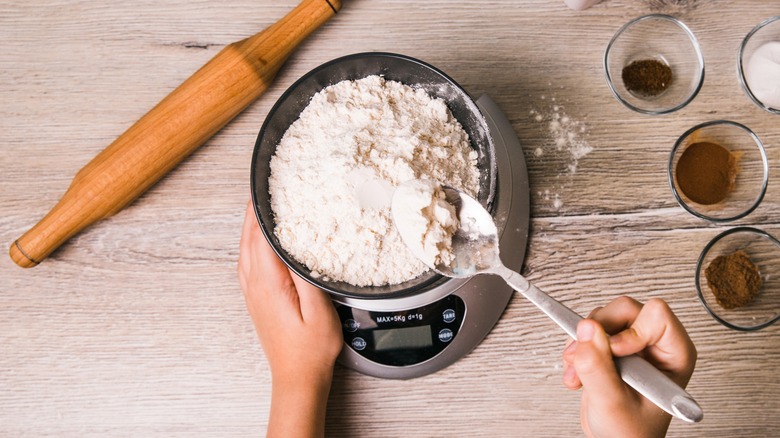
A surefire way to mess up a bread recipe is to incorrectly measure your ingredients. This may seem like an easy step; just grab a measuring cup and go to town, right? Wrong. With ingredients like flour, blindly scooping with a measuring cup can lead to compaction, which adds a lot more flour into the mix, according to the Food Network.
The key here is the difference between volume and weight. As Joy of Baking points out, the weight of 130 grams of flour does not change — but due to compaction, the volume of one cup of flour could weigh more or less. For this reason, the best way to measure flour is to use a kitchen scale. This allows for the most accurate measurement.
However, Joy of Baking also assures that you don't have to worry if you don't have a kitchen scale. To get the most accurate measurement you can, use a spoon to fluff your flour and add air to it. After that, use the same spoon to scoop flour into the measuring cup. Fill to the top and use the flat edge of a knife to scrape off any extra. Do not press down to compact.
3. Using the wrong flour
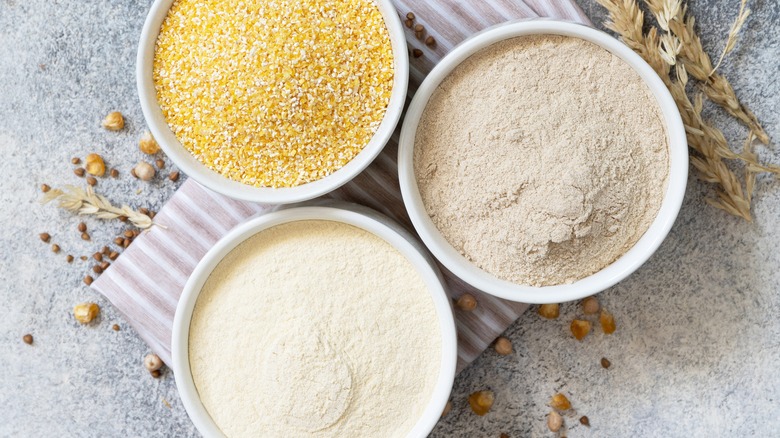
There is a world of flour out there. Rye flour, spelt flour, gluten-free flour ... the list goes on. Luckily for the home baker, you will not need to worry about most of these. So, unless a recipe specifically says you should be using one of them, or you are experienced enough to substitute them in, do not feel the need to bring specialized flours into the mix.
The mistake most people make is not understanding that there are different kinds of white wheat flour. According to the Food Network, the main types of wheat flour are cake flour, pastry flour, all-purpose flour, and bread flour. The big thing that separates these flours is their amount of gluten. The most common type is all-purpose flour, and as the name suggests, it is good for pretty much anything. While cake and pastry flour offer a relatively small 5-9% gluten, all-purpose typically comes in at 10-12%. This makes it better for sturdier baking projects, while still being acceptable for more delicate bakes, like cake.
As you may have guessed, bread flour is the ideal flour for bread. It typically has 12-14% gluten, which helps bind bread together and give it a nice, chewy inside and a crusty outside. When making bread, try to get bread flour if possible. In a pinch, though, all-purpose will usually do.
4. Using the wrong kind of water
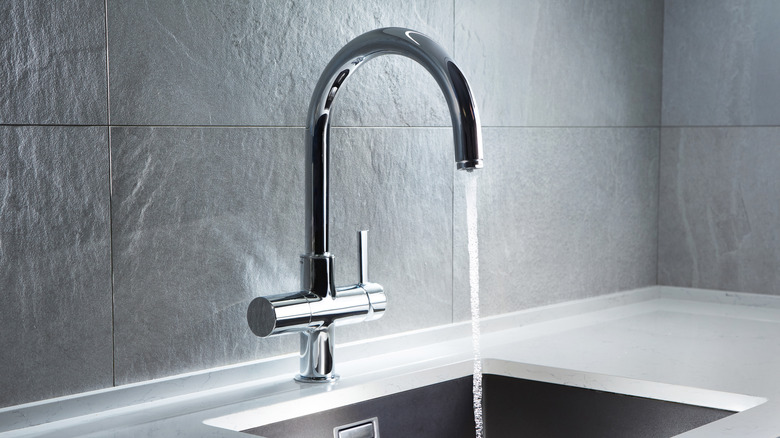
Yeast-risen bread has very few components. The only main ingredients are flour and water, with small quantities of yeast and maybe some salt or sugar as necessary. So it makes sense, then, that the type and quality of the water used during bread making could have a make-or-break effect on the final product.
You may be thinking that all water is the same, but this would be a mistake. Water can differ in terms of pH levels, minerals and chemicals content, and even in overall flavor, according to Bake Magazine. This can impact your bread-baking. For example, high levels of chlorine can affect the dough's ability to rise. Luckily, according to King Arthur Baking Company, chlorine evaporates. So if your water has a high chlorine content, simply let it sit overnight before using it.
The best water for baking, according to King Arthur Baking Company, is with water of medium hardness. This means that it'll have somewhere between 100 to 150 parts per million (ppm) of calcium and magnesium ions. Some hardness provides good mineral content to feed the yeast, but there is always too much of a good thing, and water that is too hard may cause gluten to tighten too much. Hard water can also be more alkaline, which can cause the yeast to slow its activity. If your tap water is too hard or soft — which you can determine using a few different easy methods – consider using an alternate water source for your best bread results.
5. Using water at the wrong temperature

Who knew water could have such a big impact on bread? If you're wondering what else there could possibly be to stress about concerning liquids, the answer is temperature. Water is added to active dry yeast to "proof" it, which activates the yeast before it is mixed with the flour (via King Arthur Baking Company). However, water that is too hot (140 F or hotter), can kill the yeast, causing the dough not to rise (via Bob's Red Mill). Water that is around 105 F or hotter is ideal for dry yeast, as temperatures below that may be too cold to fully activate the dough, leading to no rise. This may sound intimidating, but don't worry too much. According to Red Star Yeast, as long as the liquid feels "comfortably warm" to the touch, you're likely in a good temperature range. For dry yeast added directly to the flour, the water should be on the warmer end of the range. Both King Arthur Baking company and Red Star Yeast recommend 120-130 F.
The same applies to other liquids being used in place of water, such as milk. As Paul Hollywood points out, using slightly warm milk helps keep the milk fat from sedating the yeast. So no matter what liquid you are using, make sure it would be suitable for the baby bear: not too hot, not too cold, but just right.
6. Putting yeast on salt
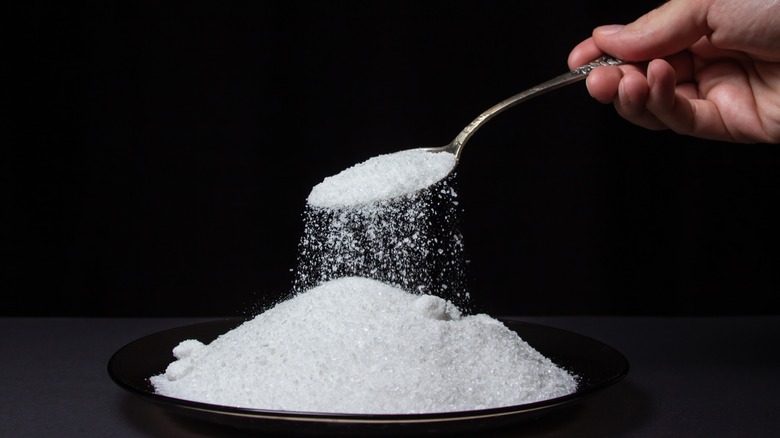
Most people do not pay attention to where they pour ingredients when they're baking. After all, the ingredients end up in the same place. Why should it matter where in the bowl they are landing? Well, when it comes to making bread, it matters greatly where the yeast and salt end up before mixing.
Salt and yeast, as it turns out, are not great friends. According to King Arthur Baking Company, salt acts as an inhibitor to yeast, functionally slowing or even fully halting its ability to ferment. You still need salt in the recipe, as it allows for greater control over the dough and prevents it from fermenting too quickly. But there can be too much of a good thing. As Paul Hollywood notes, you must keep these two natural enemies apart when mixing the dry ingredients. If the salt and yeast are too close to each other, or heaven forbid on top of each other, the salt can kill the yeast and ruin your loaf.
7. Adding too much or too little liquid

Water is the magic that brings bread together — literally. Water is what causes gluten to form, and gluten is responsible for holding bread together (via King Arthur Baking Company). Water also helps the yeast and salt dissolve, creating a homogeneous dough. We have already discussed how the type of water can affect the bread, but the amount of water in the dough can have just as much, if not more, of an effect as well.
The amount of water in the dough is known as hydration, according to Gareth Busby of Busby's Bakery. Some breads have higher hydration, and some are lower. Most people follow the recipe as written, but oftentimes the recipe gives a range of water for the dough. That is because a lot of factors can affect how much water is needed, such as the amount and quality of the gluten in the flour and the humidity in your kitchen. Too much water can cause the dough to be loose and unmanageable, while too little water can result in tight and dry dough.
To tell if your dough needs more water or not, check to see if your dough holds together during the mixing process. If not, you likely need to add more water.
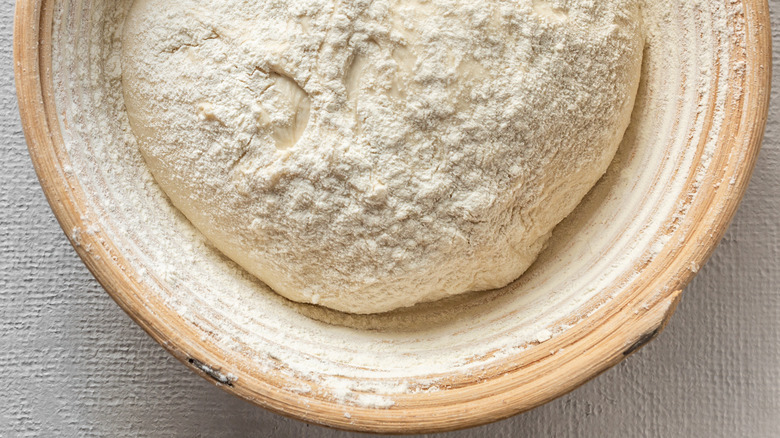
8. Over- or under-kneading

For the uninitiated, kneading is the process of pulling and stretching the dough and then folding it back in on itself. According to the King Arthur Baking Company, this process creates gluten bonds that hold the dough together and give it that lovely chewy texture. Kneading turns the dough from a lumpy mess into a smooth and elastic ball. The process typically takes 5-10 minutes by hand and can provide a good arm workout. You can also use a stand mixer, such as a KitchenAid with a dough hook. This will knead the dough in as little as 1-2 minutes.
To test the dough to see if it has been sufficiently kneaded, try the windowpane test: Take a small amount of dough between your thumb and forefinger, and stretch it. The dough should be able to stretch thin enough that light can be seen through it, but it should not tear. If it tears, knead it a little longer and repeat.
Once the dough is kneaded sufficiently, though, stop. According to Bob's Red Mill, over-kneaded dough has a tendency to be tight and to tear. Over-kneading is more common with stand mixers, so be sure to watch the dough carefully if using one. Conversely, under-kneading the dough will result in a loose dough that does not hold together well and may appear "shaggy," so always search for the happy medium.
9. Proofing at the wrong temperature
When yeast interacts with water and flour, the yeast causes fermentation to happen. The fermentation releases gas bubbles into the dough, which causes it to rise, a process known as proofing (via Masterclass). If your bread is not rising correctly, and you've double-checked that the yeast you are using is still active and healthy, you may be proofing the dough at the wrong temperature. According to the King Arthur Baking Company, dough temperature has a direct effect on both rise and flavor.
According professional baker Gareth Busby, if the temperature is too cold — even if it's a seasonal temperature, like, say, during winter — the yeast in the dough won't work as quickly and will require more time to rise. Of course, this is not always a bad thing; as Busby points out, longer rises in cooler temperatures typically result in a more yeasty or sourdough-like flavor, which can be ideal if that is your intent.
However, if you're hoping to have a loaf of bread done within a specific time frame, it's best to plan ahead of time where you're going to proof it — especially if you don't have a proofer, which is a dedicated machine that keeps dough at the perfect temperature and humidity for proofing (via Masterclass). Some home ovens have a "proofing" setting that keeps the oven at the ideal temperature. If your oven does not have this setting, don't fret — there are still other options available. The King Arthur Baking Company has other suggestions, like turning the oven on briefly in order to raise the surrounding temperature, then turning it off and placing the dough inside. Another is to put your dough in a warm spot, such as the top of a refrigerator. Just ensure you don't place it somewhere too hot, or you are liable to overproof your dough.
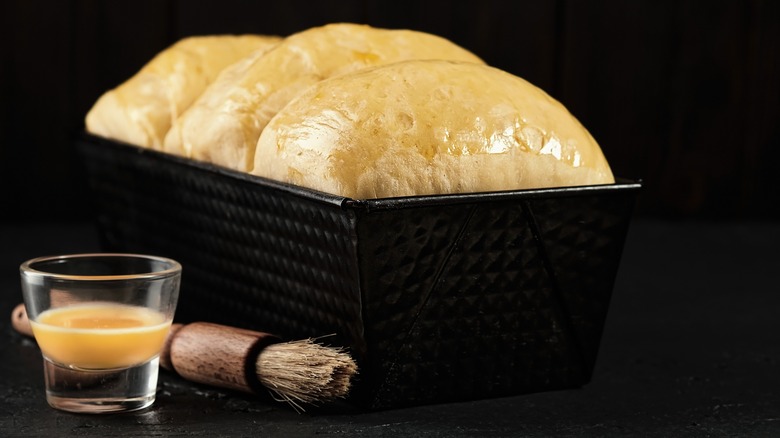
10. Not allowing the dough to rise long enough
According to the Food Network, dough typically goes through two rising periods. The first rise primarily adds volume and flavor to the dough. During this rise, the dough should at least double in size. Mindful bakers should keep in mind that if the dough is set in a cool place or uses older yeast, it may take longer to rise — so before proceeding to the next step in the process, you should wait until the dough has risen to approximately twice its size. (A good mantra to keep in mind: Trust your senses, not the clock.) If the dough is under-risen, it will have less flavor and volume.
So how can you make sure your dough is just right? According to "Great British Bakeoff" judge and celebrity chef Paul Hollywood's website, there are some surefire ways to tell — namely, if the top of the rising dough develops crease marks and appears slightly deflated. You can then proceed to the second rise after the dough has been shaped. This rise is known as the "proving." To see if the process is complete, King Arthur Baking Company recommends the "poke test:" Simply take one finger and gently press it into the dough. If the dough it is still springy and the indent pops back out, it has not been fully proved. If it leaves a small impression, the loaf is ready for the oven.
11. Exposing your dough to the elements
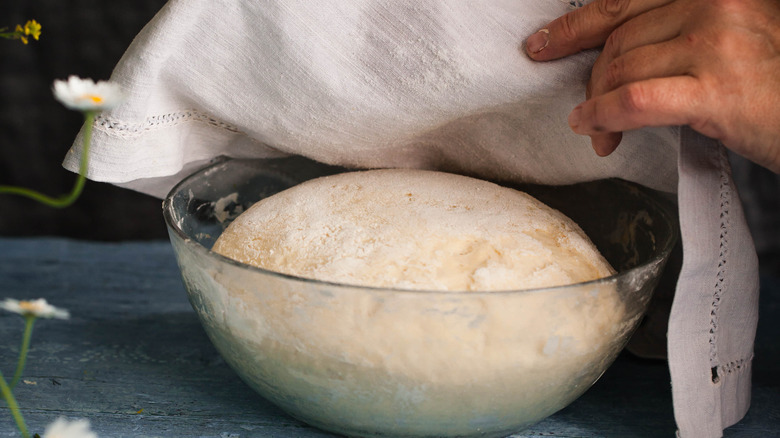
While dough is rising, it is important that it's not exposed to the elements. Of course, we trust that the dough in question is not going to be left out in a hail storm, but we even need to be aware of the more commonplace elements, such as air.
As King Arthur Baking Company points out, the best place to keep your dough while it's rising is in a closed container. This is an ideal environment, according to Gareth Busby, because left in open air, dough can dry out, which prevents it from rising correctly and creates a tough, unpleasant texture in the final product. Additionally, leaving dough out can attract unwanted pests.
There are other perfectly good options if you do not have a container with a large enough lid for dough. For example, a damp kitchen towel can be draped across the top of your bowl, or plastic wrap can be stretched taut to serve as a lid.
12. Setting the oven too low
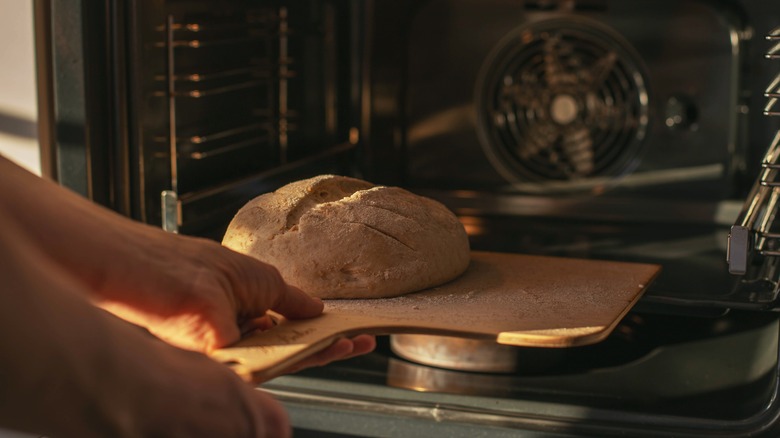
Oven temperature is critical to the success of the bread. As noted by LiveStrong, an oven set too low can negatively affect the way the breads turn out when they come out of the oven. This can lead to doughy centers with a pale and lackluster crust. Worse still, if your bread does manage to bake all the way through, you will likely end up with dry, crumbly bread that is not at all appetizing and is better off discarded. Finally, an oven that is set too low may also cause the bread not to rise enough. This will lead to a dense bread.
To avoid a dense, dry, or undercooked loaf, make sure to follow the recipe's instructions. If your bread is still not turning out well, invest in an oven thermometer to check the accuracy of your oven's temperature, and adjust accordingly.
13. Opening the oven to check on your bread

We've already discussed why a properly heated oven is so crucial to your bake's success. And few things are more detrimental to a properly heated oven than opening the door. In an appearance on "The Rachael Ray Show," chef Andrew Zimmern revealed that every time you open that oven door, up to 50% of the heat escapes the oven. It does not matter how accurate an oven thermometer is; if you are opening the oven door repeatedly, the bread is doomed.
Opening the oven door to check on your bake can be even more detrimental for sweet bread. Opening the oven door early can result in such a quick drop in the oven's temperature that it can cause these more delicate bread to collapse completely (via Betty Crocker). Typically it is best not to begin checking on bread until at least three-quarters of the way through the bake time. And even then, looking through the oven's glass door with the light on is a safer bet.
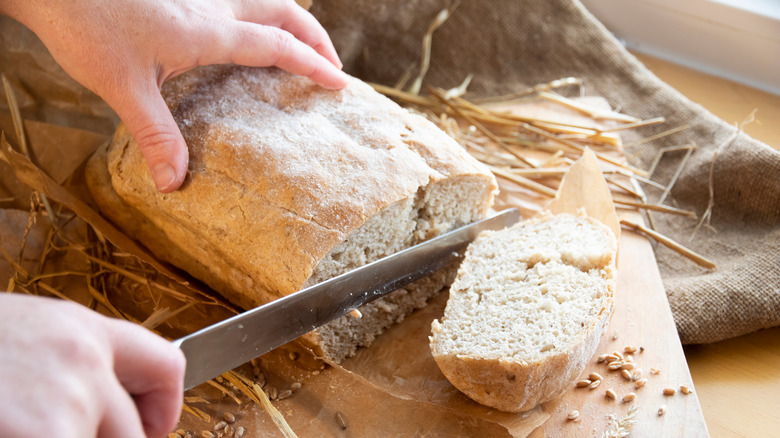
14. Letting cool on the pan
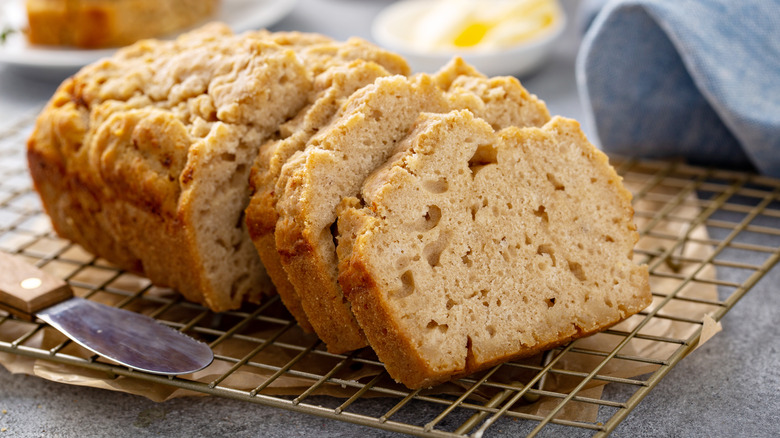
The kitchen is full of the intoxicating smell of freshly baked bread. The timer goes off. You check your bread and find that the crust is perfectly cooked. You have done it: you've baked the perfect bread. You take it out of the oven, and now all it has to do is cool before you can slice it and enjoy the fruits of your labor.
But now, at this last critical step, you leave the bread in the pan and forget about it until it cools. You come back, and want do you find? A soggy loaf. As bread baker Gareth Busby notes, leaving bread in its baking tin traps moisture in. This is why so many recipes, such as those from the King Arthur Baking Company, typically tell you to turn bread onto a wire rack to cool. According to Paul Hollywood, this allows the moisture to escape so the bread can finish cooking correctly as it cools. It is still best to cool on a wire rack even if you are cooking a freeform loaf on a tray.
15. Storing incorrectly
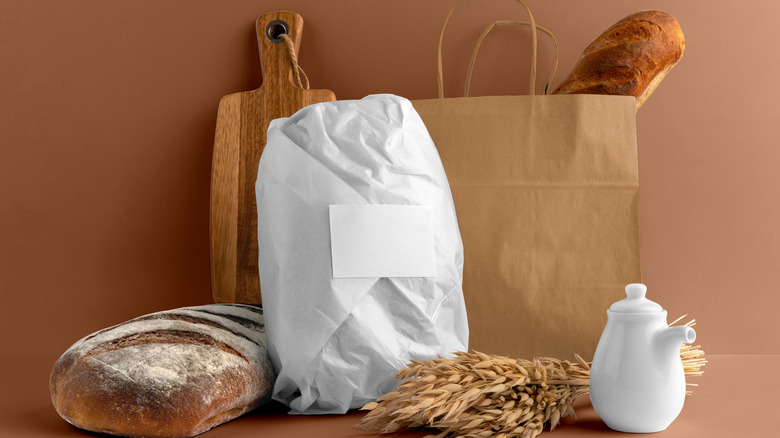
Finally, the bread is done. It smells and tastes wonderful, but will (likely) not be eaten all in one sitting. It is necessary to store it, but just because it needs to last a little longer does not mean you want to sacrifice quality.
According to bread-baking master Nancy Silverstone, bread saves best at room temperature and in a paper bag. Plastic, according to Silverstone, is a surefire way to ruin a nice loaf of crusty bread, as it will cause it to go first spongy and then moldy. Yuck!
Do not ever store your bread in the refrigerator, as it will make the bread go stale much faster. Instead, if it is going to be more than a few days, Silverstone recommends freezing the bread. This is when plastic bags are permissible, as they protect the bread in the freezer. When you are ready to eat it, remove it from the freezer and let it come to room temperature on the counter for a few hours.