The One Step You Can't Miss When Making Chocolate Buttercream
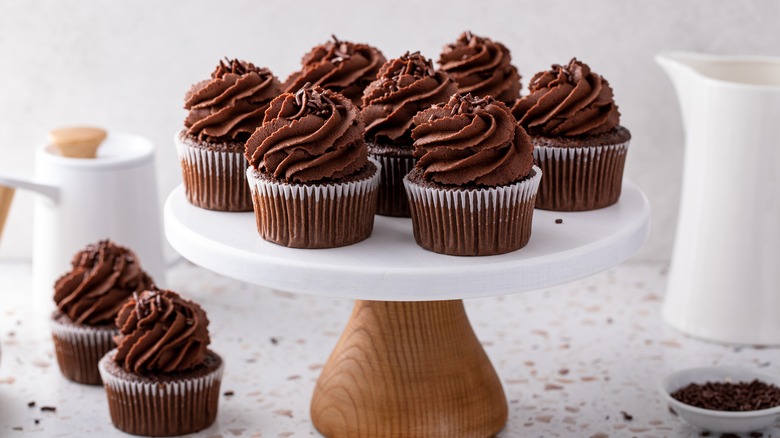
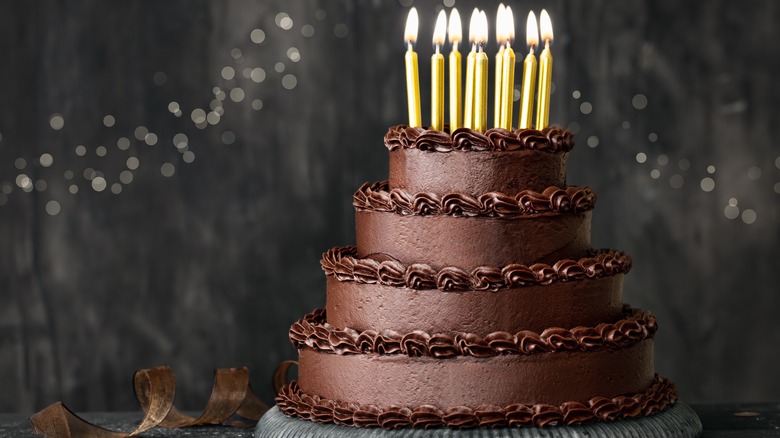
It's almost impossible to imagine enjoying a world without buttercream. This light and fluffy frosting is integral to so many of the best confections, from individually portioned cupcakes to full blown layered masterpieces to celebrate birthdays and special occasions, or just for fun. It's even delicious straight out of a jar with a spoon if you're in need of something sweet in a pinch.
And fortunately, there's a way for chocoholics to get their fix with a homemade buttercream, too. All you need to convert the standard issue vanilla style into a luscious chocolate cloud is a little bit of baking cocoa. But if you miss one important step, you might wind up with a clumpy, gritty spread instead of a smooth and creamy one — and that's the simple act of sifting your cocoa powder before adding it to your buttercream base. So if you want to ensure an ethereal and richly flavored frosting that's evenly mixed, don't take a shortcut around your sifter.
Sifting tips
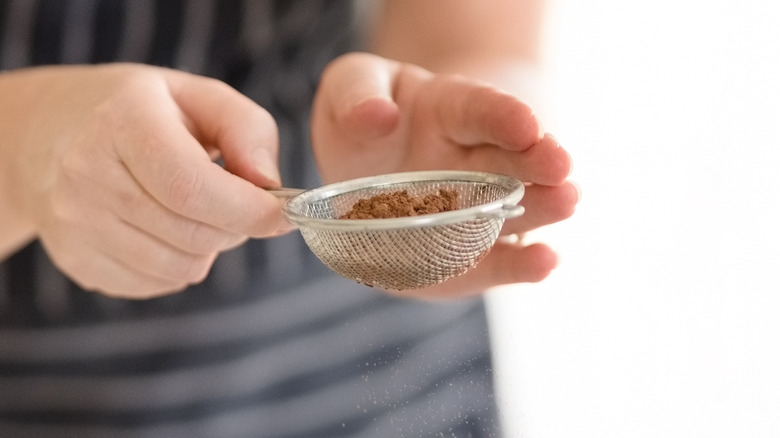
Making chocolate buttercream is such a fun and easy process, and sifting your cocoa powder shouldn't get in the way of enjoying the task. The simplest way to do this is with a sifter — which is a dedicated tool designed for the purpose of breaking down lumps. But if you don't happen to have one on hand, never fear — there are other ways to achieve this clumpless cacao. A fine mesh sieve can do the trick, or even rigorously taking a balloon whisk to your cocoa in a large mixing bowl.
To twist your traditional American buttercream recipe into this chocolate-lover's version, you'll want to include about ½ cup of your sifted cocoa powder per ¾ to 1 cup of butter in your recipe. You can experiment a bit with the ratio depending on your preference of chocolate level and consistency, but no matter how concentrated you like your cocoa, sifting is always called for.
Piping your chocolate buttercream
A benefit of perfectly sifted chocolate frosting is that you can try out piping techniques without fear of pesky clumps clogging up your bag. The first step in this decorating process is to select a bag type. Reusable bags are washable and come in handy for repeated projects (just be sure to clean them well and disinfect in between), and have the benefit of being economically and environmentally sound. Disposable bags have the advantage of convenience, and you can also grab a plastic freezer bag for piping in a pinch — just cut the corner at an angle and slip your tip right in.
Regardless, you'll want to get as much buttercream into your bag as possible while avoiding air bubbles. Fold the open end of the bag back over one hand, and using your other hand, load the frosting all the way into that bottom corner. Then unfold the bag and squeeze your buttercream gently into the tip, and twist up the bag at the top to keep air pockets from forming as you pipe. Whether you select a star, round, petal, leaf, or lined tip for basket-weaves will determine what's possible to design, but from there, you can begin your piping project.
Using a rotating cake stand will help you reach your confection evenly on all sides, but also keep in mind that for a perfectly piped cake, it helps to avoid the edges. And whether you keep it simple or venture into adventurous decorations, when it comes to chocolate buttercream, it pays not to skip that critical sifting step.