What Are Acetate Sheets Used For In Cake Baking?
While it's lovely to craft a perfectly soft, moist, and fluffy piece of cake, the real joy in cake baking often comes on the decorating side. There's something equally thrilling and therapeutic about turning a large mound of cake into a true work of art with nothing more than a little frosting and food coloring. Afterward, you get to show off your intricate design pattern, which is half the fun of baking a cake. Plus, let's be honest: great-looking cakes just seem to taste better.
If you're searching for ways to up your decorating skills, look no further than acetate. Acetate sheets are clear, biodegradable, and food-safe plastic polymers that typically come in rolls or pre-cut rectangles. Pastry chefs and home bakers alike rely on these flexible sheets to create perfectly clean outer layers on a cake or transfer elaborate designs onto a cake's exterior. If you've come across an impossibly good-looking naked layer cake or gravity-defying chocolate design, chances are good it was done with the helping hand of an acetate sheet. If you're ready to level up your cake decorating skillset, it's essential to start using acetate sheets.
Create perfect layers
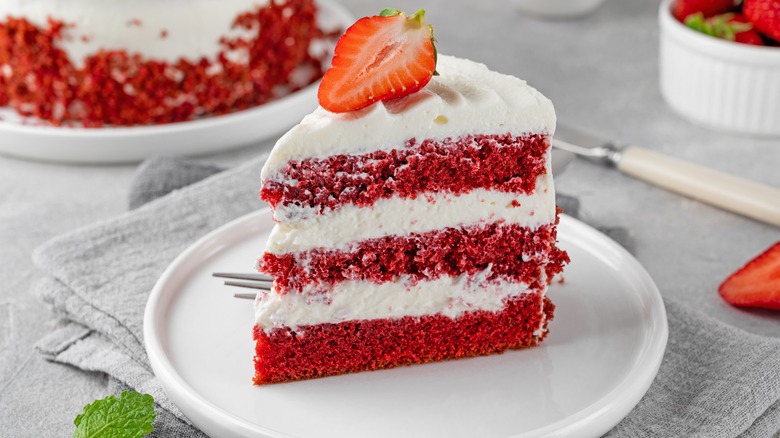
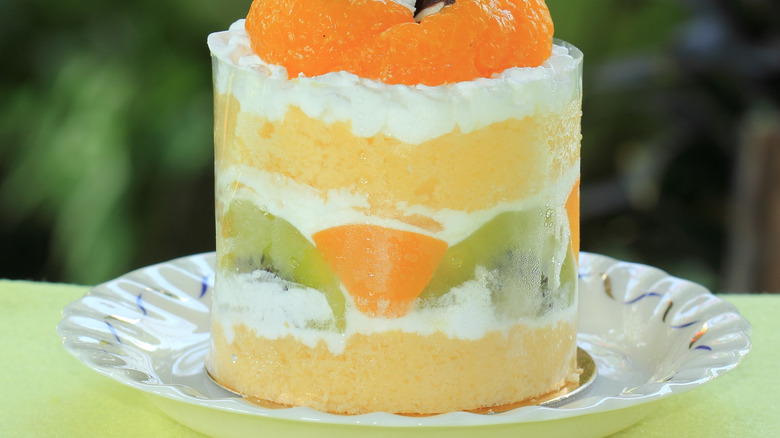
Acetate sheets are the perfect tool for crafting sharp, clear cake layers, which are required when the layers themselves are the show-stopping feature. First, you'll want to cut a piece of acetate long enough to fully wrap around the circumference of your cake. You'll place this piece around the inside of a cake pan or cake ring, and make sure that its height is close to the planned final height of your cake. If this plastic perimeter is a bit too tall, you can trim it down to size with a pair of scissors.
Next, you'll fill the vertical acetate ring with alternating layers of cake and filling. Any of your favorite fillings, like buttercream or fruit, will work well. The cake should fit very tightly into the acetate wrap and the filling should be spread right up to the edge of the plastic. When the layers are complete, place the cake in the freezer to set.
When the layers are fully set, remove the cake from the freezer and remove the acetate sheet. Your cake should have perfectly smooth, uniform layers. You can use a spatula or straight-edged kitchen utensil to smooth out the area where the edges of the acetate sheet meet.
Pulling off advanced designs
After you've mastered using acetate sheets to create gorgeous layers, you can use the same sheets to get creative with your cake decorating. Anyone who's applied icing to the outside of a cake knows the process can be messy and frustrating. It feels nearly impossible to get a smooth frosted exterior without also smearing the design details. To pull off this tricky step, you can use an acetate sheet to transfer a frosting design.
Like the layer hack, you'll first measure the acetate and cut it to the proper size. Instead of standing it in a cake pan, however, you'll lay it flat on a clean surface. The advantage to applying frosting this way is twofold: you don't smear the outer design (which is kept smooth and clean while pressed to the acetate) and you won't have to battle gravity like you would when applying frosting to the side of a cake.
When the design is finished, you can wrap the covered acetate sheet around the cake, with the plastic on the outside. Press the sheet firmly into the outside of the cake so that the layer of icing begins to stick. Place the cake in the freezer to set before gently peeling the outer layer of acetate off the cake, careful to make sure the icing stays adhered to the cake surface and not the sheet. When the sheet has been removed, you'll be left with a completely smooth outer surface showcasing your design.


