The Unexpected Solution For Easily Proofing Bread In A Cold Kitchen

There are plenty of mistakes to avoid when making bread at home, and while most of them are easy fixes, the more difficult part can be diagnosing the problem. This is especially true for yeasted bread which relies on the productivity of yeast cultures to provide lift, flavor, and texture to the bread.
If your bread turns out dense and flat it can be any number of problems. Maybe the dough wasn't kneaded properly, maybe your water was too warm, or maybe your kitchen is just too cold.
You read that last part correctly, if you try baking in a drafty kitchen it might be the reason that your bakes are failing. Temperature plays a far larger role in baking than simply what you set your oven to. Temperature can ruin a bake as early as when mixing the ingredients together, and one of the toughest to address is the ambient temperature during the proofing stage. Thankfully, there's a cheap and easy hack to help fix even the chilliest of kitchens.
How does temperature affect yeast
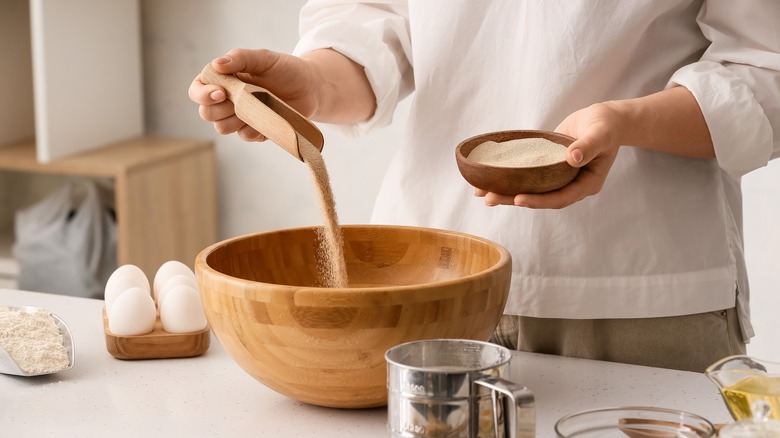
Yeast is the key player in making the beast bread. Yes, you can use other leavening agents like baking soda, but there is something truly special about the wonderfully complex tastes of a well-made yeasted bread. What really is yeast though? Well, it's a single-cell organism that is added to bread dough in a variety of forms including sourdough starter, dried, and cake yeasts.
During the proofing stage, yeast cells feed on the sugar inside of the flour and produce carbon dioxide and other gasses as a result. These gasses get trapped in bread's gluten structures, and create light airy interiors, along with adding different flavor components as well.
Because yeast is a living organism it thrives in certain temperatures. If yeast is mixed with water that is too hot or cold the yeast cells won't do their job properly. The same goes for when the bread is rising during the proofing phase. The ideal temperature range is between 70-90 degrees Fahrenheit. Anything below this point will slow down the fermentation process too much, and even if your kitchen is in the lower range of this scale it can cause your dough to rise too slowly and lead to inconsistent results. The best way to handle this is to modify the ambient temperature where your dough rises. This can be accomplished easily without cranking up your heat or running your oven all day thankfully.
Easy hack to solve temperature issues
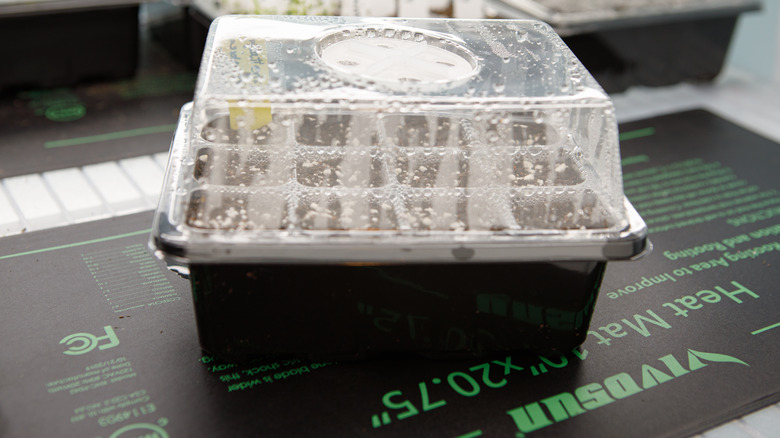
Temperature and humidity play a huge role in crafting consistently good bread. Professional kitchens rely on appliances called proofing cabinets to take care of this. These are controlled environments where bread is left to rise. If you're a fan of "The Great British Baking Show," then you might also be familiar with the proofing drawers that contestants use to the same effect.
This is a wonderful feature to have in your home, but if you don't there's still a simple solution that comes courtesy of the gardener's tool shed. Seedling mats are heated mats used by gardeners to give their early plantings enough warmth to germinate. They're fairly affordable, won't take up much room in your kitchen, and can provide the gentle controlled heat that your bread needs to rise.
Challenger Breadware also makes a similar product that is designed specifically for use with sourdough starters and doughs. It also has precise temperature controls, though it will cost you more than a generic seedling mat will. Don't let your drafty kitchen stop you from having great bread at home, and just use a heated mat instead.