Here's Some Tips For Combating Super Sticky Rice Krispie Treats
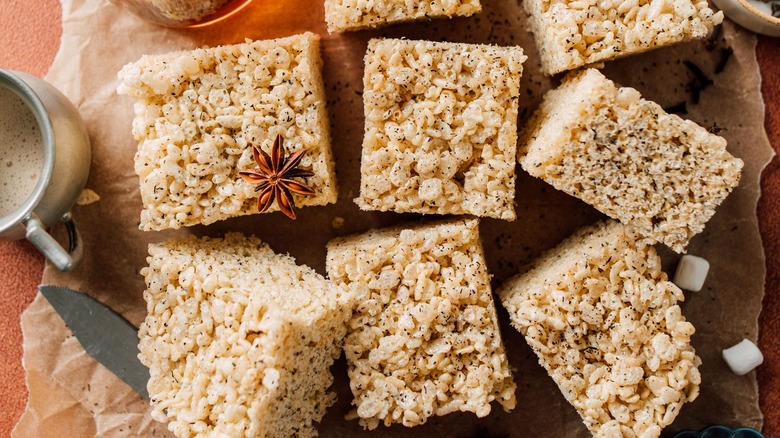
While a simple mention of Rice Krispies treats evokes childhood nostalgia, the chewy, buttery treat – which has its own national holiday – also seems to satisfy the sweet tooth of even the most sophisticated palates. Traditionally made (as listed on the Rice Krispies website) with Rice Krispies cereal, butter, and marshmallows, but expanded to include a variety of fun mix-ins, the no-bake treats have become a quintessential staple of all-ages entertaining — and their simple list of ingredients brings the perfect balance of sweet, salty, and crunchy. Simply put, the Rice Krispies treat is iconic.
But among the difficulties in making Rice Krispies treats is the undeniable reality that they are sticky — really sticky — which can make them more than a little difficult to prepare, cut, and serve. The good news is that there are a few surefire ways to ensure that your treats are easy to manage without sacrificing the signature gooey texture that makes Rice Krispies treats so amazing — and it turns out a little nonstick cooking spray and a butter wrapper can go a long way.
Keeping your Rice Krispie treats from sticking
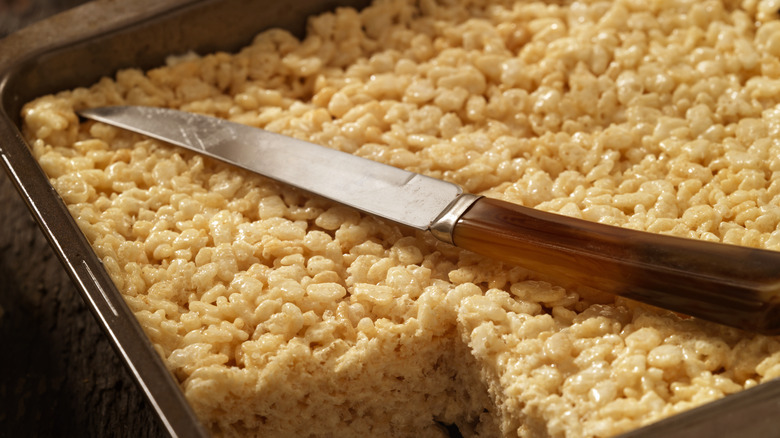
The first important step is choosing and preparing your pan. The size you use is a matter of personal preference — a 9x13 pan will lend itself to thinner Rice Krispies treats, and an 8x8 pan will give you thicker, chewier ones. Whatever pan you use, line it with foil or parchment paper to keep the mixture from sticking to the pan. After combining the ingredients and spreading the mixture into the pan comes the important part: When you're ready to press the filling down in an even layer, coat your spatula with nonstick cooking spray beforehand to prevent the filling from sticking to it and allow for an easily packed layer. You can also spray your utensils before using them to mix your ingredients, and while you're at it, spray your knife or cookie cutters, too! This is especially important if you've upped the gooeyness with extra marshmallows, as your mixture will obviously be very sticky and trickier to work with.
And if you're using your hands to press your mixture down, be sure to coat them in nonstick spray too — otherwise, you'll end up wearing your Rice Krispies treats instead of eating them. Alternatively, those greasy used butter wrappers work wonders in helping press your mixture down and keeping things stick-free. Be sure to press down firmly, but not too tight, so that your mixture is easy to cut but doesn't become hard.
More Rice Krispie treats tips
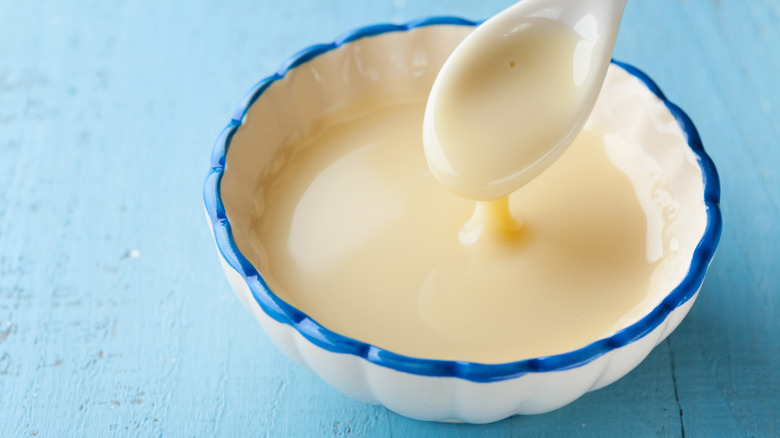
There are many useful tips to help achieve total Rice Krispies treat perfection. If you're looking for a simple upgrade that promises to extend the life of your treats, try adding about ⅓ to ½ cup sweetened condensed milk (or, if you're feeling extra, the whole can) to your butter while it cooks. Then bring the mixture to a boil for about one minute before adding your other ingredients, and not only will you get an extra gooey, creamy texture upgrade, but your treats will stay softer for longer. But be sure to let them fully cool before cutting, as the extra creaminess will require a little longer to set. And while you can get creative with your mix-ins — and throw in anything from M&Ms to sprinkles — swapping your regular salted butter for browned butter is a great way to achieve a nutty flavor and help balance out a bit of the sweetness. To brown your butter, cook it in a small, light-colored pan over medium heat, stirring frequently until brown, then remove it from the hot pan quickly so it doesn't burn.
And if you want a mess-free experience, you can shape your treats in a muffin tin and bypass the hassle of additional utensils. You'll simply want to coat your muffin cups (or mini-muffin cups) with nonstick spray and press the mixture inside for a batch of perfectly uniform dessert bars.