The Ziploc Hack That Will Change The Way You Make Pancakes Forever
Pancakes make for a great breakfast that is hearty and filling but also satisfies your sweet tooth. Even when you have a trustworthy pancake recipe in your arsenal, you may find post-breakfast cleanup to be a bit of a hassle due to all the spoons and bowls. Then there's the matter of transferring pancake batter from a bowl to the frying pan, which can be equally challenging. Fortunately, there's an easy method you can use to boost efficiency and reduce cleanup.
Simply create your batter in a Ziploc bag, as opposed to a bowl, and snip off the tip of the bag to easily squeeze it into the pan. Along with eliminating the mess often associated with pancake batter, the Ziploc bag trick also provides greater control over how much you pour into the pan. The concept is similar to frosting bags, which enable bakers to apply the perfect amount of frosting to baked goods in a controlled manner. However, before trying this out, you'll want to get your batter just right.
How to achieve the perfect batter consistency
When making Ziploc pancakes, it's best to add your dry ingredients, such as flour and baking powder, to the bag first. Once these ingredients are fully incorporated, wet ingredients come next. However, you should let wet ingredients reach room temperature before adding them to the bag, as cold ingredients are less likely to achieve the airy consistency you're going for with the finished product.
As for mixing your batter, stirring vigorously can cause more gluten to form, which can get in the way of the desired texture. The more gluten that forms, the less airy the pancakes will be when cooked. Accordingly, use a spoon to mix the ingredients in the bag lightly, but don't overdo it. After you've successfully combined all the components in the bag, allow it to sit for at least five minutes. The goal is to have the dry ingredients become completely saturated by the wet ones.
Additional tips for creating the perfect pancakes
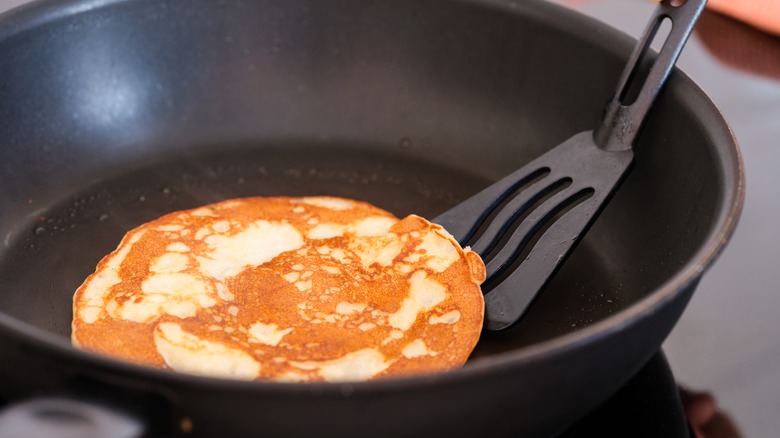
Flipping pancakes at the right time ensures each side is perfectly done. Flipping too early can result in batter breakage while flipping too late can cause one side to become burned. Fortunately, there are a few key signs that indicate it's time for flipping. In many cases, the batter will start to bubble on the side facing up when it's time to flip. At this point, gently lift the underside of the pancake to check for doneness. If things are looking good, feel free to flip. Keep in mind that your stovetop should not be set on high, or the batter could become singed.
How you cool the pancakes after they're done cooking also impacts quality. If you have a wire baker's rack handy, distribute finished pancakes on top of it and allow them to cool down before serving. A rack facilitates good airflow, which helps create the best texture. If pancakes are touching as they cool, there's a greater chance they'll become too sticky. Spreading out cooling pancakes also prevents them from sticking together, which ensures the finished product is as visually appealing as it is delicious.


