How To Properly Clean And Maintain A Deep Fryer
Restaurant-quality deep-fried foods are a thing of beauty, but if you don't have the right tools, making them at home can feel almost impossible. Sure, you could deep fry them in a pan with oil, but doing so evenly is complicated. The solution is simple: Buy a home-use deep fryer. Problem solved!
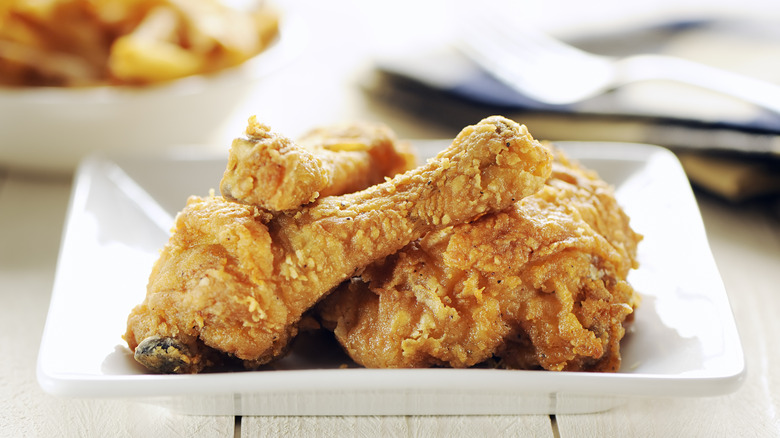
After you've prepared your first batch of fried chicken in your newly minted appliance, you feel good about your purchase, and then it occurs to you: "Wait, how am I supposed to clean this thing?" You've now run into the single most challenging part of using a deep fryer: cleaning it. Don't worry, though; it may be a multi-step process, but as long as you pay attention and take your time — and don't skip any steps! — your new tool will be good to go again in no time.
The good news is you don't need to clean your deep fryer after every use; even the oil will stay good for multiple frying sessions unless some sort of contaminant has gotten in there. If you use it once a week, you should thoroughly clean it roughly every three months.
Be careful with the cooking oil
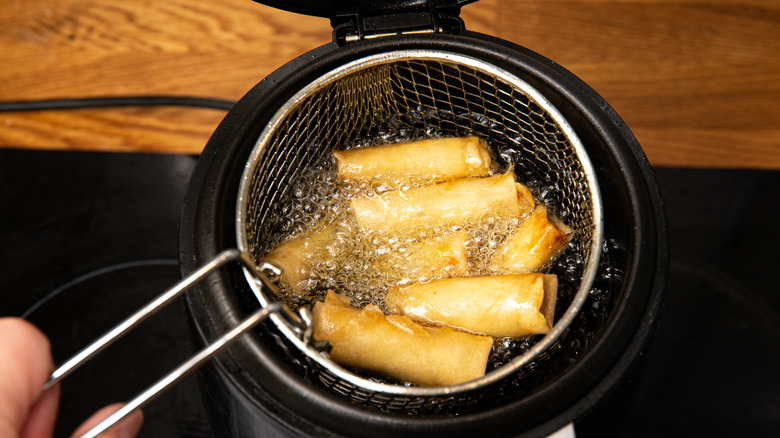
When you're ready, the first step is deceptively simple but exceedingly important: Ensure the oil is completely cooled down before you start. Hot oil is no joke; that stuff can really hurt you. Next, the frying basket is the simplest part; just put it in the sink and clean it with soap and water. If stubborn bits are stuck on there, a non-abrasive brush (or a toothbrush in a pinch) can take care of them.
Now it's time to dispose of the oil itself. Never pour oil down the drain; that's a sure way to clog your pipes, not to mention potentially the sewer system itself. You want to lift the oil reservoir out of the deep fryer and pour the oil into another container (a funnel can work well for this step). From there, you can safely dispose of it in the trash.
Once you've dealt with the oil, you're down to cleaning the fryer. Scrape the sides first for anything stuck to it; you can use something relatively abrasive here (or just a plastic scraper) without worry. Once you've gotten everything unstuck, add a bit of dish soap and fill the bowl with hot water. Don't clean the fryer in the sink; you don't want to expose the fryer's electrical components to water.
Make sure the fryer is dry
Now it's time to let the fryer do the work for you. Turn it on and bring the water to a boil, letting it go for 5-10 minutes. Don't let all the water boil away; that can cause soap particles to cling to the sides and become baked-in, and nobody wants soapy fries. After you've let it run, turn it off, unplug it, and wait for it to cool down. Then dump out the water, use a cloth to get any remaining issues on the inside, and dry it thoroughly, letting it air dry afterward just to be sure. If you use your deep fryer when it's still wet, it can explode; this is why frozen deep-fried turkeys are so combustible.
If, for whatever reason, that hasn't gotten all the stubborn bits off, there's one trick left up your sleeve: Use baking soda; it's the cleaner's best friend. Make a paste of baking soda and hot water, then work that mixture into the trouble spots. Leave it on for a few minutes, clean it off, and you should be all set.
Deep fryers can be a great addition to a kitchen, but any time you're dealing with hot oil, you must be careful. As long as you follow these simple cleaning instructions, you should be safe and sanitary. Ultimately, your deep fryer will treat you as well as you treat it.