16 Tasty Tips For Making Homemade Ice Cream

When the sun is out and you're in need of a delectable yet refreshing dessert, ice cream is there to save the day. It's definitely an enjoyable venture to make ice cream from scratch because you have endless options to be creative with different flavors and ingredients. However, before you embark on your delicious project, it's crucial that you know these fundamental tips for making ice cream.
While the basic formula usually consists of milk, cream, flavorings, sugar, and sometimes eggs, there are many approaches you can take so that your ice cream reaches a new level of impressive. For instance, if you allow the custard base to rest in the refrigerator or incorporate special ingredients, you can achieve an incredibly soft, velvety texture. Not to mention, it takes a certain amount of attentiveness to incorporate a dreamy fudge swirl. Don't overlook these worthwhile tips and tricks, or you'll miss out on a profound dessert experience.
1. Choose high-quality ingredients

Pick dairy products with high-fat content for the best results. Ultimately, the more fat you have in the milk or cream, the richer and less icy the ice cream is. Because unfortunately, what happens when you make ice cream with skim milk is that its consistency just isn't the same. Additionally, if you plan to use chocolate in your ice cream, choose the fine-quality stuff. Whether you use melted chocolate in the base or have chocolate chunks in the final product, it makes a difference in taste and texture.
You can even get picky with cocoa powder, too; stay away from products with a chalky mouthfeel. Another example is to use fresh vanilla bean pods instead of imitation vanilla extract. Although it's cheaper to buy bottled products, nothing compares to the real deal. This applies to any ingredient you use — think fresh spices you can grind, local honey rather than commercial, or kosher salt instead of iodine; every little detail matters.
2. Work carefully with the eggs

There's debate on whether or not you have to make ice cream with eggs, but the truth is that eggs benefit the sweet treat because they make it extra rich. However, when you use them, do it safely. If your recipe involving egg yolks requires you to heat the milk mixture separately, then you likely need to mix the eggs in at some point. When you do so, make sure to temper them, which means you slowly incorporate them, preventing them from scrambling from the hot liquid. Specifically, whisk the eggs with one hand and slowly pour a thin stream of the milk into it with the other hand (do this until you combine about half of the milk into the eggs).
Then, gradually pour the eggy mixture into the pot with the remaining milk. Furthermore, use a cooking thermometer until the mixture reaches 160 degrees Fahrenheit, which is the safe temperature at which you can consume eggs, as stated by the U.S. Department of Agriculture (USDA). If your recipe calls for raw eggs, use pasteurized eggs to lessen the chance of foodborne illnesses like salmonella, as reported by USDA.
3. Don't scorch the milk
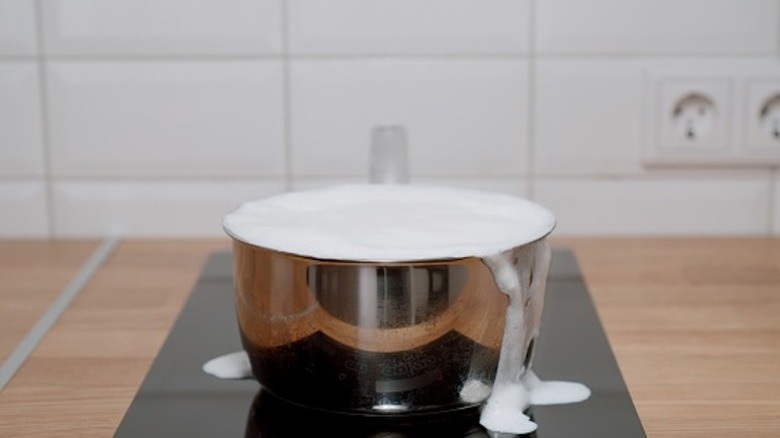
Bear in mind; there is a difference between scalded and scorched milk. Some ice cream recipes might call for the extra step of scalding when you bring milk to a near-boiling point to weaken the dairy's protein, specifically the whey, and make it easier to take on other flavors. For instance, with French vanilla ice cream, you want that pronounced vanilla flavor. However, scorched milk is essentially just burned milk. When you don't watch your hot pot close enough and the milk scorches, it burns on the bottom and sticks to the pan, which gives it an unpleasant flavor.
The little burned pieces can come loose from the pot when you mix it with a whisk, and then there are little brown specks in your ice cream base (no thanks). When you heat the milk and cream, try not to step away from the stovetop unless necessary. It might be a pain to babysit it, but it's worth it in the long run because your custard base is the best quality.
4. Strain the base with certain recipes
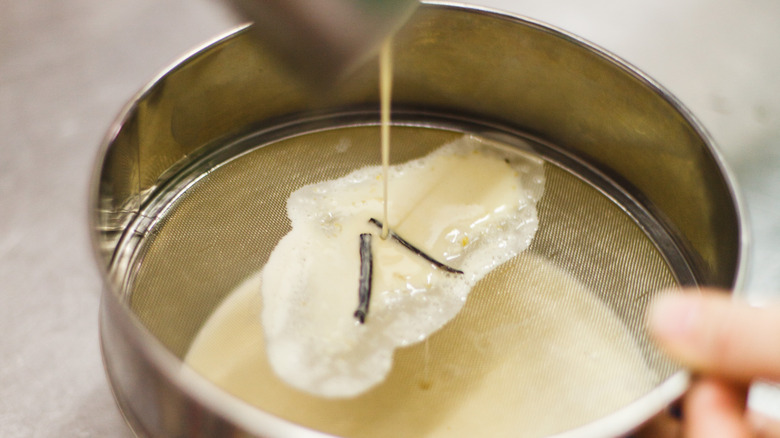
For a smooth and creamy mixture, strain the base before you churn it. The best option is a fine-mesh strainer since it catches any impurities, even those that are small. Namely, use something like a chinois rather than a colander. This step is especially important when you use ingredients like citrus zest or peels, fresh herbs, or vanilla pods. You should even strain simple recipes like tahini ice cream to remove unwanted tiny egg proteins. Because no matter how careful you are when you heat the eggs, sometimes you still get small lumps that don't effortlessly blend into the base.
Usually, you can run the liquid through the strainer directly after you remove it from the heat. However, in certain instances, you can wait to strain it, like if you want to leave whole vanilla pods in the base overnight so their flavor really shines. Then again, you might not want to keep soggy basil or mint leaves in the liquid for too long, so it's all up to your judgment.
5. Use a stabilizer
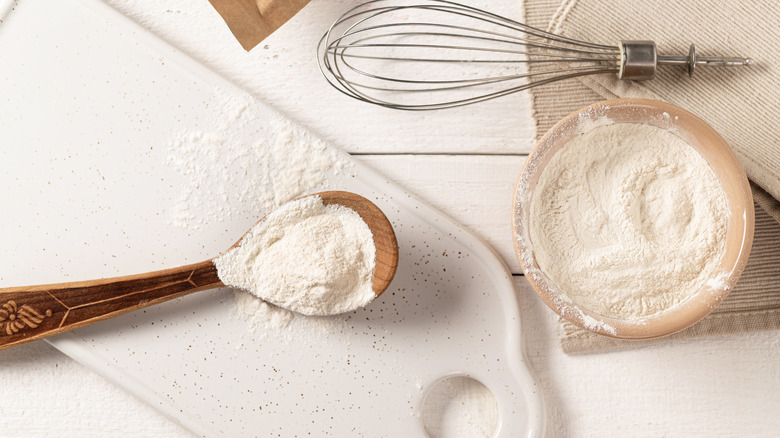
Pastry chefs often add stabilizers to their ice cream because they improve the frozen dessert's texture and prevent it from melting quickly when you have it at room temperature. As mentioned earlier, some ice cream recipes have an egg custard base, which is a stabilizer in itself. But there are other stabilizers, like guar gum, gelatin, locust bean gum, and xanthan gum. Gum thickeners work well in desserts because they have a neutral taste and don't cover up other flavors in the recipe. Hence, you don't need to worry about it making your ice cream taste funky.
Not to mention, you only need them in small amounts for them to stabilize the sweet treat, and you can likely find one at your local grocery store. So, there's no harm in buying a stabilizer because they're ready for use, and you just have to measure the correct amount. When it comes to gelatin, it's colorless, odorless, and helps the ice cream set, which is great for the recipe, but not everyone likes that it's an animal by-product.
6. Know how to go about mix-ins
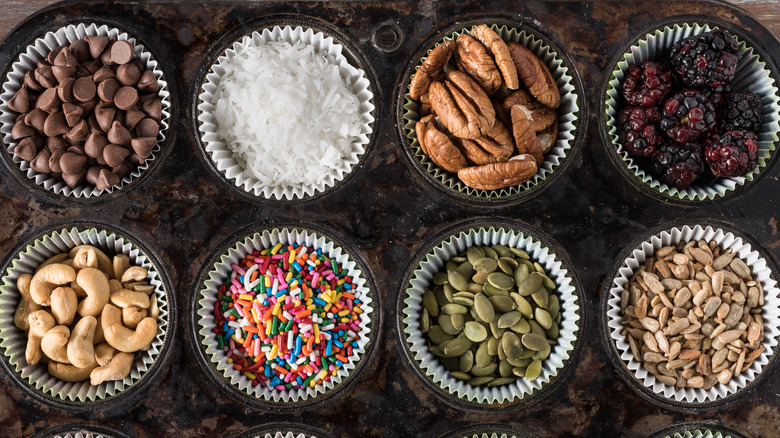
Although you can make plain ice cream, part of the fun is that you can add unique mix-ins. When you pick the different elements to add to the ice cream, choose smaller-sized ingredients like chocolate chips, nuts, or sprinkles. With larger components like Oreos or candy bars, chop them beforehand to make the pieces more bite-sized. Also, don't add them to the base before you churn it. This just destroys them, especially if you have delicate fruits. The best way is to either add them to the machine when the ice cream is almost done churning or to fold them in afterward.
While it's messier to add them by hand, you can control where the mix-ins end up in the final product. Furthermore, if you want to add hot fudge or caramel sauce, wait until they cool down before you add them to the fresh ice cream. Any hot ingredients melt the ice cream and sink to the bottom. Although the sauces are thicker when you chill them, you can put a base layer of the ice cream, spread the sauce, then continue layering until you reach the top of the container. Lastly, use a utensil and dig into the ice cream, making figure-eight movements. Before you know it, you've got perfectly swirly ice cream.
7. Chill the ice cream base and tools

Preparation is something you can't skip when you're determined to make the best ice cream. Therefore, make sure to transfer baking tools such as spatulas to the freezer for a while before you use them. You can even pre-freeze the storage container you'll use. This way, when you work with the ingredients, it doesn't affect their temperature, even in the slightest. And don't forget to give your ice cream base plenty of time to chill, too; this helps the ice cream churn much easier, and the end result has a perfect mouthfeel.
Yes, it'll get done with a room-temperature batter, but it's much quicker when it's cold on cold, so aim for overnight refrigeration. Not to mention, when the mixture rests, it becomes thicker and allows all of the flavors to combine. You can also run a final taste test on the base after it sits in the fridge, and you might find that you need an extra splash of flavoring or spices.
8. Add special ingredients to make it softer
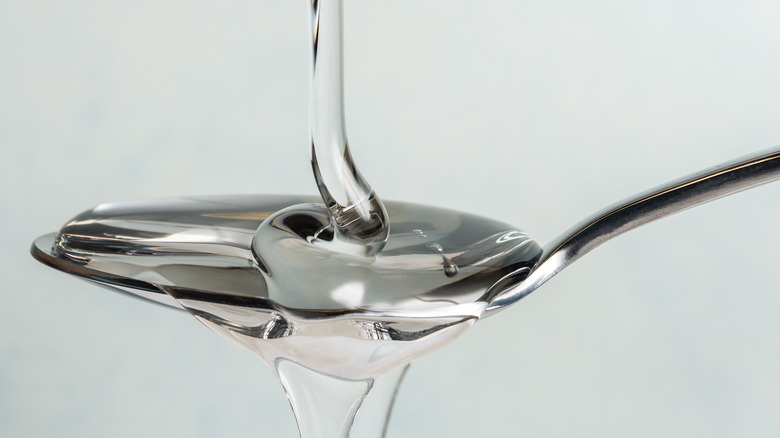
You can add special ingredients to ice cream if you want it to turn out softer than usual. The first two options are honey and corn syrup, both liquid sweeteners that improve the ice cream's texture. You can experiment by decreasing your sugar amount so you have room to work with one of these options. To start, substitute them for half the sugar in your original recipe, and you'll notice how much softer the final product is.
Another route is to use evaporated milk as a substitute for whole milk in the recipe. You can even use the evaporated milk with honey or corn syrup in the same recipe for super soft ice cream. Lastly, another ingredient that benefits ice cream is alcohol since it lowers the temperature at which the dessert freezes. Therefore, the dessert doesn't set as hard, making it easier to scoop and enjoy. You don't need a lot, though, only about 1 tablespoon of alcohol for every 4 cups of ice cream you plan to make.
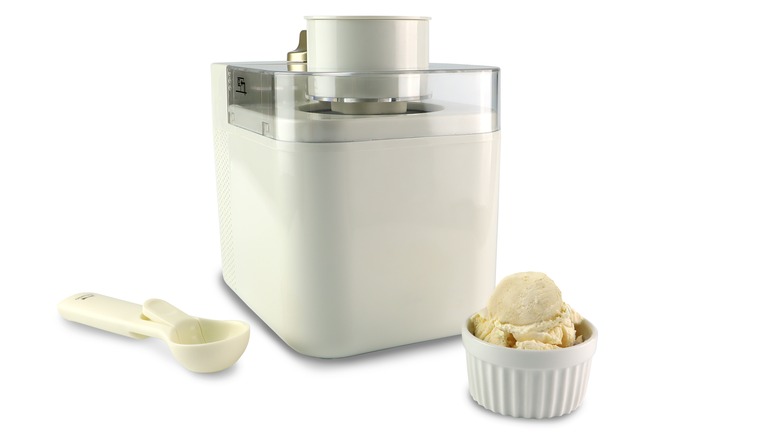
9. Turn on the machine before you add the base
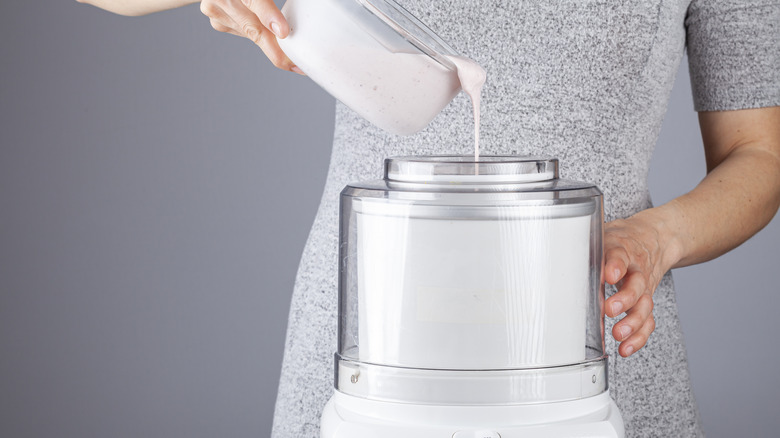
No matter what kind of ice cream maker you have, turn the appliance on before you do anything with the ice cream base. Above all, you don't want to pour the mixture in while the machine is off because it starts sticking to the sides. This happens almost instantaneously because the ice cream and the gadget's interior are cold — which is what you want. But unfortunately, clumps form if you're not careful.
Worst of all, you might accidentally damage the machine by doing so since it can't churn the mixture due to the frozen dessert clinging to the walls. It makes it difficult for the paddle to scrape the sides and smoothly mix the ice cream. So, after you press start on the appliance, slowly pour the liquid mixture inside to avoid overwhelming the gadget and making a mess. With a slow and steady stream and a moving paddle, you won't have any problems.
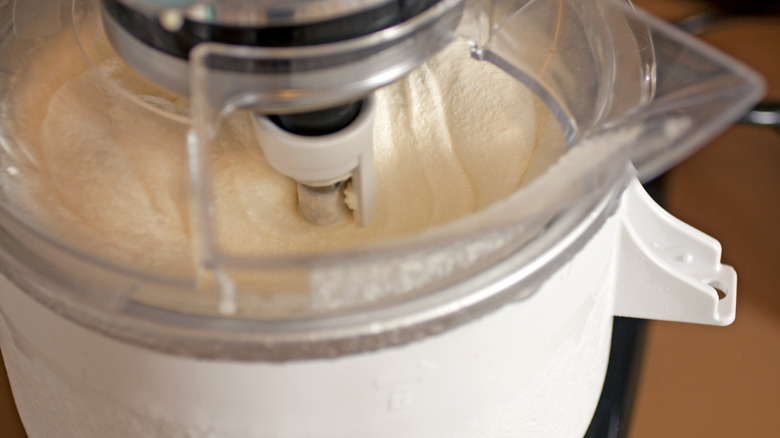
10. Don't fill the appliance to the brim
Like any appliance, whether an air fryer or a food processor, an ice cream machine can only take so much. First, overfilling makes it more strenuous for the appliance to do its job correctly; it takes much longer for the ice cream to mix and thicken. Especially if you want fluffy ice cream, you need to allow some room for air to whip into it. Second, it can be quite messy in the kitchen if it spills over.
You certainly don't want to clean up the sticky ice cream base because that means you can't eat it. So, when you pour the silky base into the machine, only fill it ¾ way up. If anything, you might have to make a couple of batches if you can't squeeze all of the batter into one batch. Keep in mind that every ice cream recipe (and appliance) is different.
11. Don't have an ice cream machine? Take advantage of other appliances
Home bakers might not own a full-on ice cream machine, but how about a KitchenAid? Or a countertop blender? There are undoubtedly ways to make the sweet treat, even if an ice cream maker isn't within the budget. Make recipes like cake batter ice cream, which requires blending a few ingredients until combined. Blender-made ice cream actually turns out quite smooth and delicious; it just isn't as light as slow-churned ice cream. You can make it fluffier by folding something like Cool Whip into it, though.
Furthermore, KitchenAid has a unique attachment you can buy for your stand mixer; it comes with a bowl, a special paddle, and a piece that connects to the mixer's motor. KitchenAid states that it's best to freeze the bowl attachment for at least one day before you use it so it has time to chill thoroughly. Aside from that, it's as easy as using an ice cream maker because you just turn it on, churn the base, and then add the mix-ins.
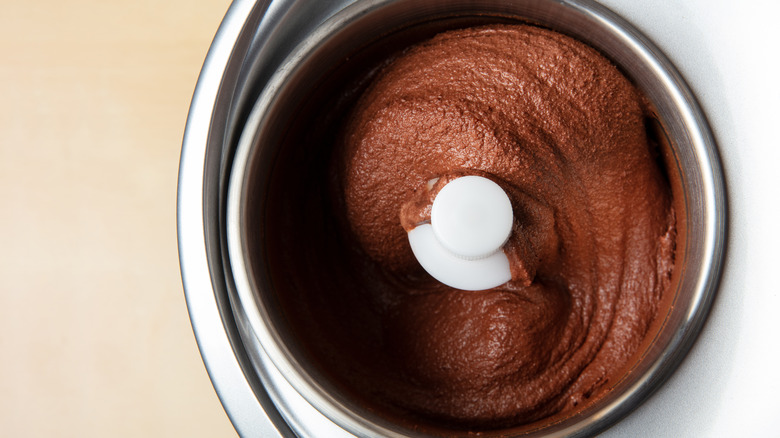
12. Check on its consistency
Of course, it's always a good idea to follow recipes because they have helpful guidelines for you to follow. However, that doesn't mean you can't use your best judgment. Sometimes, ice cream churns quickly and is ready sooner than you expect, or vice versa. Therefore, remove the dessert from the appliance once it reaches a certain consistency, not only if it's been mixing for a specific time. The thickness that you're looking for is like a soft-serve ice cream. Ideally, it's not liquidy but not too stiff, either.
A good test run you can do is to scoop a small amount of ice cream into a bowl and run the back of the spoon over the top of it. In a perfect world, the ice cream holds shape. There can't be liquid that runs into the little gorge you create. If you remove the ice cream from the machine too soon, it won't freeze correctly, so it's important to know what a perfectly churned ice cream looks like.
13. Store it correctly

The last thing you want is for your ice cream to go bad faster than usual or have an icey feel to it. Luckily, you can use some tricks to prevent your ice cream from getting freezer burn damage. Firstly, you can cover the ice cream with wax or parchment paper to give it an extra layer of protection. When you use this trick, you still need a lid, but since the wax paper directly touches the frozen treat, it makes it harder for ice to form on the surface.
Additionally, try to use shallow containers when you store it because it's easier for the ice cream to set if it's spread out. It doesn't matter if the container is plastic or metal as long as it has a tight-fitting lid. Glass containers aren't ideal because it is hard to find freezer-safe glass and also because it actually inhibits the ice cream from freezing.
14. Properly clean the machine
It's crucial to clean your ice cream machine after each use to keep it in good shape. Additionally, if you make different flavors, rinse the machine between the different types of ice cream. Even though cleaning may not be the most enjoyable task, it removes harmful bacteria that might appear if you don't take the proper steps. Either way, you likely need to take some parts off to complete the job thoroughly. You not only practice food safety with proper maintenance, but it also extends the life of your appliance.
Of course, it's much easier with mixer attachment bowls since you can clean them like a regular bowl. But, when you use an ice cream maker that can make larger amounts at a time, you might need to run a short cycle with hot soap and water through the machine. Refer to your ice cream maker's manual for specific cleaning instructions since each one is unique.
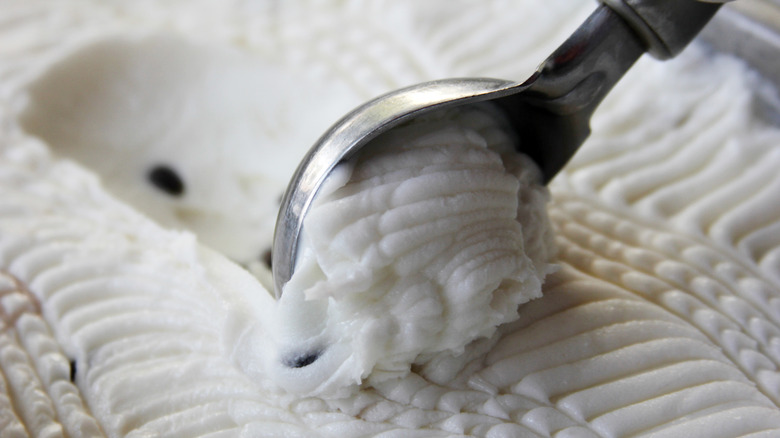
15. Soften it before you serve it

Homemade ice cream often gets rock-hard in the freezer, which makes it challenging to scoop. Although it's not soft when you initially take it out, it just needs some time. You can plan ahead and remove it from the freezer 15 minutes before you serve it, which allows it to soften to the perfect consistency. Another option is to switch it from the freezer to the fridge and let it sit longer to reach the softness you prefer. Either way, avoid doing this to the same tub of ice cream repeatedly. It's not good for it to soften and then re-harden several times.
Lastly, there's a simple hack to soften hard ice cream: run ice cream scoops and knives under hot water. Give them 30 seconds to heat up, then cut small squares into the hot ice cream with the knife to soften the top layer. Then, use the scoop to serve the sweet treat easily. Oh, and don't microwave the ice cream, even if it seems like a clever solution. In reality, it just makes the sides runny while the center is still hard.
16. Be aware of its shelf life

Since homemade ice cream doesn't have certain preservatives or additives like store-bought ice cream typically does, it doesn't stay fresh for as long. Those added ingredients help the dairy and other components hold up much longer. Even if you use stabilizers like the ones we mentioned earlier, your from-scratch dessert won't outlive processed ice cream, and that's okay! However, depending on the base you make, your homemade treat might only last a couple of weeks before its quality deteriorates.
It's not necessarily that freezer burn makes you sick. The USDA states that food is still technically edible if it's visibly icy; it just doesn't taste as good or have the creamy consistency anymore. Instead, its texture turns gritty and unpleasant. Therefore, when you go on an ice-cream-making adventure, try not to make so much that you won't be able to enjoy it all before it loses its quality.