11 Mistakes You're Making With Icebox Cake
With such minimal ingredients, it's easy to assume that icebox cake is impossible to mess up. However, as with any other recipe, there are certain mistakes you need to avoid that greatly affect the sweet treat's mouthfeel, taste, and appearance. The term "icebox cake" undoubtedly illudes you into thinking it contains cake, even though it doesn't. Not only that, but many people often confuse the dessert with ice cream cake, thinking they are one and the same.
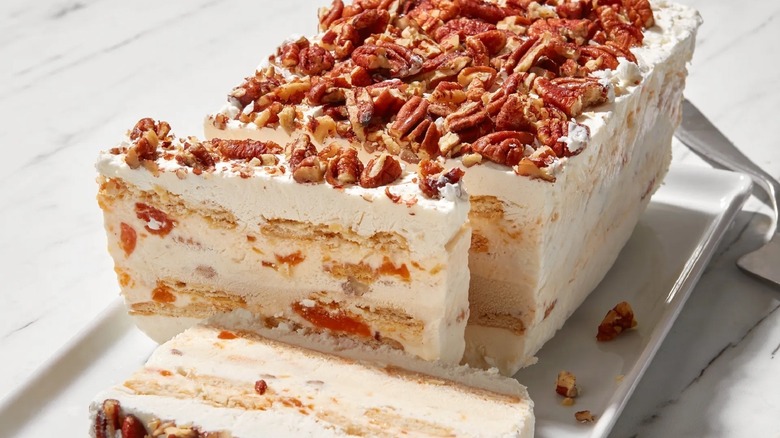
However, icebox cake is its own thing, which traditionally consists of whipped cream and wafer cookie layers; the cookies moisten from the creamy component, which transforms them into a texture similar to cake. This delicious dessert got its name from the icebox cooler, which was a previous version of the refrigerator. Mr. Appliance states that in the 1800s and leading into the early 1900s, people kept their delicate foods in the nonelectric appliance with a big hunk of ice to keep everything cool. Since the icebox cake is a no-bake sweet treat, folks stored them in the icebox for the ingredients to solidify and the flavors to marry.
Although you don't need to worry about under or overbaking the dessert, you do need to worry about having uneven layers, not the right balance of flavor, or a mushy consistency. It's a smart idea to familiarize yourself with these mistakes so you can determine which factors are to blame for your unsatisfactory dessert or to avoid a lousy dessert altogether.
1. Using cookies that aren't suitable
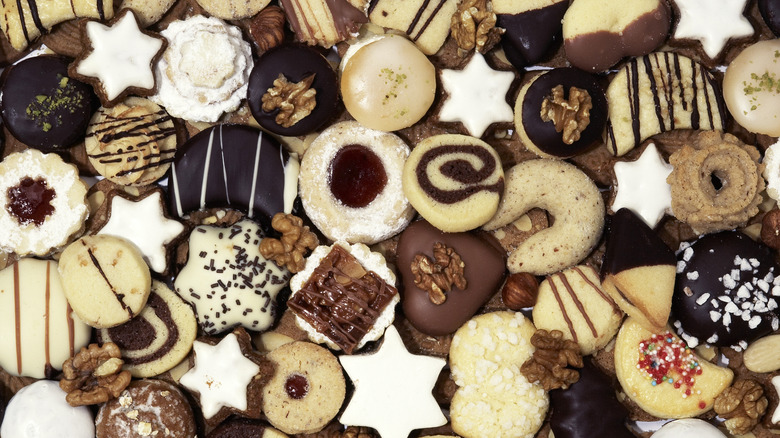
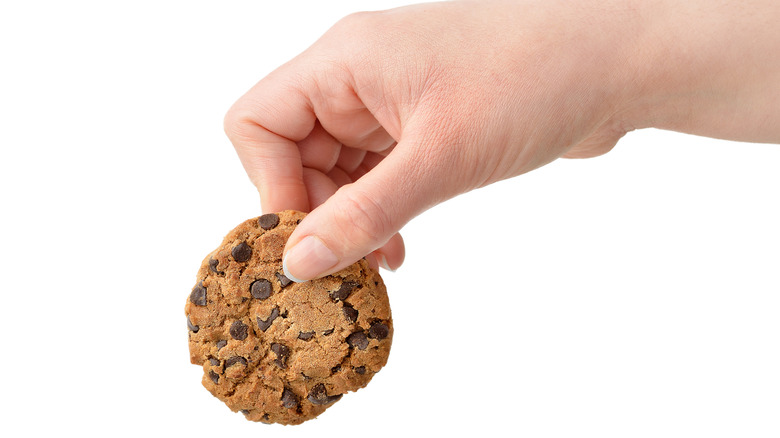
Since you want the cookies to become softer, you mustn't choose ones that have difficulty absorbing moisture. Otherwise, when you dig into the cake, the cookies aren't as soft as they should be and don't have that cakey texture. And let's be honest; nobody wants to cut into an icebox cake with crunchy wafers when you expect the opposite. Specifically, super dense or thick cookies are not ideal for this type of dessert.
Unfortunately, if you make this sweet treat with ultra-chunky homemade cookies, the result will be dissatisfying. Furthermore, stray from using wafers with ganache or frosting already on them because the coatings block the creamy components so they can't seep in. Fudge-covered cookies or the classic store-bought iced sugar cookies generally aren't great options. If you have your mind made up about using the frosted sugar cookies (or even Oreos), you can always remove the icing component and mix it into the whipped cream mixture. That way, you still have the flavor you're looking for, and the cream can access all sides of the cookie.
Of course, the easy route is to use thin, crisp cookies because they are easy to layer uniformly, and their structure weakens when you pile them between fluffy layers of whipped cream. Some appropriate choices are wafers, graham crackers, ginger snaps, ladyfingers, or thin store-bought cookies.
2. Making the whipped cream too soft
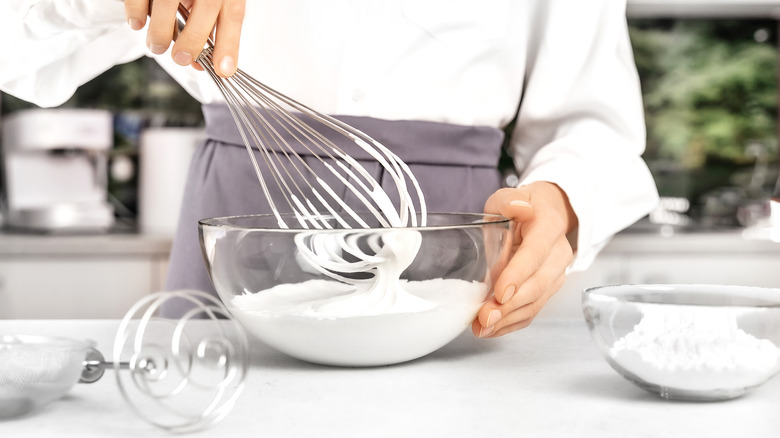
You might think the whipped cream needs to be relatively loose to hydrate the wafers better, but that isn't necessarily true. The right cookies will have the perfect amount of delicacy, and they don't need the cream to be soupy for it to work its magic. When you assemble an icebox cake with unstiffened whipped cream, the cake doesn't set as it should. Then, when you remove it from the refrigerator and plate it, the dessert slice is rather limp and doesn't have the structure to hold itself up. Therefore, don't apply the whipped cream to the dessert unless it has reached a medium or stiff peak.
If you want to be safe, you can add dry pudding mix to the cream so it stabilizes more effectively; milk powder produces the same effect. If you use another soft ingredient in addition to (or as a substitute for) the whipped cream, avoid using overly wet ingredients that leak out of the cake. To thicken the components, you can always add something like agar-agar or powdered gelatin. In terms of yogurt, the Greek kind is optimal because it is naturally thicker than regular yogurt.
3. Not experimenting with ingredients
Icebox cakes with only wafers and cream can be boring, both visually and taste-wise. Even if you're in a rush to build the dessert, there are plenty of ways to jazz it up with different fillings and add-ins. For instance, as mentioned earlier, there are numerous other creamy components you can use in between the cookie layers; some examples include mousse, puddings, sweetened Greek yogurt, ricotta, or Cool Whip. Also, you don't have to flavor the creamy component with just sugar; Don't sell yourself short.
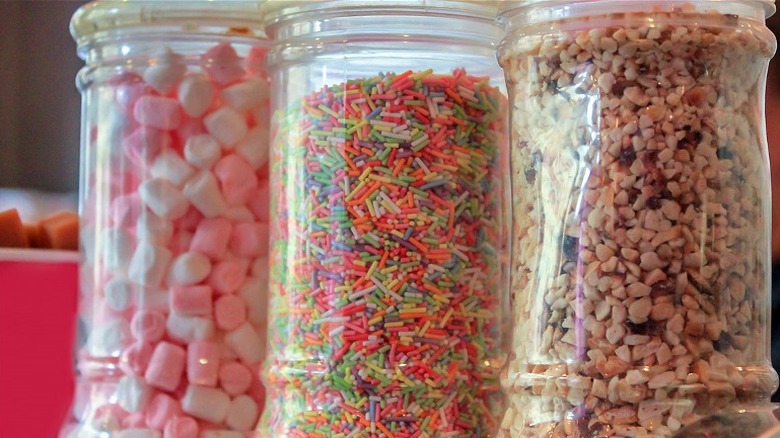
You can use baking extracts, cocoa powder, peanut butter, maple syrup, or honey to impart the filling with a different taste. Additionally, you miss out when you don't use fun add-ins such as chocolate chips, fresh fruit, nuts, or sprinkles. When you use these extra components for the dessert, don't overdo it, though. Otherwise, it can make it hard to run the knife through the cake when you serve it. Too many hard ingredients will result in uneven cake slices. Not to mention, you shouldn't forget that when you refrigerate your cake, the cold will also harden ingredients like chocolate chips; leave space in between them when you scatter them.
Lastly, if you want your add-ins to also act as a garnish later on, don't place the toppings on until the last minute so the cake turns out much more polished. If you only have a limited amount of nuts or sprinkles, reserve some before you use them in the layers.
4. Only using glass baking dishes

One mistake you likely make with this dessert is that you stick to a routine and build the icebox cake in a rectangular glass dish every time. While this works in some instances, it isn't always the best approach to take. Don't neglect to customize the cake for your specific occasion, how many servings you need, and whether you plan to unmold it. All of these factors determine which type of pan you should use. For example, if you only need a handful of servings, there's no need to make a large cake and possibly create food waste when you can simply assemble a smaller one in a loaf pan.
Or, if you plan to unmold the cake, refrain from making it in a dish where it will be a challenge to release the dessert in one piece; you can even utilize a springform pan to make the process much smoother. Lastly, don't forget that since the cake doesn't go in the oven at all, it doesn't have to be a heat-proof vessel. You can get creative and create a dome-shaped dessert in a glass bowl, which is certainly more exciting than if you use your passed-down and worn-out Pyrex dish.
5. Not correctly prepping for a cake you'll unmold
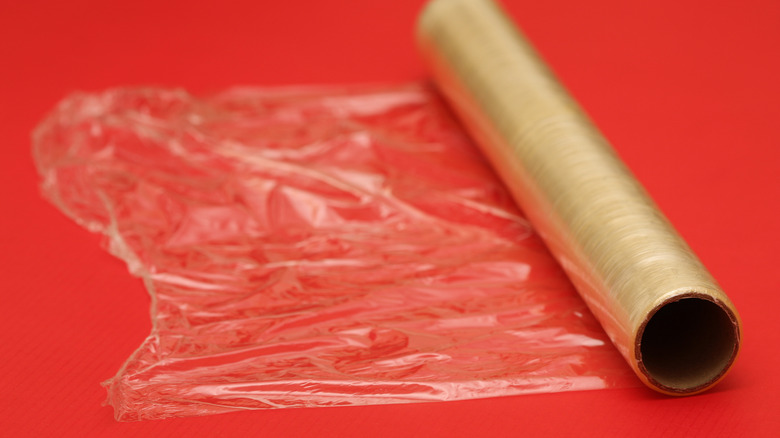
There is one slip-up you need to avoid with the no-bake icebox cakes you plan to serve outside of the pan. If you fail to line the pan with parchment paper or plastic wrap, it is a recipe for disaster. Since the dessert has such delicate ingredients, it can fall apart when you try to dig it out of a pan you didn't properly prepare.
After all, the easiest way to unmold it is to flip it upside down, but if the bottom of the cake sticks to the base of the pan, there is no way to remove it without destroying it. The worst part? That bottom layer ultimately turns into the face of the cake, which is the first part you likely notice about the dessert. Even if you go around the sides of the pan, you need that layer of plastic to help you out.
So, before you stack layers, the best technique is to cover the dish with plastic or parchment and leave 1 or 2 inches of overhang. Additionally, once you reach the last layer of the cake, don't pile on a surplus of whipped cream because it becomes the dessert's foundation. With too much cream, the base doesn't have the strength it needs, and the cake might droop. To avoid this, have your final layer be cookies with a very thin topping of cream.
6. Not adjusting the sweetness based on the cookies you use
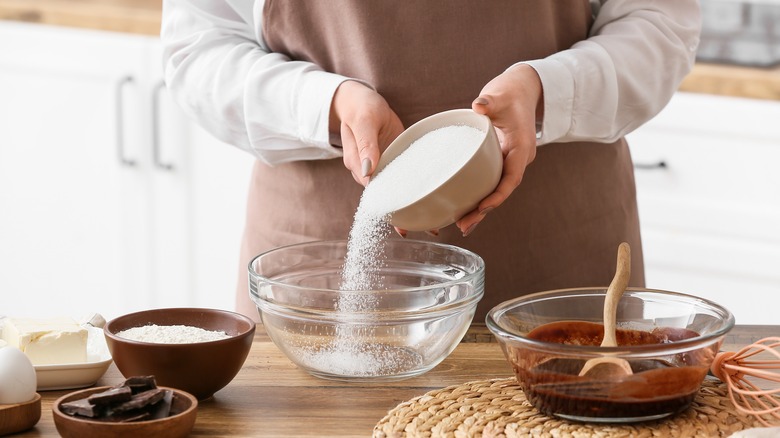
One of the most common errors people make with icebox cakes is that they don't achieve the appropriate level of sweetness; sometimes, it turns out sickly sweet or exceptionally bland. This might happen because many folks don't stick to a specific formula when they make this cake. Since it's a very adaptable dessert, home cooks may be tempted to take advantage of the ability to use as few or as many components as they want. That said, being overly flexible with your recipe could be a mistake.
Carefully consider the type of crackers you use, because their flavor dictates how much you should modify the filling. For starters, with cookies that are already super saccharine, you don't need to add tons of sugar to the whipped cream. Rather, allow the cookies to take the spotlight and the whipped cream to take the back burner.
The flavors combine the longer you let the cake set, so once you're ready to enjoy the dessert, it'll have the right balance you aim for. This remains true for the opposite situation; mild-tasting cookies need a sweeter filling to come to the rescue and supply the sweet treat with flavor. If you make a recipe and have to replace the required wafers for a different type of cookie, just make sure to account for the replacement; run a taste test and decide if you need to make some modifications.
7. Starting the bottom layer with cookies
One simple miscalculation you might make is using cookies as the first layer of the icebox cake, whether you expect to dish the dessert straight out from the pan or release it first. It's understandable why you would do so since it seems silly to place cream on a founding layer, but hear us out. First of all, filling the tiny crevices with the filling is troublesome because there will likely be some space even if you arrange the wafers in the pan uniformly. The more significant issue, though? One side of the cookies is in direct contact with the pan when they should touch a creamy component.
As a result, they remain hard, which defeats the whole purpose of an icebox cake. You might think that the whipped cream coating you spread over them is enough to marinate the entire cookie, but there is no guarantee. To make certain the dessert turns out right visually and texturally, you should spread a thin layer of whipped cream, mousse, or other filling into the bottom of the vessel. This is just one of the crucial steps to making a perfect icebox cake.
8. Leaving gaps between the wafers
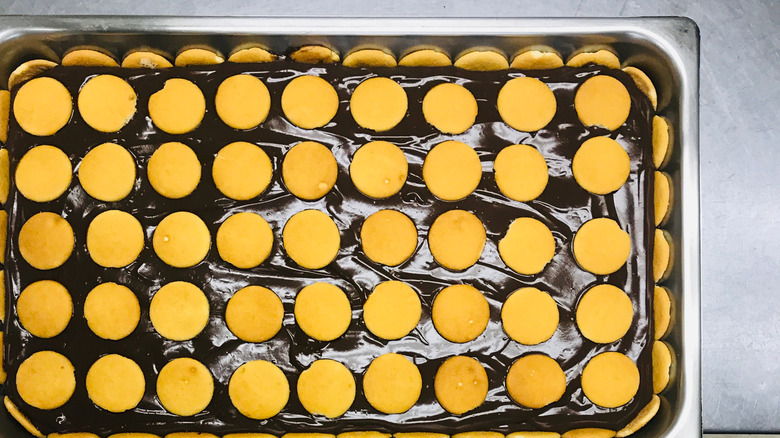
It's true that this sweet treat is relatively simple to make since it doesn't involve intense measuring or turning your oven on. However, that doesn't mean you should make the mistake of overlooking the small details — specifically, when you lay out the crisp cookies, avoid leaving any space in between them.
Maybe you don't realize that small gaps make a difference in the grand scheme of things, or maybe you just don't want to go through the work of breaking cookies into various shapes to make it right. Either way, when you don't fully cover the filling, you end up with extra air pockets (or whipped filling) where the cookies should be. This isn't detrimental to the taste of the dessert, but it is to the presentation. If you serve the sweet treat for a get-together, the layers look drastically uneven, and unfortunately, the cake appears sloppy.
Luckily, there are ways to make it easier for you. If you use a square or rectangular pan, then you can use graham crackers or other boxy crackers so that they fit better and you have fewer pieces to break. Likewise, round cake pans are an excellent option when you want to work with Oreos or chocolate chip cookies. No matter what, you'll have to do some puzzle work to make it all fit snugly.
9. Not giving enough time for it to set
If you make the blunder of serving the cake too soon, it won't be the right consistency. Whether you need to unmold it or not, the cake needs ample time to set. Otherwise, the creamy component is still soupy, and the crackers are still hard. The cake might appear solidified on the top layer, but that doesn't mean the center is ready. When you go to plate it, you'll find it hasn't reached its full potential; this is because the flavors need time to mesh, and the ingredients need to form into a single dessert you can slice.
The absolute best icebox cakes require four hours to soak (if not more), so don't make it on days when you need a quick dessert. If anything, you can make it a day in advance, so you don't need to worry about whether it will be solid by the time you need it. Icebox cakes that are soaked overnight typically have the most impressive quality.
10. Neglecting to cover it in the refrigerator

Once it is time to transfer it to the refrigerator, don't forget to cover the dessert! You might think that it being uncovered helps speed up the process or that it's fine to be left like that for a few hours, but there are multiple reasons why that's a bad idea. First, the fridge air makes the cookies closest to the surface dry or gives them a funky, stale texture. It also forms cracks on the surface of the cream, and its fresh look dissipates.
Aside from presentation purposes, the cake can take on lingering odors from other foods in the fridge, especially strong-smelling foods like onions or garlic. Furthermore, the most crucial reason why you should avoid storing food in an open dish is because of the risk of cross-contamination. Icebox cake is a no-bake dessert considered a ready-to-eat food.
According to StateFoodSafety, when you leave it uncovered, it might accidentally come in contact with raw foods that can transfer bacteria to it; this is why you must cover all food to practice food safety. Luckily, if you lined your pan with plastic wrap, you can fold the overhang onto the top of the cake, so it works as a built-in cover. If not, a new piece of foil or plastic works just as well.
11. Leaving it at room temperature before serving it
Once you go through the steps to make the cake and give it plenty of time to solidify, the last thing you want to do is throw all that hard work down the drain. Whether your sweet treat has perishable fruit like strawberry shortcake icebox cake or it's a basic s'mores icebox cake, you shouldn't remove it from the cooler too far in advance.
As you know, the Cool Whip or other milky filling requires refrigeration and starts to soften when you place it in warmer environments, such as in your kitchen or outdoors. Also, the cake just doesn't have the same satisfying appeal to it when you don't eat it chilled. Suppose you need to transport it to a different location where it'll sit out for a while — it's wise to carefully pack it and place the cake in a portable cooler so it maintains its freshness and quality.
If that isn't an option, you can put it in the freezer for a while before you move locations so it stays chilled for longer. However, the best-case scenario for this type of dessert is to keep it in the refrigerator until the very last moment, so you can garnish it and then scoop it onto plates within minutes.