The Training Wheels Every Beginner Needs For Icing Sugar Cookies
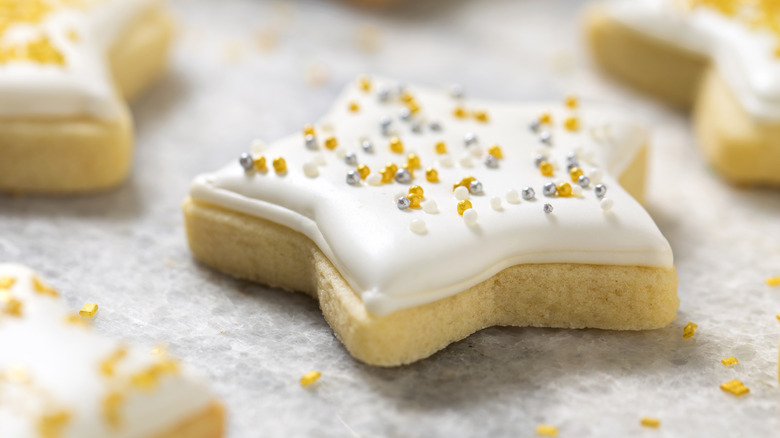
Whether you're a newbie in the baking world or someone who's been whipping up cookies for years, there's no denying the allure of perfectly iced sugar cookies. With their smooth and even surfaces gleaming with sugary sweetness, frosted cookies are a delicious and visually appealing treat that makes any occasion feel special.
But for many home bakers, icing sugar cookies is often the most difficult part of making these sweet treats look Insta-worthy. Just mentioning the act of icing might bring visions of messy blobs of frosting, or icing that drips down the sides of the cookie.
If that's how your sugar cookies often look, then it's okay to use some training wheels to master the art of icing sugar cookies. One of the best tips for icing sugar cookies involves using the cookie cutter as a guide. By using the unique shape of each cookie as a base for your icing, you can create a clean and professional-looking finish every time.
This simple hack is a great way to ensure that your icing looks as good as it tastes. However, simply placing the cookie cutter over the warm cookies isn't going to cut it. From selecting the right icing consistency to mastering the art of stenciling, we're about to guide you through each step of the process to help you make your iced sugar cookies stand out.
Using a cookie cutter as an icing guide
Using a cookie cutter as a guide will ensure that you don't end up with icing spilling out over the edges of your cookie. It may sound simple, but there are a few important things to keep in mind to get it just right.
First, make sure that your cookies have completely cooled before you start icing. If you begin too soon, the icing may melt off the cookie. Once your cookies are cool, you'll want to prepare your flooding icing. This type of icing is looser than piping icing, and is perfect for covering larger areas of the cookie.
Jen Yee, head of the pastry program at New York City's Lafayette, told Real Simple, "You want a firm icing for the border, and a looser one to fill or 'flood' in the border, which can be done by adding a touch of water to your 'flooding' icing."
If you're working with the cookie cutter, you might not need to ice the border of each cookie, but it's a great way to ensure your icing stays perfectly straight and smooth along the edges. As you work, keep your cookie cutter firmly pressed against the cookie (without digging into it). Don't worry if you make any mistakes; use a toothpick or turkey lacer to clean up any excess icing.
Tips for upgrading your cookie stenciling skills

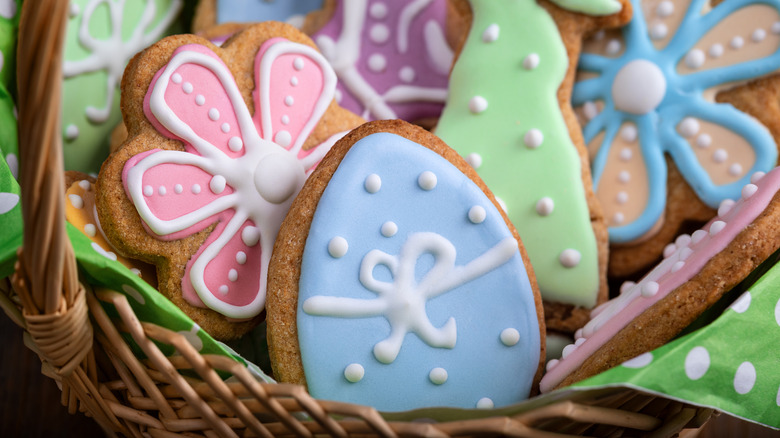
Using a cookie cutter as a guide to ice your cookies is really just the simplest way to stencil your desserts. And while this technique is perfect for beginners, those looking for a more stylish and sophisticated look should consider upgrading their stenciling game.
One way is to use a ready-made stencil, which can be found in most baking supply stores. These stencils come in a variety of shapes and sizes and are perfect for adding intricate patterns or designs to your cakes, cupcakes, or cookies.
However, custom stencils provide endless creative possibilities. Create your own using a sharp knife or scissors and a piece of parchment paper. Cut the paper into stencils, lay them gently on your cookies, and sprinkle cocoa powder or colored powdered sugar on top for a fun visual effect.
For added depth and texture, start with the cookie cutter hack to flood the top of your cookie. Let it dry, and then apply a thin coat of the smooth frosting on top of a stencil design with a small spatula. As the royal icing solidifies, it creates a raised, three-dimensional effect that's sure to impress your guests. From spooky Halloween cauldrons to elaborate animal cookies, the sky's the limit. Experiment with stenciling and unleash your inner artist. If you make a few mistakes along the way, just eat the failed cookie designs so nobody knows you messed up.