How To Easily Free Muffins From Their Tin Without Liners
Muffins are a quick breakfast treat that can be meal-prepped ahead of a busy week or baked and enjoyed fresh on a slow weekend morning. They're also a versatile bake, allowing you to use up the ripened bananas sitting on your countertop or to spice up a classic with creative glazes and toppings in recipes like blueberry muffins with a salted honey crumble. But when you reach for your muffin tin, you might realize you're out of liners to drop into the cups of the baking pan. This can deter bakers from going through with making their muffins or delay their baking so they can make an additional trip to the store.
However, there's no need to go through the extra trouble; muffin liners aren't actually necessary. Though they make for slightly quicker kitchen cleanup, muffin liners are mostly used for the decorative appeal. They add additional cost to baking endeavors, and as a single-use item, they generate a lot of unnecessary waste. Reusable options, such as nonstick silicone baking liners, are available, but it can be a pain to clean the crevices of each individual cup.
The good news is that you can bake muffins without using any liners at all. Muffins will pop out seamlessly from the pan, as long as you make sure to grease the baking tin generously prior to filling the muffin cups with batter.
Preparing your muffin tin
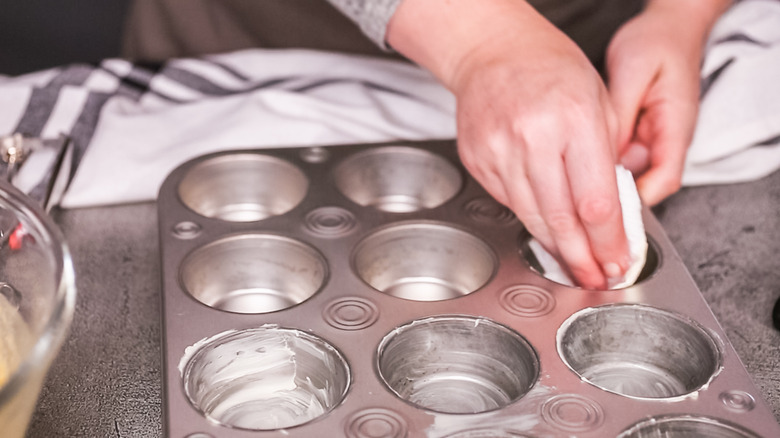
To prepare a muffin tin without the liners, there are a few options to ensure a slick release surface for the baking cups. To impart a little extra flavor, grease the pan with unsalted butter. Simply cut a tablespoon or two of cold butter and, holding it in your hand, rub the butter around each baking cup, slathering all the edges, crevices, and bottom of the cup.
You can also use melted butter or a neutral oil (such as canola) by placing a couple of tablespoons in a small bowl and using a paper towel or pastry brush to apply an even coating of grease to the baking cups. Cooking spray works well too and can be applied to the tray in an even layer of mist.
While it's important to grease the baking surfaces prior to distributing the muffin batter into each cup, avoid overdoing it. You just need an even, fatty coating (excess pools of oil in the cups can make for greasy muffins). Once greased, the muffin tin will be ready to use. For extra measure prior to filling unlined muffin cups with batter, some bakers like to add a light dusting of flour (a little goes a long way), evenly distributing the fine particles by holding the edges of the greased tin in both hands and giving the pan a shake.
How to avoid stuck muffin bits
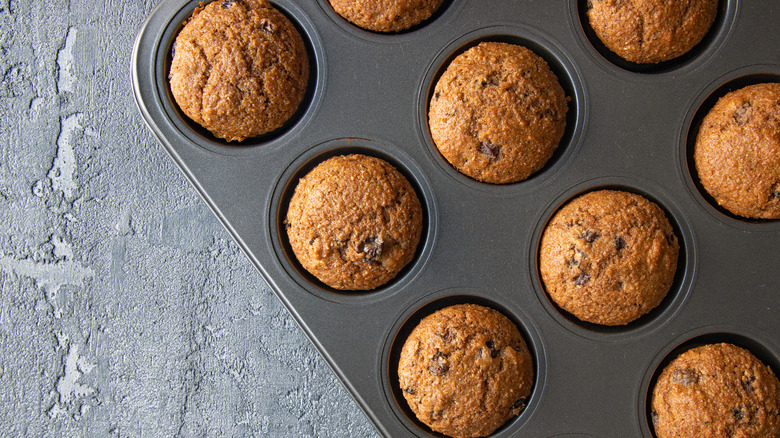
One of the biggest fears around baking muffins without paper cups is the dreaded stubborn muffin that won't release from the pan. Greasing the pan decreases the likelihood of this happening and allows you to ditch the muffin liners.
It's crucial to pay close attention to baking times to get the right muffin texture so they can be removed from the pan easily. Test the muffins for baking completion by inserting a toothpick or knife into the center and seeing if it comes out clean. Cool baked muffins in their tin on a wire tray for at least 10 minutes, as hot muffins are more delicate and prone to breakage. Once they've cooled, run a butter knife completely around the edge of each muffin to help seamlessly pop the muffins out of the tray. Then, remove muffins individually with your hands or flip your tray out onto a baking sheet or clean surface (if needed, lightly tapping on the bottom to the tin) to release all of the muffins at once.
If you suspect sticking, you can free moist, delicate muffins from the pan by cooling them and then transferring the tray to the freezer for 30 minutes to an hour to solidify the muffins prior to removal. To remove muffins that are on the crumbly and drier side, place a warm, damp towel over the muffins in the tray for a few minutes to introduce a bit of moisture and aid with release.