How Exactly Does A Sourdough Starter Work?
To make beautiful, crusty, no-knead sourdough breads like those you see on social media and in artisan bakery windows, the first step is making a sourdough starter. Sourdough starters intimidate some beginner bakers; they seem temperamental and needy due to their routine feeding and discarding. But once you have a robust starter going, it can be a breeze.
A sourdough starter is a type of wild yeast colony. There are more than 1,500 types of different yeast in the world known to scientists and researchers. But the typical commercial yeast packet contains just one strain of yeast. It was chosen and isolated by the first producers because it helped bread rise quickly. But that speed comes at a cost. It typically doesn't produce the same complex flavors that come from using wild yeasts.
Sourdough, on the other hand, is populated by multiple strains of wild yeast that are present in flour and in the air. It gives bread a complex, nuanced flavor as the wild yeast cells devour sugar and produce a diverse number of gases and flavor compounds through fermentation. It may not rise as quickly as bread made with commercial yeast, but that slow process also tends to make sourdough easier to digest.
How to make a sourdough starter
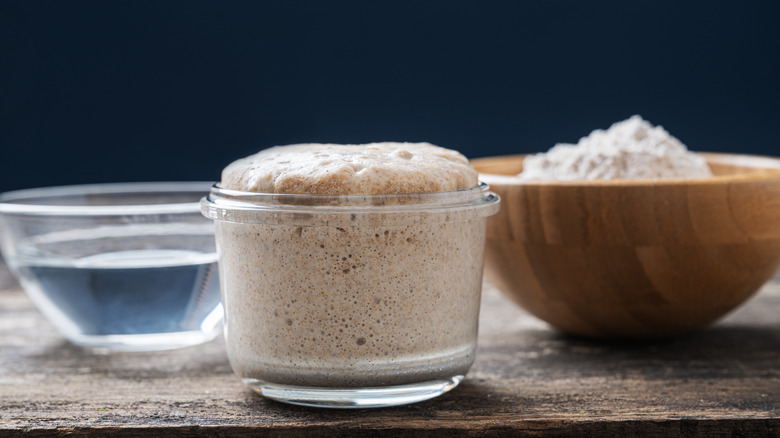
Making a sourdough starter is as easy as mixing flour and water. Sharing a sourdough starter is a common practice among bakers because it saves time and improves your chances of success, but it isn't required to get started.
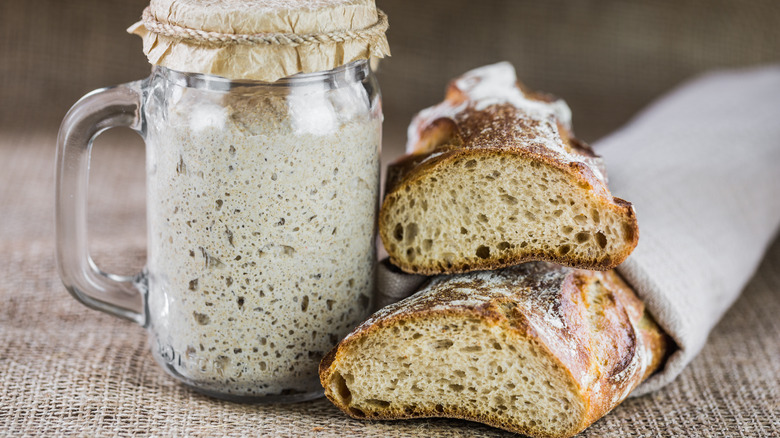
King Arthur Baking recommends starting sourdough with one cup of pumpernickel or whole wheat flour and one-half cup of water. Make sure that whether it's plastic or glass, your container is large enough to hold the sourdough starter as it grows. Sourdough starters can double and even triple in volume over time, so it's important to go with something larger than you think you'll need. Cover the container loosely, and keep it at room temperature for the first day.
The next day around the same time, whether it's grown much or not, discard about half of the starter and add the same quantity of flour and water. Mix it well, cover, and let it sit for another 24 hours. At this point you'll start to see some bubbles and smell a fruity, sour aroma. From here, keep repeating the process starting with about 113 grams of the starter (discard the rest), and the same volumes of flour and water until the mixture is doubling in volume.
How to use and maintain sourdough starters
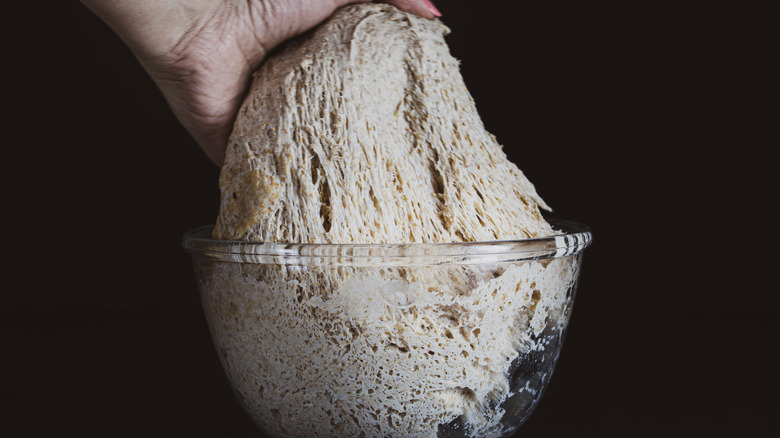
If you're ready to bake, you can test your sourdough starter with some warm water. The float test will let you know the starter is active enough to bake with. (If you want to save your starter to bake with another day or to save it when you're finished baking, you'll need to put it into storage.)
The activity of the yeast cells is dependent on temperature. Warmer weather will produce faster-rising doughs, and cold temperatures will produce more dense loaves that never quite got going. The same goes for sourdough starters. If left unattended at room temperature, the yeast may die after a few days or weeks. You'll know it's dead when it no longer responds to feedings, and you'll need to start the process over again. If you want it to last longer, you can keep it in the refrigerator and space out the feedings more generously. Just remember that you may need to take it out of the refrigerator and resume daily feedings to revive it before using it to bake.
You might even be able to revive a starter that's been left in the back of the refrigerator for months. Just restart daily feedings and keep it at room temperature until it starts doubling in size again. It's then ready for baking or storage — just try not to forget it this time.