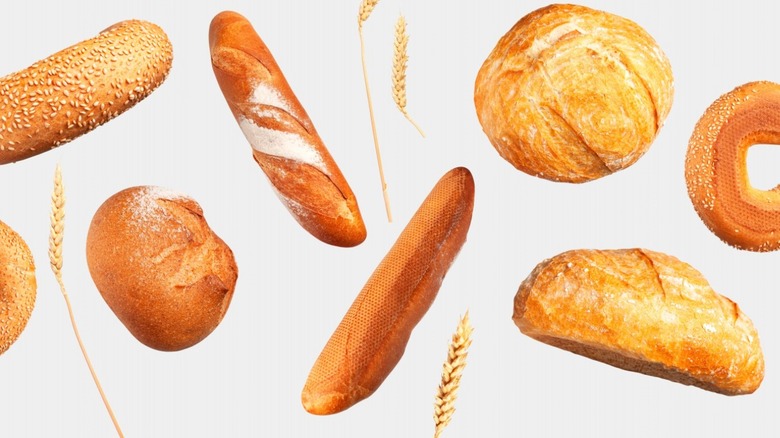
14 Reasons Your Bread Isn't Rising
We may receive a commission on purchases made from links.
Many people have taken up breadmaking at home over the past few years. Whether you are making a loaf of sourdough, crusty rustic loaves, or a sweet soft pillow loaf, one thing ties all bread together: the rise. Of course, getting the proper rise on bread can be a matter of practice, but if you have noticed your bread is not rising at all, you may be wondering why.
Bread uses different leavening agents to help achieve the perfect texture for the dough and final loaf. Some use chemical leavening agents, such as baking soda or baking powder (via MasterClass). These chemical reactions release carbon dioxide bubbles, which lift the dough. Other loaves use living organisms – yeast – to raise the bread for the occasion.
Each type of leavening agent has its own advantages and uses, but none of them are foolproof. If you find you are having trouble achieving your perfect loaf, we are here to help. Here is a list of reasons your dough is not rising and how to fix it.
The room is too cold
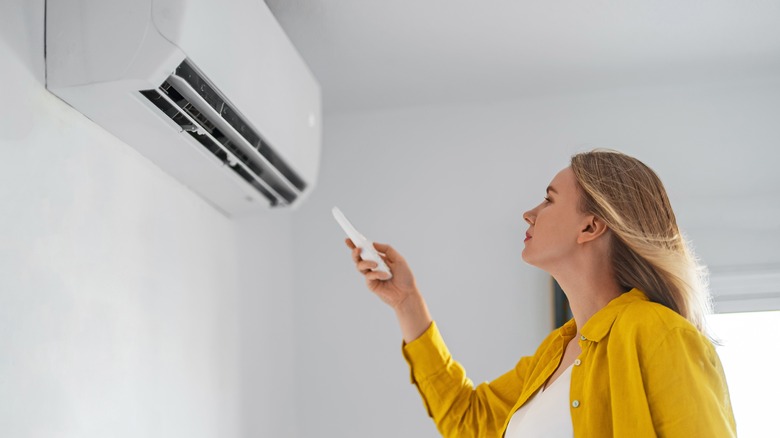
When it comes to yeasted dough, one of the most straightforward problems to solve is that your dough is just too cold. We know winter is an ideal time to make dough: You are cold, and baking a warm loaf of bread is cozy and works to bring some life back to your dwelling. But just how people do not want to get out of bed in the morning and move around when it is cold, your yeast does not want that either.
Yeast is, after all, a living organism, and if you do not meet its ideal conditions, it is not going to function the way you expect. As Busby Bakery explains, yeast bread typically has to rise. During this time, the yeast develops the bread's flavor and texture and releases carbon dioxide to give the bread an ideal rise. The problem many people have is that yeast prefers to be warm, and cold temperatures will slow it down.
The ideal proofing temperature is between 78 and 90 degrees Fahrenheit. This is much warmer than most people keep in their kitchens. To fix this problem, you can turn the heat up, invest in a bread proofer, or warm your oven up slightly. Some ovens even come with a proofing setting. Just make sure not to overheat your dough, as yeast deactivates at 155 degrees Fahrenheit.
The liquid is too hot or cold
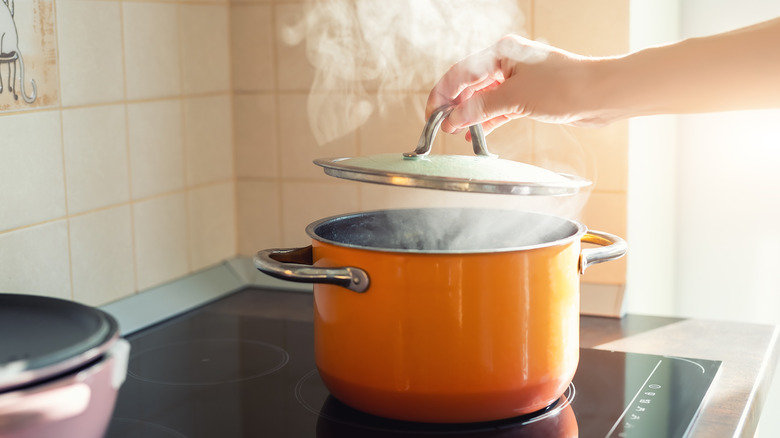
Similarly to the room being too cold, using a liquid that is the wrong temperature can slow down your yeast. As Paul Hollywood notes, the fat content in milk can do just that. However, if you warm the milk first, it cancels this out and allows the yeast to work correctly.
The temperature rule applies to water as well. If you are activating the yeast, cold water simply will not wake it up (via Bob's Red Mill). Using warm liquid will help ensure the yeast is awake enough to raise the dough.
However, using water that is too hot can also have a negative effect on the final outcome. Water that is too hot can kill the yeast, rendering it inactive and unable to rise the bread. The ideal temperature of the liquid is around 110 degrees. It should feel just slightly warm to the touch and should not burn your skin.
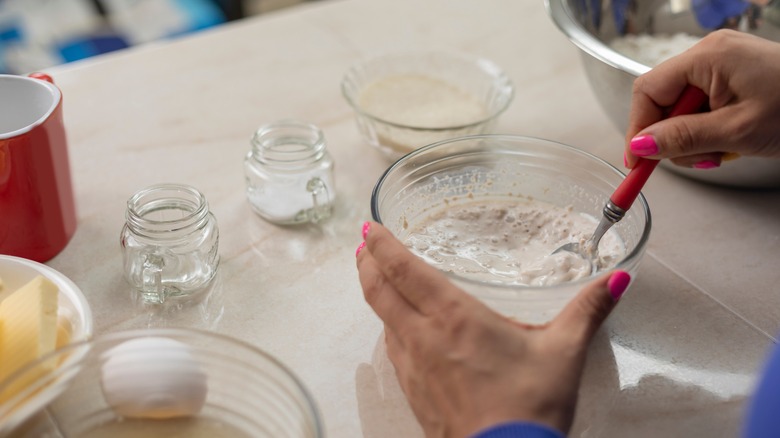
Not activating the yeast
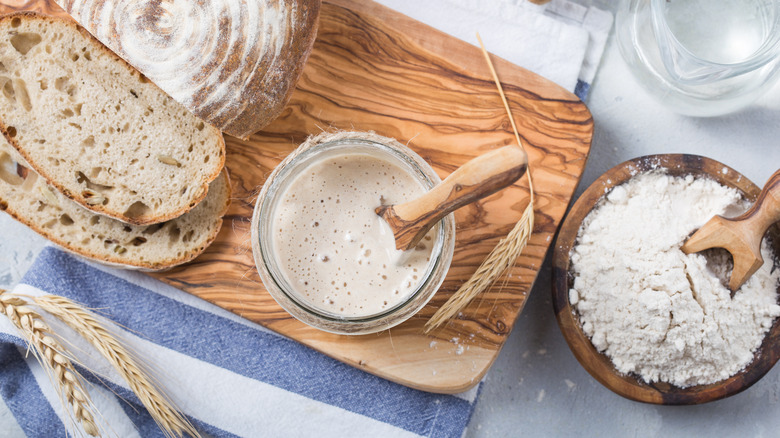
You may wonder why some recipes call for mixing the yeast with liquid before putting it in the rest of the dough. This is called yeast activation. Dry active yeast is the most common type of yeast that needs to be activated. Because it has been dehydrated, it must be mixed with water to rehydrate it. This step will allow you to see if your yeast is still healthy and active.
The yeast, water, and a little bit of sugar are needed for proper activation to occur (via MasterClass). During the process, you should be able to see bubbles forming on the top of the water's surface. If you do not see this, it means your yeast is not active and should not be added to make your dough. If you try, your dough will not rise, and your bread will be flat.
Activating active dry yeast is the best way to tell if your yeast is healthy enough to lend its leavening to the bread.
Using the wrong kind of yeast

There are many different kinds of yeast out there. Some of the most common are active dry, instant, fresh, and bread machine yeast. When a recipe calls for a specific kind of yeast, it is because that is how the recipe is tested, and therefore provides the kind that will be successful for that recipe. Not all yeasts can be treated the same way or substituted for each other. Even when they can be substituted, the handling and amount used in the recipe may need to be changed.
For example, active dry yeast should ideally be activated, whereas instant yeast and bread machine yeast should definitely not (via MasterClass). Fast-acting yeast, as the name suggests, rises much faster than instant or dry active yeast (via King Arthur Baking). If a recipe calls for fast-acting and you use dry active, your dough will not rise as expected. When substituting instant yeast for dry active, you actually need less than the recipe calls for (via Bob's Red Mill).
The opposite is also true. If a recipe calls for an instant, and you use dry active, you will need more yeast than the recipe calls for, plus you will need to activate it. Using the wrong kind of yeast without adjusting for this change will lead to low-rising bread.
The yeast is dead
As with all living organisms, yeast can die. This can occur due to any number of things, but the end result will be the same: no rise to your bread. Excessive heat is one culprit for dead yeast (via Busby Bakery): By using hot water or overheating, the proofing is a surefire way to kill your yeast. This is why after baking, the fermentation process stops, and your bread does not continue to rise.
However, yeast can also just die of old age. While it might come as a surprise, even dry yeast does expire. This is part of why activating yeast is so important — you can tell if your yeast is alive or dead.
That being said, dry yeast does have a reasonably long shelf life. According to Bob's Red Mill, unopened yeast can last up to two years. Plus, there are things you can do to help yeast last longer and avoid the plight of dead yeast. Storing yeast in sealed air-tight containers, such as a glass jar or a ziplock bag, will extend the yeast's longevity. Storing it in a cold place, such as the back of the fridge or in the freezer, will also help keep yeast fresh and ready for baking action.
Subbing baking soda for powder
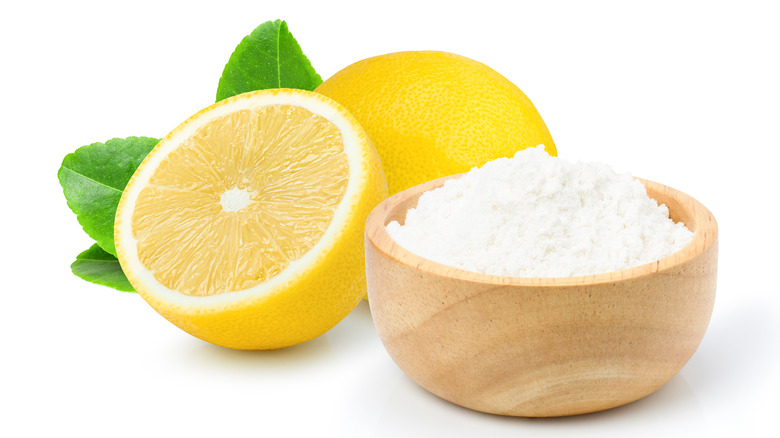
Baking soda and baking powder are both common leaveners in bread. Often they are used in sweet loaves of bread such as banana bread or pumpkin bread, but they can also be used to make quick bread such as soda bread. They can be used separately or together, but baking soda can not be substituted for baking powder.
Baking soda is sodium bicarbonate (via Arm and Hammer). When mixed with acid and a liquid, it releases carbon dioxide and produces a quick rise — baking soda must be combined with an acid, or it will not work. For recipes, this can include things like vinegar, buttermilk, sour cream, or even sugars such as honey and molasses.
Baking powder is baking soda with an acid in the powder mix. This means it will work with or without a separate source of acid, and can be used in recipes that do not have an acid in them already. Therefore, if you try to substitute baking soda for powder in a recipe without an acid, it will not rise.
Baking soda/baking powder is too old
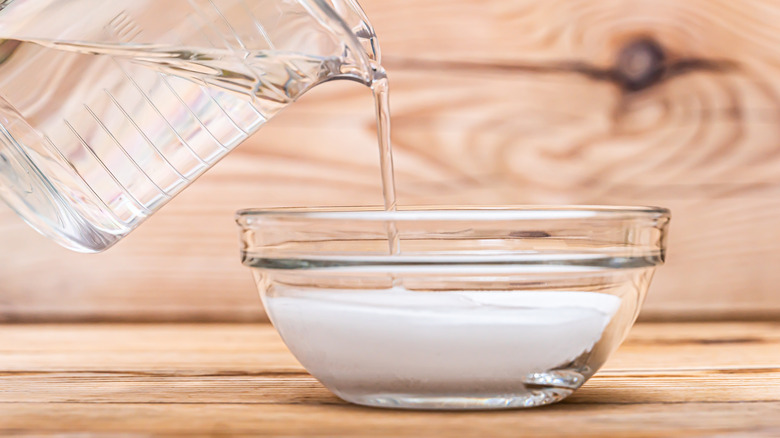
Just like yeast, age can also take away from the rising power of chemical leaveners. According to David Lebovitz, baking powder has a shelf life of about six months to one year. Baking soda can last longer, with unopened baking soda lasting for about 18 months. However, once it is opened, the USDA recommends a six-month life.
You may now be wondering how old your baking powder and soda are, and cannot remember when the last time they were replaced was. Don't worry — it is fairly simple to test their effectiveness before using them in a recipe.
For baking powder, simply mix a small spoonful with a small amount of hot water. It should instantly react, and not just lightly. Levovitz uses the word "violently," which seems appropriate. Remember, you want an energetic response to get a good lift. For baking soda, you will do the same thing, but add in a few drops of an acid such as lemon juice or vinegar (via Martha Stewart). Here you are looking for the same response. If either method offers a less-than-enthusiastic bubble, then it is time to pitch them and head to the grocery store.
The water quality is poor
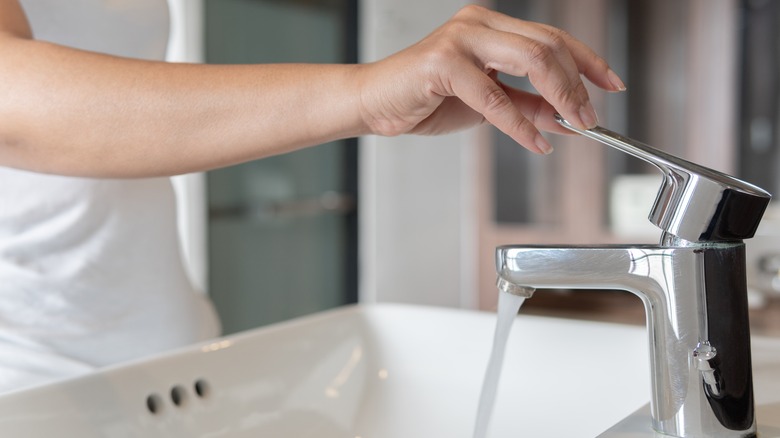
We already know that using the wrong temperature of the water can lead to your bread not rising, but did you know that water quality can, too? While you might think all water is the same, it is not. Water differs all over the world, and whether you get the water from the tap or from a bottle, it is going to make a difference in your baking.
As Hague Quality Water notes, hard water — which is water with more minerals in it — can significantly affect fermentation. High mineral levels slow down fermentation, meaning your bread is not going to rise the way you expected. However, as King Arthur Baking notes, water that is too soft, or does not have enough minerals in it, will not be able to feed the yeast effectively and will also inhibit fermentation. Ideally, water should be somewhere in the middle.
The pH level of water also has an effect on the dough. Alkaline water — water with a high ph level higher than seven — can affect yeast activity negatively. Water should be at a pH of seven or lower to work at optimal levels.
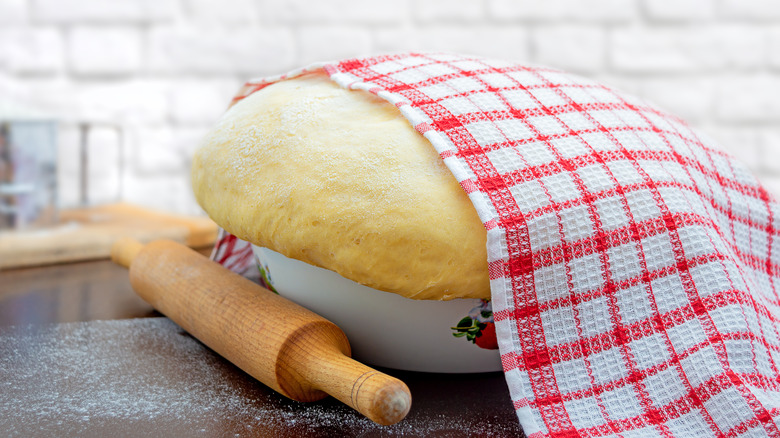
A crust has formed on the dough
If your dough is not properly cared for during either of the rising periods, it is likely a crust will form on the top of the dough. This is even more likely for doughs that have a long fermentation period. One of the problems this can cause, though, is a failure to rise fully.
Busby's Bakery explains that dough needs to be covered in order to prevent it from forming a crust. Once a crust has formed, the dough is no longer able to stretch, a feature it needs to continue its rise. There are lots of items you can use to prevent a crust from forming, and your method depends on how long the dough is resting and what you have around. Making an air-tight seal is always ideal, as this will best trap the moisture — plastic wrap is a great solution for this, as are shopping bags. A sealable lid or even a cutting board placed over the top of a bowl can work well too.
For shorter proof times, you can use a kitchen towel, especially a damp one, to keep direct air and any undesirable debris from the dough, allowing it to rise the way you want it to.
Subbing a different kind of flour
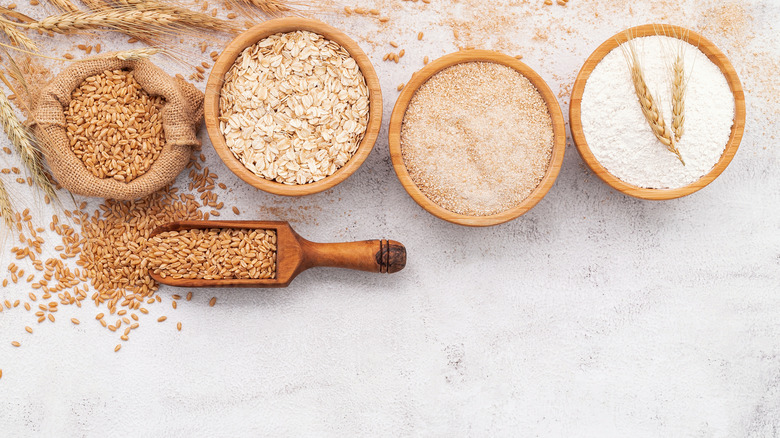
You may be tempted to substitute one kind of flour for another in your next baking project. But if you have substituted out all-purpose white flour or white wheat bread flour for something else, and have found your bread is not rising, this is your likely culprit.
One of the most common swaps people want to make is adding whole wheat flour. This can give a more rustic look and taste, and many people also add it for the health benefits it offers. However, substituting whole wheat flour for white flour can prevent your bread from rising correctly. According to King Arthur Baking, whole wheat flour makes a stiffer bread — which many people who have made the swap can attest to — because it absorbs more liquid.
The problem is stiff bread dough, much like bread dough with a crust on it, will physically not be able to rise well. Adding additional water and giving the dough ample time to rest can help negate the problem, but you may still end up with bread that does not rise.
Using the wrong pan size
When it comes to the final product, there is nothing worse than opening an oven only to find a loaf of bread that has not even crested the top of the pan. If you have gone through all the right steps, and know your ingredients were fresh and all working appropriately, you may be stumped as to why your bread did not rise the way you thought it should. The answer may lie more in what it was made in, though, than how it was made. This is particularly true for bread made in a loaf pan.
It is tempting to think that loaf pans are pretty much all the same size. After all, what does it matter if one loaf pan is an inch or so bigger in one direction? Such a small change may not seem like a lot, but it can mean a vastly different size. Joy of Baking shows that the difference between an 8-inch-by-2-inch-by-2.5-inch loaf pan and one just half-an-inch larger in two directions equals a volume difference of two cups. This volume further increases when you go to a 9-inch-by-5-inch-by-3-inch pan.
Visually they may all look the same, but from the smallest to largest, the volume doubles. This can mean you simply may not have enough dough to fill it, and you end up with what appears to be a flat loaf of bread. Make sure you are using the right loaf pan to ensure your bread turns out.
The dough is over or under-kneaded
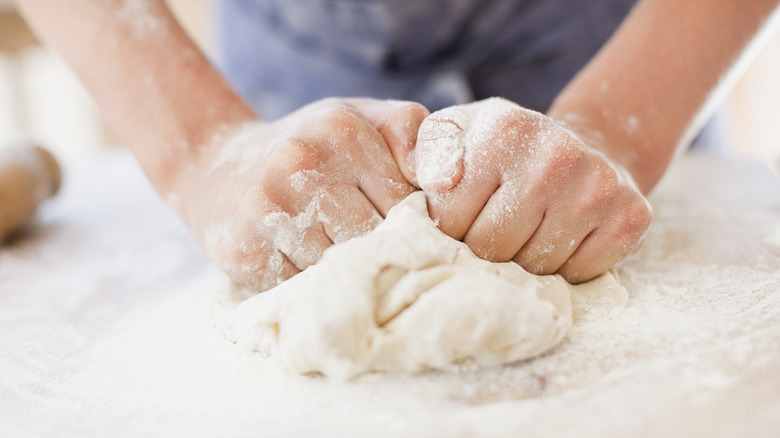
Getting the right knead on bread can make the difference between a great loaf of bread and one that is simply flat. But, in a cruel twist of fate, both over-kneading and under-kneading can lead to bread that does not rise the way the recipe says it should.
Bread needs to be kneaded in order to form the gluten bonds of the dough. Not enough kneading and the dough will not have enough structure to rise, while over-kneading leads to dough being so tight it can have trouble rising. To achieve the right kneading, Paul Hollywood says to work the dough for five to 10 minutes. The end result should be a smooth dough. To check to see if the dough is kneaded enough, Hollywood says to take a piece of dough and stretch it: It should stretch 20 centimeters, or 7.8 inches, without breaking.
Over-kneading, while less common, can still happen and will look like a stiff dough that does not like to be shaped. However, it will continue to spring back to its original shape.
Salt and yeast mixed incorrectly
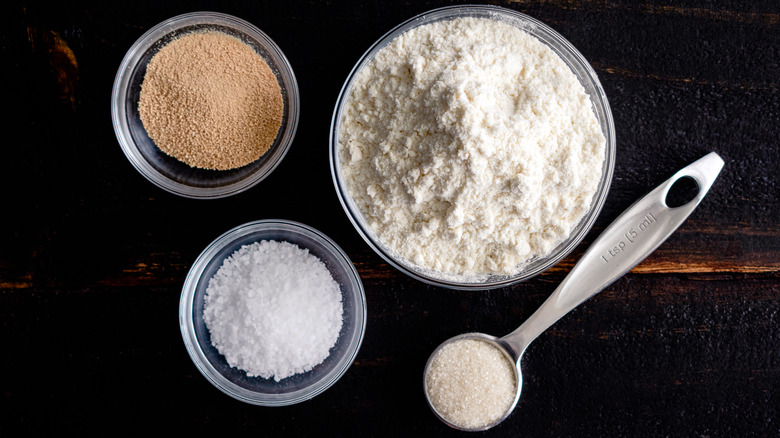
Baking is a science as well as an art; as such, it is essential to remember that even though all the ingredients need to be added in, the way they are added and the order can make a big difference. Case in point: salt and yeast. Both are needed for a loaf of delicious bread, but are also mortal enemies that should not be rashly combined.
A basic yeast bread is a simple mixture of water, salt, and yeast. But as Paul Hollywood notes, if salt is added directly on top of yeast, it can kill it, and your bread will not rise. This is because salt is a natural yeast inhibitor.
So, while mixed in a controlled way, salt can prevent the yeast from taking over and will give a nice steady rise, layering them is a big no-no (via King Arthur Baking). To keep everyone happy, Hollywood recommends putting yeast on one side of the bowl and salt on the other before mixing.
Not trusting your eyes
Finally, if you notice your bread is not rising enough, trust yourself. As long as your bread has not been baked, there is still time to try and fix it. Sometimes this means just giving it more time: If your dough is cold, your water hard, or your yeast is simply less active than expected, it may take longer for your dough to rise, and that is okay. Remember, your yeast is a living creature, and it may not always have the optimal conditions to meet its full potential — sometimes, it just takes longer.
There are typically multiple rises for yeast dough. Many recipes will say something to the effect of "let double in size, about 60 minutes." When you see this, trust your eyes. If the dough is rising, but slowly, let it rise fully until doubled in size, even if it takes more than 60 minutes. If you are unsure if the dough is rising or not, set a timer, and make a mark on the bowl. Watch to see if it rises above this mark or not.
If it is rising, but you are not sure if it has finished or not, King Arthur Baking recommends using the "poke test." Literally, poke your dough. If the indent stays, it has proofed and risen enough and is ready for baking.