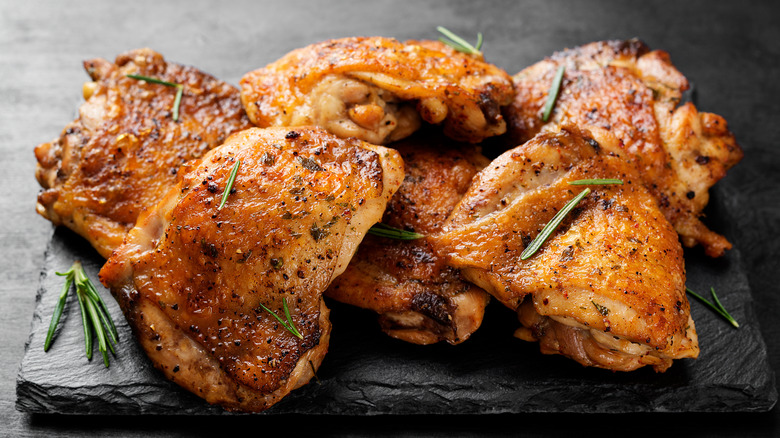
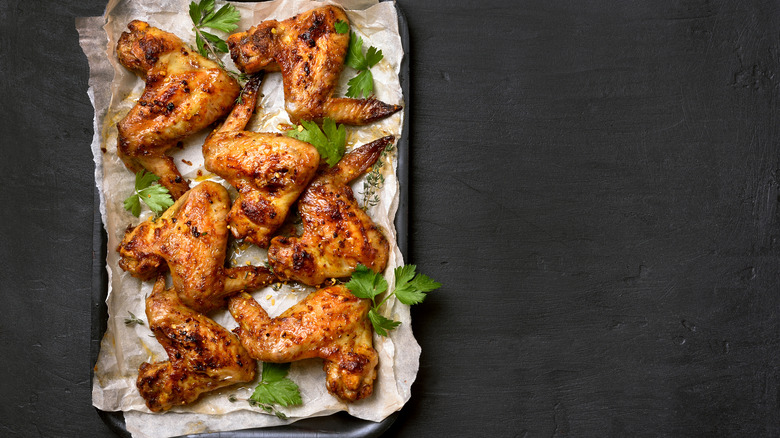
12 Tips To Get The Best Browned Chicken
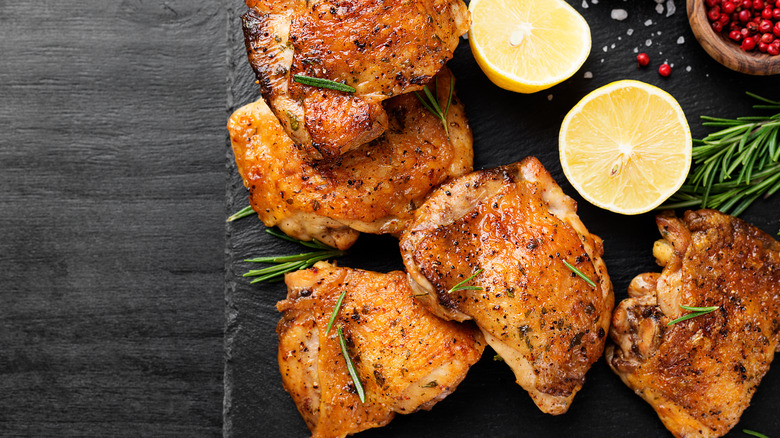
In comparison to other meats, chicken has a reputation for being a little bland. Hey, we get it. Most of us have had to endure a limp piece of white, watery chicken at some point in our lives. But if that's causing you to write off chicken entirely, we urge you to simply step up your cooking game. Not only is chicken an infinitely versatile protein, but getting a good brown on the outside can give it a serious boost and depth of flavor.
Chicken, like other meats and types of food, is improved by the Maillard reaction occurring, where browning is produced through high heat being applied to food molecules, changing the structure of their sugars and amino acids and creating deep, caramelized flavors. And once you've tasted a perfectly browned chicken with a crispy, moreish sear on the outside, you'll never look back.
But achieving the perfect Maillard reaction is not as simple as throwing meat into a pan on high — it's a little more elusive than that. So how do we get the best brown possible on our chicken? That's where we come in, folks. With these top tips, you'll be getting the best browned chicken every time, and we guarantee you'll never be avoiding this meat again.
1. Choose your chicken wisely
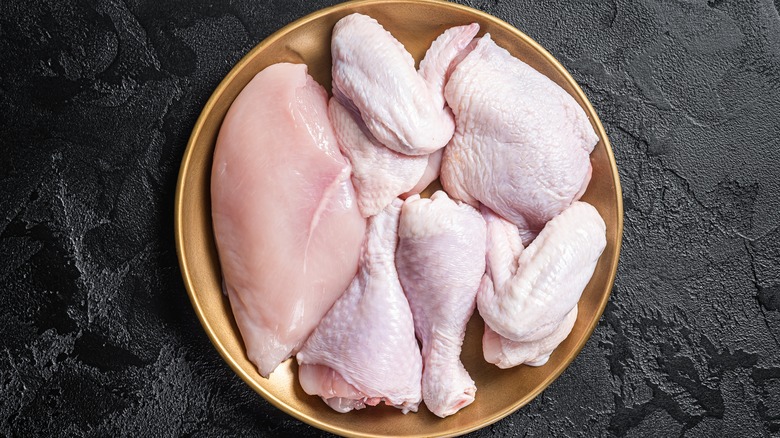
While some chefs seem like magicians, the truth is that they can only be as good as the ingredients they have at hand. We all are. And that's why if you want the best browned chicken, you have to make sure you're choosing the best meat for the job.
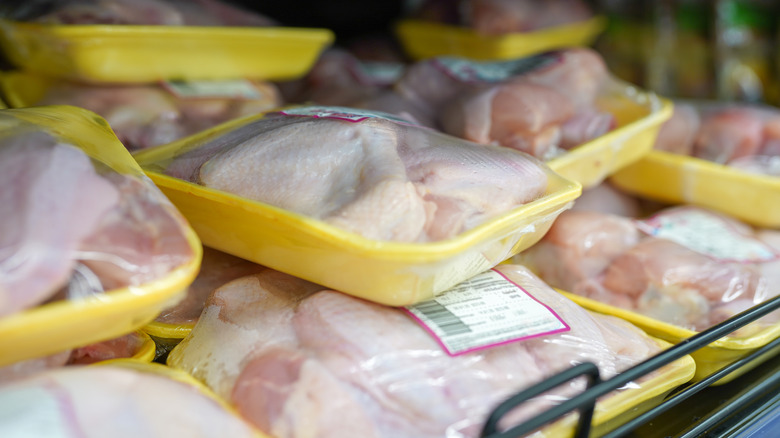
A key thing to check is the amount of added water your chicken has. Some packs of chicken and raw chicken carcasses contain a surprising amount of liquid, with broth sometimes added to improve the flavor of the meat. This is a process known as plumping, with the injection of flavored water also serving to make the meat more tender. Unfortunately, this then creates a problem when you come to cook it, as this liquid (which can make up almost a sixth of the chicken's weight) is then released into the pan, stopping the chicken from becoming browned and delicious. And that's before you consider the fact that chicken injected with broth will boost your sodium intake in a potentially undesired way.
Instead, make sure you're seeking out chicken that has the least amount of liquid added as possible. Ideally, you should avoid lower-price cuts of meat or frozen chicken pieces and opt for fresh cuts of meat, from a butcher if possible, to ensure that there's been no additional processing performed.
2. Make sure it's room temperature before cooking
To get that perfect shade of brown on a piece of chicken, you've got to get it to a certain temperature. And to help your meat on its way, make sure that you're not cooking it straight out of the fridge. If you take a piece of chilled chicken and put it into your hot pan, you'll end up reducing the overall temperature of the skillet, and this can mean that not only does the food take longer to cook, but it also leaks its moisture content out, leaving you with a pale, unappetizing piece of meat. This also creates issues with cooking the chicken properly throughout; if your meat is colder on the inside, it'll take longer to cook through, potentially meaning it can still be raw within when the outside is cooked.
The solution? Just think ahead a little. Around 20-30 minutes before you're planning on cooking your chicken, take it out of the fridge and leave it to rest at room temperature. This should be enough time for the meat to warm up slightly so that it's easier to cook.
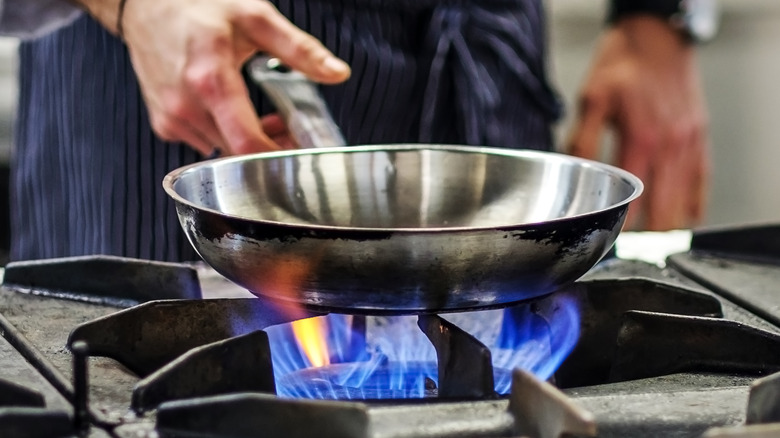
3. Heat up your pan
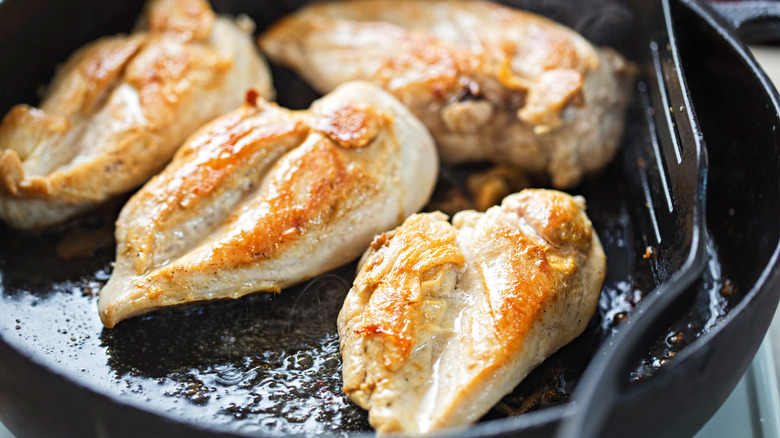
Okay, so we're not talking about delicately poaching chicken breasts or passing them through a sous vide machine here, folks. We're talking about browning. Searing. Getting a perfect, crispy, golden crust on your meat. And to do that? You're going to need some serious heat in your pan before you introduce your chicken to it. It might seem logical to heat your chicken and pan at the same time, but if you do this, the meat will just release all its juices as it starts to cook, leaving you with a soggy, white, disappointing result.
So, get that pan sizzling and then drop in your meat. This high heat straight off the bat is crucial to get your chicken up to the temperature needed for the Maillard reaction to start occurring. Ideally, for searing, your pan surface temperature should be 400 degrees Fahrenheit or above, so that when you add the chicken, the heat doesn't drop too much. (This will be aided by taking your chicken out of the fridge beforehand.) If you want an accurate read of your pan surface temperature, it's useful to invest in a surface thermometer, explains The Chopping Block.
4. Pat your chicken dry

Look, no one likes dry chicken. At some time in our lives, a lot of us have had to gamely chew our way through stringy, moisture-less mouthfuls of chicken breast, and it's really not that fun. But somewhat curiously, if you want to get the best from your meat, you have to make it a little drier before you cook it.
Although this might seem counterintuitive, a relatively dry surface on your meat is one of the best ways to ensure that you get a good brown. When your chicken is moist on the outside, the excess water turns to steam when it comes into contact with the hot pan, explains Foodal. This steam then prevents your meat from browning properly.
To make things drier, though, all you need is some paper towels. Take a piece and pat your chicken dry with it. Make sure you pat it all over, to remove as much moisture as possible. Remember to do this before you season your chicken, as otherwise, you'll just end up blotting the salt and pepper off. Once you've done this, ensure that you dispose of the paper towel immediately, to prevent spreading bacteria around your kitchen.
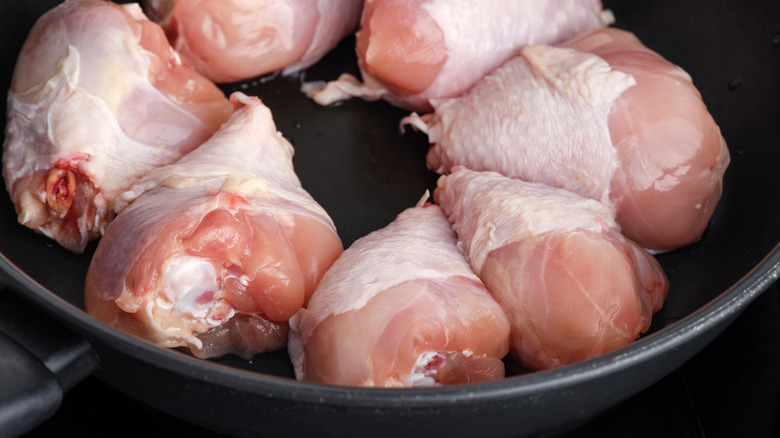
5. Keep the skin on
We will never, ever, stop advocating for skin-on chicken pieces. And while we know that there's a time and place for everything, and skinless chicken may be preferable for a variety of culinary and nutrition-related reasons, keeping the skin in place is one of the secrets of good chicken. Chicken skin, when browned, can crisp up deliciously, with the fat in the skin searing to add flavor, as well as locking in moisture.
To get crispy chicken skin, you just have to follow a few simple rules. One of the most important is heat, which is especially crucial to get right due to chicken skin's higher fat content. "If the pan is only medium, it's going to render out the fat behind the chicken skin without crisping it," states chef and Los Angeles campus president for the Institute of Culinary Education Lachlan Sands. Get your pan super-hot, pat the skin dry with some paper towels, and then place it into the pan, leaving it to sear. If your chicken skin is a little resistant to browning, it can also be helpful to add a little pressure on top, to increase its contact with the hot pan. Try pressing down on it with your spatula, or placing a heavy-bottom pan on top of the meat for a few minutes.
6. Use the right oil

When it comes to searing meat, you'll need oil to help you. Using oil when browning chicken is essential, not only to add flavor and help the meat to develop its color but also to prevent it from sticking to the bottom of your pan and drying out.
The type of oil you choose, however, is super important, and some are more suited to the job than others. Ideally, you'll want to choose an oil with a high smoke point, like canola or vegetable oil. These oils are particularly good for browning chicken as they stay stable at the high temperatures required to get a good sear on your meat. Other oils, like extra virgin olive oil, have a lower smoke point, which means that they essentially start to burn when they get too hot. And when this happens when you're trying to brown meat, it can imbue your food with a charred, acrid flavor.
Bear in mind, though, that you don't just have to pick just one type of fat to cook your meat in — using a combination of fats can make your chicken sing. Try throwing in a little butter alongside an oil with a high smoke point. The oil will stop the butter from burning, whereas the butter will permeate the chicken and flavor it, making it even more indulgent and delicious.
7. Add your seasoning at the right time
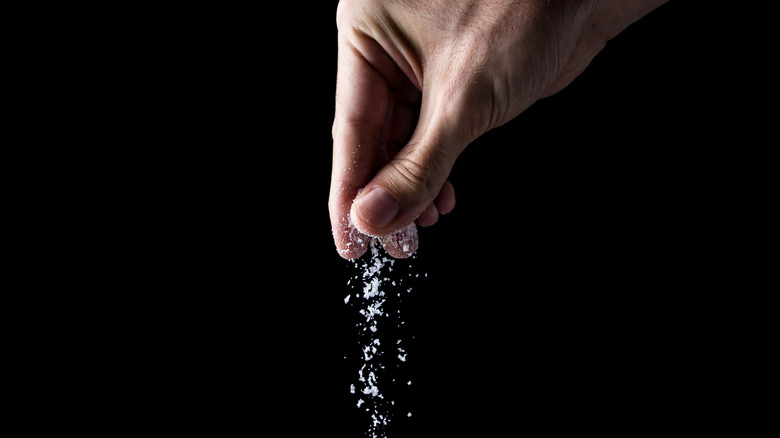
If you've ever had bland chicken, one of the reasons it could have been so unappetizing was due to a lack of seasoning. As a meat with a mild taste, chicken needs salt, pepper, and spices to truly make it pop — but it's important to know that the point that you add them in the cooking process can also change how much it browns.
If you're looking for the perfect sear, you should add your salt and other seasonings to the meat before cooking, states Laura Fuentes. It may be worthwhile to add spices that are particularly susceptible to burning when the meat is already in the pan, on the uncooked side, before flipping it over. This side usually takes a little less time to cook, so your spices won't char.
For a next-level sear, you may also want to brine your chicken before you cook it, as Lodge Cast Iron recommends. This will help make the meat more tender. Throwing some sugar into your brine can also improve the browning process, as it will caramelize when coming into contact with the heat, creating a deeper crust.
8. Don't put too much in your pan
We get how annoying it can be when you're catering for a crowd, and you read that the recipe says "cook in batches." Surely, you don't have to do that, right? if you have a big pan, can't you just throw it all in at once and hope for the best?
Well, if your recipe includes browning chicken, not quite. One of the cardinal sins when it comes to browning chicken meat is overcrowding your pan, which will only produce a watery result. When you place meat in a hot pan, it will start to release any moisture on its surface and from within as steam. However, if your pan is overcrowded, this steam doesn't have the space to rise away from the pan as it should, allowing the meat to brown up, and instead starts to pool and create water.
That's why you should make sure your chicken has enough space in the pan to cook. If you're cooking a few pieces at the same time, leave enough space between them so that they're not touching or lying on top of each other. Remember, the larger the pan, the more you can cook in it, but if in doubt, leave it out.
9. Leave it alone
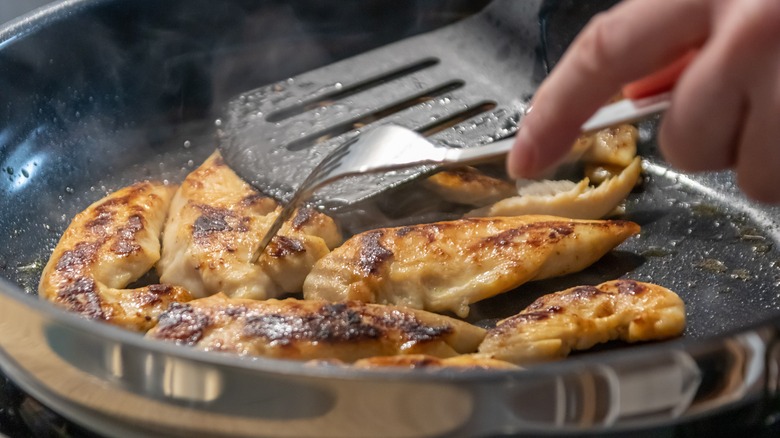
If you're the type of cook that likes to be hands-on in the kitchen, you might find this next tip a little tricky, but trust us, we promise it'll help. Once you add your chicken into your pan, don't touch it, states Laura Fuentes. Your meat needs to stay exactly where it is for a few minutes, without prodding or poking, so that it can form a crust and brown effectively. If you start to poke, prod, and move it around the pan, you'll stop the Maillard reaction from happening, warns Institute of Culinary Education LA campus president and chef Lachlan Sands. Your chicken will cook, but it might not brown.
So, how do you know when it's okay to move it? Watch out for when the meat starts to lift away from the pan a little, says Sands. When this happens, it should be okay to flip it over. Remember that while you might be concerned about the meat sticking, if you're using enough oil, there shouldn't be any problems with it releasing from the pan once it's cooked for a few minutes. Additionally, remember that it's quite natural for meat to adhere to a hot surface slightly when it comes into contact with it — just wait for it to cook, and it should move without any problems.
10. Finish it in the oven
Eating undercooked chicken is no joke, y'all. With raw chicken potentially hosting bacteria that can cause food poisoning, we always want to make sure this meat is fully cooked throughout.
But if you're cooking at high heat, how can you ensure that your chicken cooks all the way through before it gets burned on its outside? This is where your oven comes in. By putting your chicken in a hot oven to finish off, you avoid the risk of either overcooking it and ending up with a dry piece of meat or undercooking the middle and getting sick. This is particularly useful with thicker cuts of chicken that can take longer to cook through.
Preheat your oven before you start frying your chicken, so you know that it's ready to go, and then once your chicken has developed a nice browning on each side, place it onto a baking sheet and pop it inside. As your chicken has been partially cooked, it shouldn't take as long to cook through as if you were cooking it raw. To avoid having to cut into your chicken to see if it's done, grab a meat thermometer and stick it in to test the internal temperature. You should be safe to eat it when it reads 165 degrees Fahrenheit or above.
11. Opt for stainless steel
Without the right pan, your quest to get perfectly browned chicken can be thrown off course pretty fast. But with as many pan materials out there as there are meats, knowing which style of pan is best to use is crucial.
And in our opinion, stainless steel is the ideal choice if you're trying to get the perfect sear. This is because stainless steel is designed to get seriously hot, especially when compared to other pans like nonstick varieties, explains Meyer. Although stainless steel can take a bit longer to heat up, it retains heat effectively, so when you introduce your meat, it will achieve the Maillard reaction fast. Although you might benefit from an easier cleanup with a nonstick pan, they're also more likely to lose heat quickly.
And if you're really worried about cleanup, know that you can put all of those charred bits in the bottom of your pan to good use. Once your chicken is cooked, all of those caramelized pieces left can be lifted from the pan by sizzling them into gravy or pan sauce.
12. For roast chicken, refrigerate it uncovered
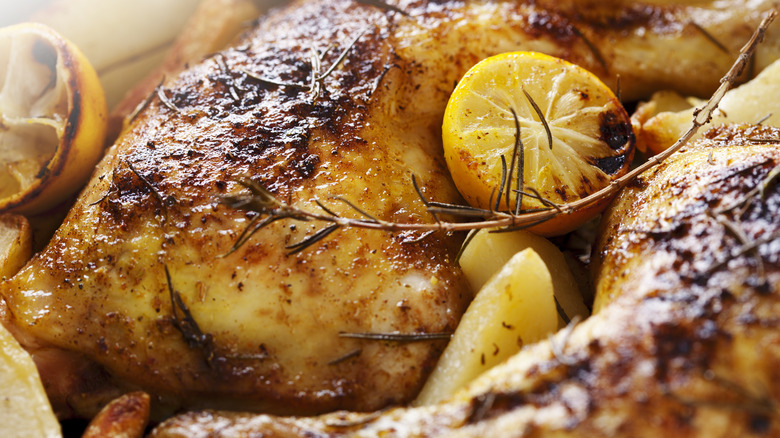
While getting well-browned chicken in a pan is one thing, achieving it for an entire roast chicken is another. And too often, roast chickens come out of the oven looking anemic, undercooked, and like they deserved better.
Luckily, with this top tip, you'll be getting a perfect brown chicken every time. Buy your chicken the day before you're going to cook it and then pat it dry with some paper towel. Then, place it in the fridge without covering it and leave it to rest overnight. This will help the skin to dry out slightly, meaning that when you put it in the oven, it will crisp up instead of steaming and becoming soggy.
Importantly, while this trick is great for getting brown chicken, it's also slightly risky hygiene-wise and could increase the risk of cross-contamination. As such, be very careful that your chicken doesn't touch any other meat or produce in the fridge, warns Food Standards Scotland. Make sure you don't undo all your hard work by putting it in to cook straight from the fridge, too: Leave it to rest at room temperature for an hour or so before cooking it.