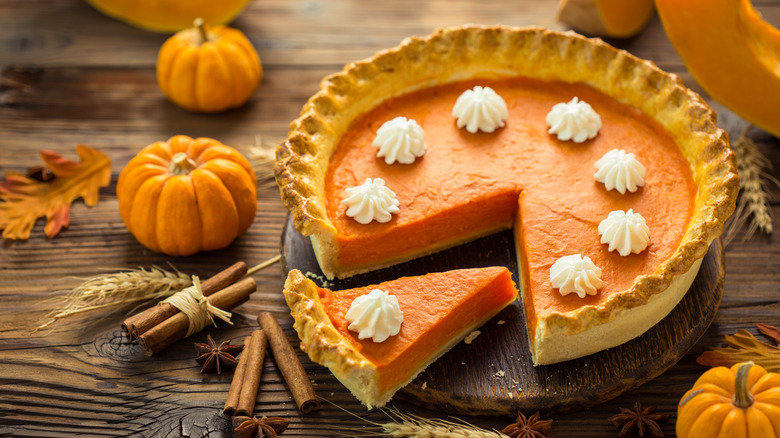
9 Ways To See If Your Pumpkin Pie Is Done
Picture this: It's your first year hosting Thanksgiving for the whole family and you're worried about how long to bake your pumpkin pie. It's a question that has plagued bakers for at least two centuries. In 1796, according to the Library of Congress, Amelia Simmons wrote the first American cookbook. "American Cookery" includes two recipes for "pompkin," which is what she calls pumpkin pie. Simmons says to bake one of the versions one hour and the other for 45 minutes, but gives no additional information regarding how to know if a pumpkin pie is cooked through or not.
Since then, some bakers and chefs have come up with useful techniques to test their pies while others continue to fumble. Newsweek recounted the story of one woman's burnt pumpkin pie, after she purchased a Marie Callender's boxed pie that did not turn out well. She publicly, and with little justification, blamed the company on Facebook for her holiday mishap. And while in her case, the burnt pie may have been her own fault, it's not the first time home bakers have claimed to follow the exact instructions for baking their pie, only for it to turn out totally wrong.
The moral of the story? Even when you have a premade pie, it can be hard to get it right. Thankfully, celebrity chefs and expert bakers have shared their pumpkin pie secrets with the world so no one else's Thanksgiving Day has to end in ruins.
Use a timer
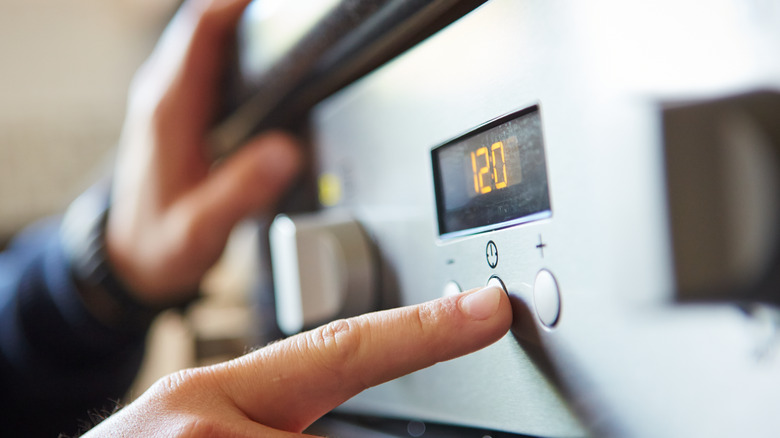
It's tempting to depend on your senses while cooking. "That looks like about a cup," you say, eyeballing a mixing bowl with pumpkin filling and brown sugar. "I'll know when it's done by the smell," you tell your guests. And you're right — it's excellent practice to use all five senses in the kitchen. But letting precise tools guide you can go a long way in avoiding mistakes and improving your final results.
Timers work as a reminder so kitchen chaos, especially around the holidays, doesn't make you forget about that pie in the oven. Professional chefs tend to rely on timers since this tool allows for multitasking. That means that you'll remember to take your pie out before it gets scorched even though you're also checking the temperature of the stuffing, basting the turkey, stirring the cranberry sauce, and mashing potatoes at the same time.
Southern Living suggests setting the timer for five minutes less than the recommended bake time on the recipe. That way you'll have time to check your pumpkin pie before it potentially overbakes and account for the slight differences that can occur from oven to oven.
Try the knife or toothpick test
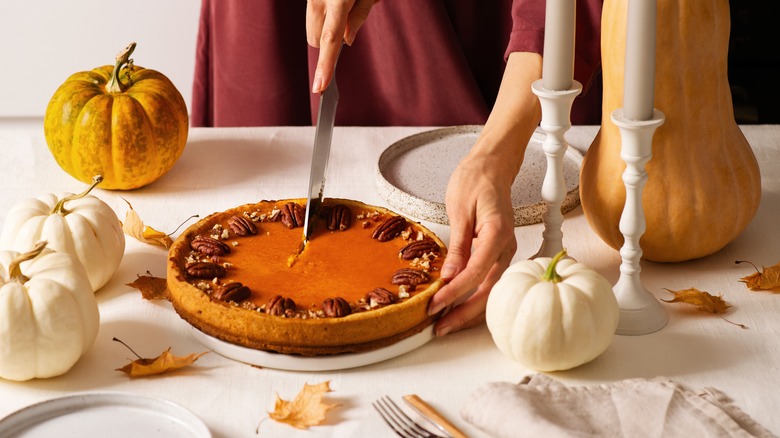
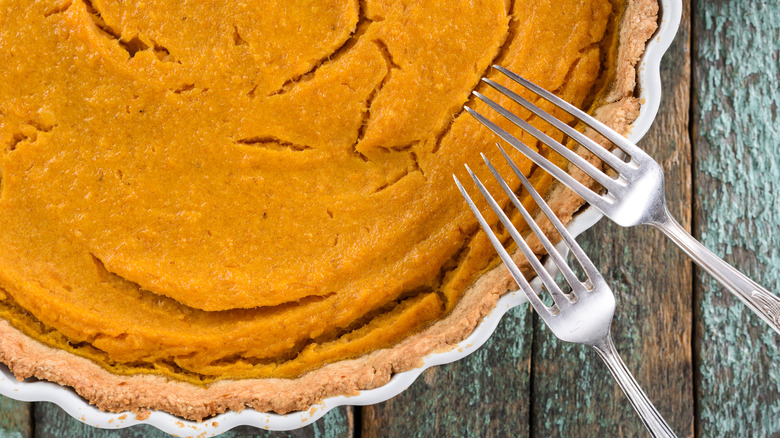
Maybe you've followed the recipe to the letter, but when the timer goes off, you still can't tell if your pumpkin pie is ready to serve. You'll need to perform the knife or toothpick test. All you have to do is puncture the center of the custard filling. According to many pumpkin pie recipes, if you pull it out and see a mostly clean knife or toothpick, your pie is ready. And it's worth noting that the knife or toothpick test works for a range of other baked goods including cake, banana bread, and brownies.
The downside to sticking a knife or toothpick into your pie is it will leave an ugly mark in the middle of your gorgeous dessert. Better Homes and Gardens says that decorating with some whipped cream is an easy cover-up. Chef Anna Olson suggests making some beautiful decorative leaves from crust, and one of these could easily hide the blemish as well. No one has to know that you performed the knife test, but your pie will be better for it.
Use a thermometer
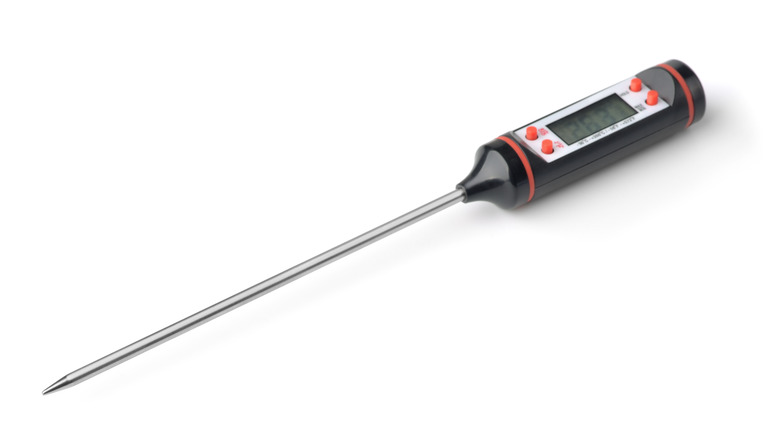
Baking and chemistry have a lot in common. If only bakers would think of their work in the kitchen more like science, they could solve several sticky issues, like knowing when pumpkin pie is done. Chemists have to measure temperatures precisely. On the other hand, many bakers don't use thermometers at all, but rather rely on subjective input, like how a pie looks.
According to cookbook writer, PJ Hammel, using a thermometer can give bakers an exact measurement that lets them know when a pie is cooked through. Cooks can rely on this instrument until they have the experience to eyeball it. Hammel recommends cooking until the center of the pie reaches a temperature of 170 F, but it's worth noting that the FDA says pumpkin pie filling is safe for consumption once its internal temperature reaches 180 F at the coolest point.
Using a thermometer poses a problem, though. It can leave a gouge in the middle of the pie. That would be a good argument for using an infrared or laser thermometer since these can measure temperature without contact. The Australian Science Teachers Association doesn't recommend it, though. Their fact sheet about infrared thermometers says this gadget only assesses surface temperatures whereas it's important to know how hot the center of the filling is. A meat thermometer should do the job just fine. And similar to the toothpick test, you can cover up the hole in your pie with whipped cream or another decorative topping.
Check the crust
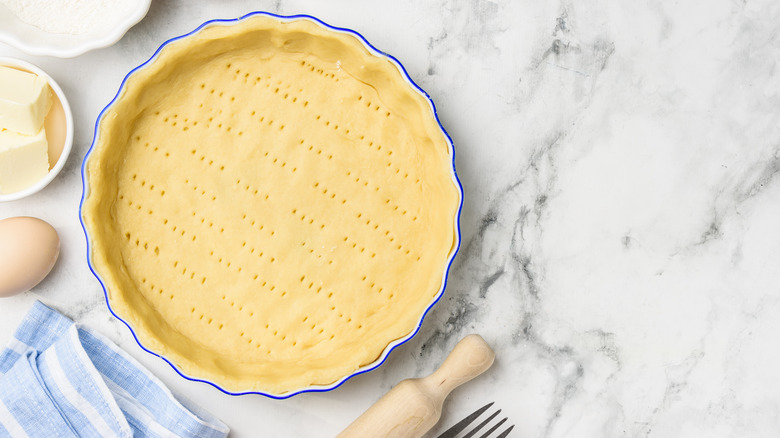
Every pie starts with a crust, and no one wants it to be droopy or underdone. The tricky part is making sure that both crust and filling cook to perfection. That's where par-baking comes in. Chef Marion Grasby par-bakes her crust for a full 45 minutes (30 with baking weights and 15 on its own) before adding a silky smooth filling. The crust should already look flaky and a little toasty before you fill it, ensuring that it will be baked perfectly by the time your whole pie is done.
Chef Claire Saffitz recommends a nearly identical pre-baking process as Grasby. When her whole pie is finished she cuts a slice and flips it over — incredibly it doesn't break or crumble and it has a deep golden brown color. Ideally, you pie should have "no layer of like pale wet soggy pastry on the bottom," says Saffitz. To make things even easier, Chef Anna Olson recommends using a glass pan instead of metal or ceramic one, so you can check if the crust is browned on the bottom before you ever cut into it.
Don't rely on your eyes alone, though. "Just listen for a second," says "MasterChef" finalist Nick DiGiovanni. He takes his whole finished pie out of the baking dish, and it doesn't break or crack. It makes a dry rasping sound when he slides the pie around on a wooden cutting board or scrapes his spoon along the crimped crust.
Notice the color
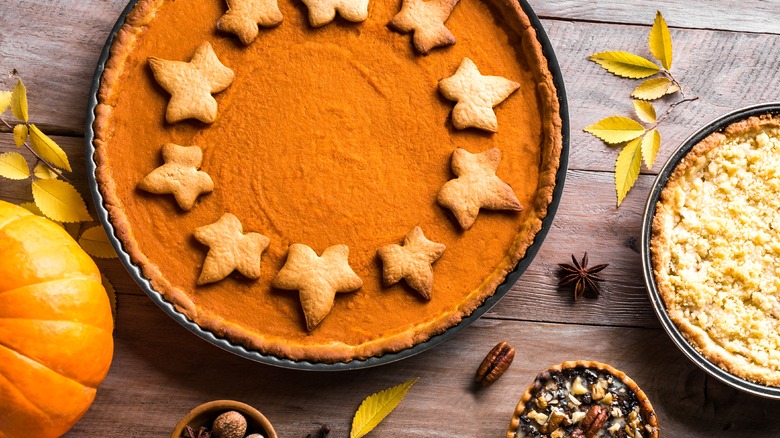
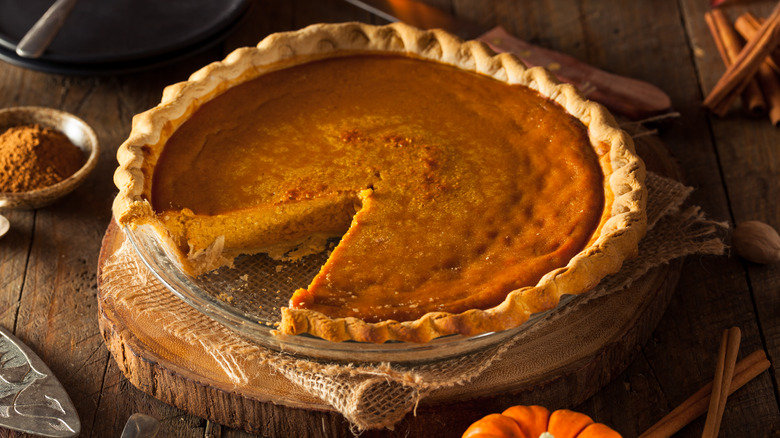
If you close your eyes and imagine the ideal pumpkin, you'll likely picture a round, bright orange gourd. Pumpkin pie filling should not be that color once it's baked, though, no matter how nice it looks on the vegetable. Here's how Crisp Edge, a company specializing in digital colors for designers, describes the hue: "Pumpkin pie color is primarily ... from [the] yellow color family. It is a mixture of orange and brown."
Paying close attention to the changing color as a pie bakes can be a valuable clue as to whether it's finished cooking or not. Chef Claire Saffitz says, "[The finished filling] kind of has a warm caramely-brown tone." Before sticking it in the oven her filling was mustard-yellow, but once she cuts her finished pie, the filling is a rich, smooth brown.
"The pumpkin's nice and golden," says Chef Jon Rotherham after plating a slice. The color of his gluten-free crust is important as well: "It's nice and golden on the outside."
Do the jiggle test
If you don't want to puncture the center of their pumpkin pie with a toothpick or thermometer to test if it's cooked through, and risk leaving a mark in your dessert, there's another way, and that's testing the texture. Pumpkin pie filling is a custard. As such, it should have a jello-y, jiggly reaction to movement.
Chef Brian Lagerstrom advises two different texture tests. First, he says to gently touch the center of your pie with the pad of your finger. Next, he says to move the baking sheet beneath the pie dish. The custard jiggles slightly, but it isn't liquid and it doesn't slosh. This demonstrates that the filling is firm, even if it doesn't seem that way. In fact, according to King Arthur Baking, pumpkin pies continue to cook a bit once it's out of the oven, and a properly baked one should have a 4-inch circle in the middle that looks underdone and jiggles like Jello-O.
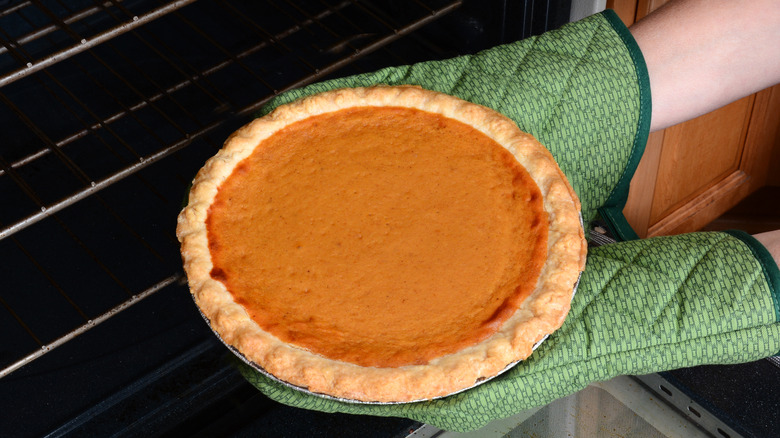
See if your pie puffs up in the oven
Puffy is not a word people usually use to describe pumpkin pie. A perfectly flat, marble-smooth top is more desirable. It may come as a surprise, then, when you look through the window in your oven door and see a domed top on your pumpkin pie. But don't worry — things are as they should be. A puffed up pie just means that it's ready to come out of the oven.
Dessert chef Claire Saffitz says, "Because this is a custard pie, the eggs, as they cook, will puff. So I'm going to bake this until I see the entire surface kind of puffed and even slightly domed. And there will be a slight wobble in the center of the pie." She leaves her pie in the oven to cool off very slowly, while the eggs contract and the pie top flattens out.
It's important to note that the puffiness should not come from air in the filling, says Marion Grasby. She's extra careful to keep any bubbles out of her mix since they can cause sinking and cracking. And what you want is a pumpkin pie filling that is ultra-smooth and mousse-like.
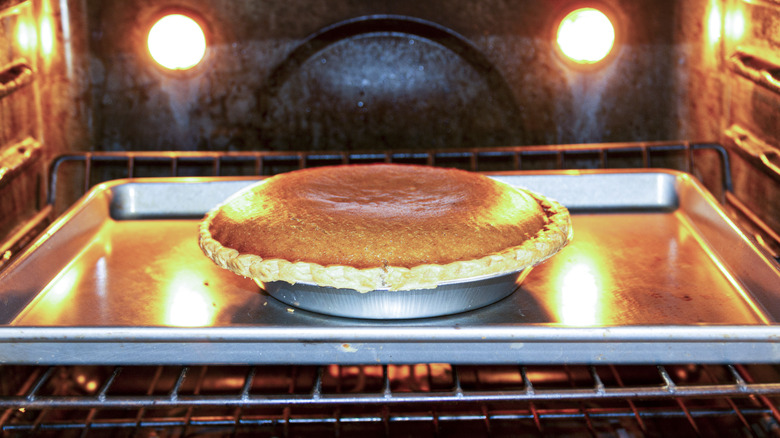
Look for cracking
It's common to see cracks on the top of pumpkin pie. No problem, the dessert still tastes great and it's easy to cover them up with some whipped cream if they bother you. On the other hand, those cracks, rather than signal that your pie is cooked, may mean that something is going wrong in your process.
Southern Living says cracks, bubbling around the edges, or filling that separates from the crust is a sign of overbaking. If your pies usually come out with some cracking, you should plan to take them out of the oven a little sooner. Set your timer five minutes earlier, and take your pie out of the oven even if it seems like the pie is a little underdone. "Remember, your pumpkin pie will continue to bake once it's out of the oven, so you have to take it out before it looks done," says recipe author PJ Hammel. It's not easy to do since no one wants undercooked pie, but this is the secret to attaining pumpkin pie perfection.
Get lots of practice
As she transfers a decorative, circular braid onto her pie crust, Marion Grasby laughs. She explains that her team spent four weeks perfecting the process and they made a lot of messes along the way. When chefs on TV and YouTube demonstrate recipes, it often looks simple, but you can't see all the preparation and practice that went in. If it takes a trained chef nearly a month of repetition to achieve an Instagrammable pumpkin pie, mere home cooks will likely need even more time and practice.
PJ Hammel, author of "Whole Grain Baking" says, "The easiest and best way to ensure pumpkin pie success is to recognize when your pie is fully baked (but not overbaked) by sight; that's where experience comes in." In other words, once you've made dozens of pies (or maybe more), you'll know when they need to come out of the oven with a quick glance. Don't be hard on yourself if your first tries don't live up to expectations. Last, but not least, don't make a pumpkin pie for the first time on Thanksgiving morning and expect it to come out blemish free.