How To Store Royal Icing To Prevent It From Hardening
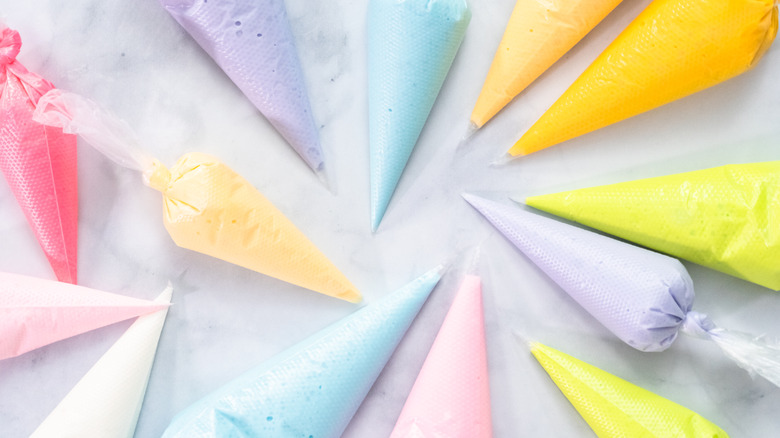
Royal icing is called upon for very particular decorating purposes. It can create a perfectly pristine surface upon which to draw or pipe your dreamy, whimsical design, but this sweet stuff is also serious, and ideal for projects that require structure. Use it as the cement for the walls of your gingerbread house, for example (which you can create using one of many versatile gingerbread recipes). You can also fabricate transfers from royal icing like rosettes, spots, and sprinkles, which you can apply to embellish your latest creation.
But once you make the investment of whipping up a batch, it's helpful to stretch every last drop. The tricky part is that once it's been exposed to air, this icing will harden fast. Luckily, there's a simple strategy to keeping it fluid, meaning you can knock out more baking projects per batch of icing.
Believe it or not, the secret is probably already something you have in stock. All you need is a little bit of plastic wrap to keep your icing workable. By firmly pressing your plastic wrap to the surface of your icing, you prevent the contact with air that promotes quick hardening.
Storage science and tips
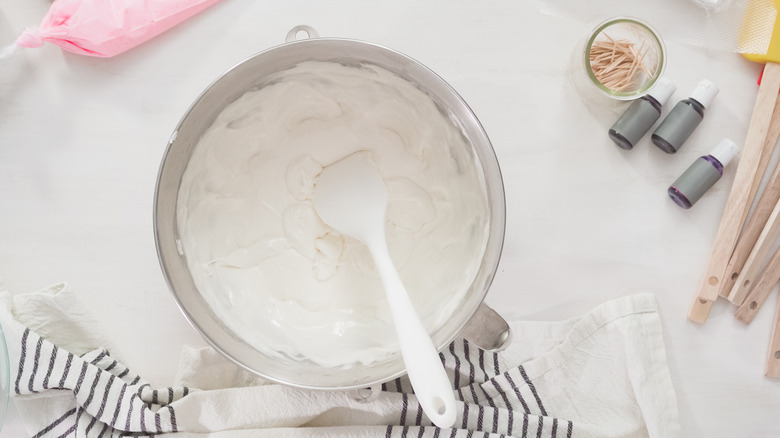
To store your royal icing, you can keep it right in a mixing bowl, but it's important to note a distinction from standard cover-and-store instructions. Rather than wrapping the bowl or loosely draping with cling wrap, place your plastic wrap directly onto the surface of your icing. Use the backs of your fingers to tamp down the plastic wrap, starting from the center of the bowl and working to the edges, with the goal of avoiding any air bubbles between the wrap and the icing. Once you have a smooth and seamless protection on the icing, cover the actual bowl with a lid, or another layer of plastic wrap over the top, too.
The reason for this is scientific. Learning how to make royal icing is simple, and the finished product of your efforts is designed to set up fast and firm once it makes contact with air, thanks to the inclusion of egg products (whites or meringue powder), as opposed to buttercream and softer frostings that feature a fat like butter or oil.
This method protects the surface of your icing from air exposure that promotes hardening. Covered, it can keep for up to four weeks in the fridge, but you can also freeze it. A pro tip is to pre-pack into a piping bag (prior to inserting a tip or cutting open), and store the filled bag in an airtight container. When you're ready, simply thaw your icing for about a half hour at room temperature and you're off to the races.
How to enjoy your icing

Because it becomes so firm and durable, royal icing is ideal for spreading on sugar cookies and creating a perfect canvas for your designs. The sheen that you get with this spreadable stuff will give your cookies a bright white matte finish, but you can also mix in colors of your choice. Use it to create a perfect frosting drizzle over the top of your next layered confection to achieve a cool and eye-catching drippy effect. And by simply piping thin lines of royal icing in different colors onto parchment paper, you can make colorful and customizable homemade sprinkles.
But while decorating cookies and cakes is your obvious go-to for royal icing, you can get creative with your leftover stash, too. Use a little royal icing in a cup of hot chocolate — or even coffee, tea, or a smoothie — for an unusual but delicious sweetener that can satisfy your sipping needs. Once you have the trick to keeping your royal icing from becoming rock solid, you can experiment freely.