How To Properly Clean Your Pastry Brushes
It's entirely possible that cleaning is the most challenging aspect of cooking. You are likely familiar with the crushing weight foisted upon your shoulders by the sink full of dirty dishes created while crafting the perfect meal. Whether you've prepared a dinner for a large group or whipped up an intricate dish for yourself, that sink is inevitably going to be piled high with everything from large baking trays to small silverware.
There are many items in your home kitchen that you never clean, if you do at all. Some of the filthiest offenders are your can opener, coffee maker, and ice trays, and one of the most confounding kitchen tools is the pastry brush. Contending with the fine and fickle brush bristles can be a challenging undertaking. However, a simple scrub with just your fingers and a bit of dish soap will keep your future pastries from taking on the flavor of previous bakes.
The pastry brush cleaning process
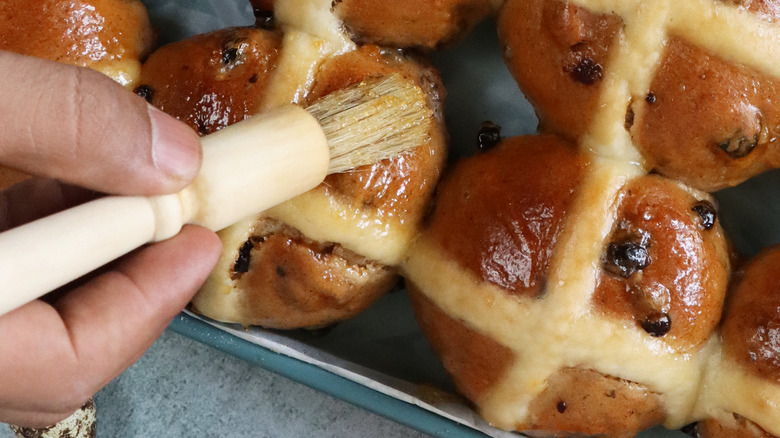
It may be tempting just to toss your pasty brush into the dishwasher after you've given your pastry a butter brushing, but that is not the best method to use if you're hoping to extend the life of your utensils. If you begin to taste the remnants of last night's savory dinner with your sweet breakfast pastries, a brush cleaning is probably overdue.
Fortunately, despite being an overwhelming prospect, cleaning your pastry brushes is relatively straightforward. As with nearly any kitchen cleaning task, your first step involves a dollop of dish soap. You can apply said soap to your hand or drop the dollop directly into a bowl. If you use the hand method, you'll have to rub the bristles gently against the palm of your hand, working up a lather with the soap you applied, use hot water to rinse off your soapy brush, and then let your newly cleaned kitchen tool air dry. If you opt to use the bowl, aggressively swirl your brush into a soap and water mixture you've already added, ensuring you scrape the sides of the bowl to loosen any excess residue. Then, as with the previous method, use your fingers to comb through the bristles while you rinse the soap off your brush.
More tips for your pastry brush

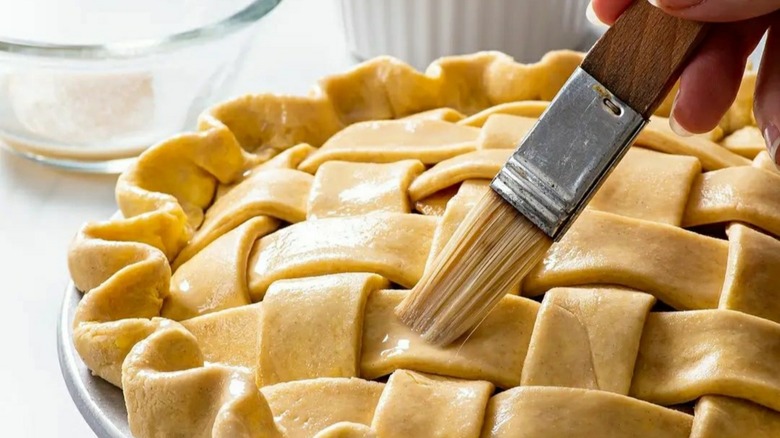
First and foremost, it is important to know exactly what a good pastry brush should look like. The culinary community widely looks down on silicone pastry brushes, and there are a number of reasons why. Silicone as a material has a lot of attributes that make it less than ideal as a cooking utensil. Perhaps most importantly, a silicone brush isn't porous, so it doesn't pick up whatever liquid you plan to paint your pastry with. Additionally, the unforgiving nature of the firm silicone bristles may damage your delicate pastry. On the other hand, silicone brushes are heat resistant, durable, and can be cleaned easier than the natural bristle alternative. You can even clean your silicone pastry brush in the dishwasher, so for keeping your utensils clean, a silicone brush may be the option for you.
If you've already given your pastry brush a scrub and let it dry but still find that the utensil is still moist, it may be time to break out the big guns. To rid your pastry brush of potentially mold-inducing moisture, stick it in a small jar filled with salt and allow the brush to stay submerged overnight. Alternatively, you can use the salt jar as a storage space for your pastry brush between bakes.