The Ultimate Guide To Prepping And Cooking Your Thanksgiving Turkey
If you're here that means Thanksgiving is coming up, or right around the corner, and you want to get a head start on preparing your holiday feast this year. This all starts with the Thanksgiving turkey, the culinary centerpiece of the holiday. For some, it's the only time of year they eat this poultry, claiming that it's too dry and flavorless compared to the more common chicken. Like most foods, though, this comes down to how you make it, and making a succulent Thanksgiving turkey is harder than haters give it credit for. No, we wouldn't prefer ham.
When it comes to preparing a turkey dinner for the whole family, regardless of the size, there are a lot of steps involved and places where one mistake could feel fatal. Our first tip is to breathe, everything will be okay. Our second is to follow these 12 steps to become the kitchen rockstar of your family this November. This is the ultimate guide to prepping and cooking your next great Thanksgiving day turkey.
How to select a turkey
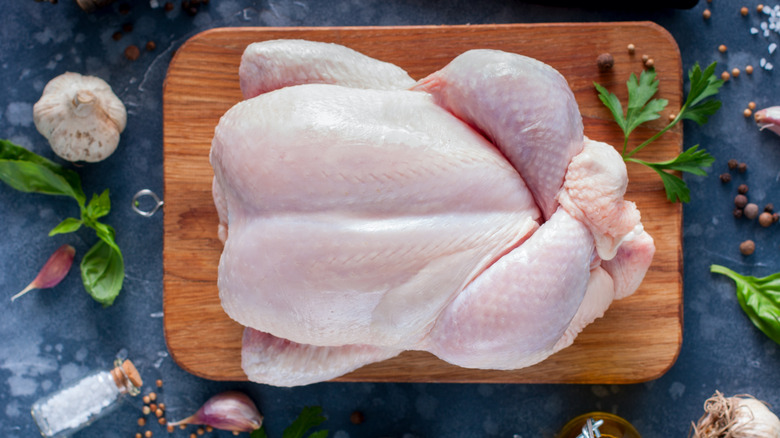
You have to start by selecting the turkey that is right for you and your guest list. Before you even think about buying one, think about how much turkey you need. The average Thanksgiving turkey weighs 15 pounds. If you want leftovers you should plan for 2 pounds for each adult and one pound for each child dining. Plan accordingly and if you are cooking for a large group, opt for two smaller birds over one mega 20-pounder as the cook on the birds will be more consistent and predictable.
There are, of course, also some general pieces of advice we can give to anyone preparing a Thanksgiving turkey. If money is not an object, you should opt for a fresh turkey from a local butcher or farmer's market. The price difference will be significant, but so is the quality.
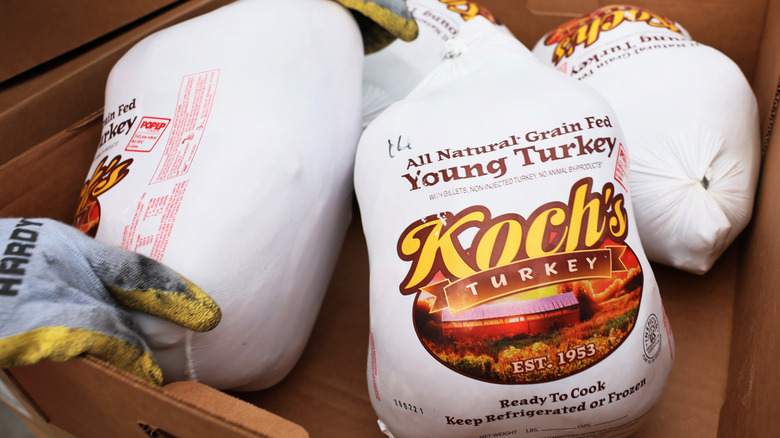
In terms of frozen turkeys, make sure you are looking for ones that are pastured, and organic or natural if possible. Heading to your local Whole Foods or trusted supermarket chain will give you the best shot of finding the highest quality bird this way. You can also look online where brands like Williams Sonoma will ship a free-range organic turkey directly to your door.
How to thaw a turkey
Once you've selected your turkey, the first thing you need to do in preparation for the Thanksgiving feast is to thaw it. Defrosting is a slow process so make sure you allow proper time for this crucial step. It will take multiple days.
When you take your turkey out of the freezer to thaw, there are a couple of different ways to go about the process. The less stressful method takes more time, and that's to put it in the refrigerator. Keeping your turkey in its original packaging, lay it on a baking pan or some kind of receptacle to make sure you don't get turkey water all over your fridge. Then you will need to let it defrost in the fridge and for every 4 to 5 pounds of meat, about one day in the fridge was required. That means a 16-pound turkey would take approximately four days to defrost properly.
If you are in a hurry, you can thaw your turkey in the sink using the cold water method. Wrap your turkey in a waterproof bag and submerse it in a sink full of cold water. This will quickly bring it up to temperature. Make sure you are changing out the water and rotating the turkey frequently. This method estimates about 30 minutes per pound of turkey to thaw in the sink, or 6 to 8 hours for the same 12-15 pound bird.
How to brine a turkey
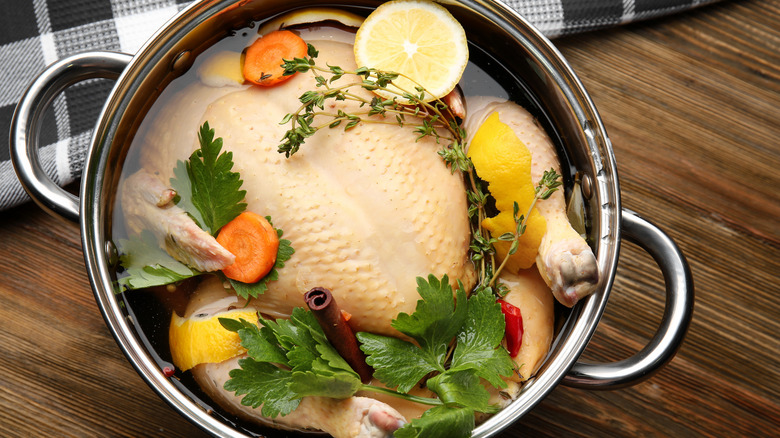
To brine a turkey you'll need to soak it in a salty solution for a lengthy amount of time before you prepare it for the oven. This is an optional, time (and fridge space) consuming step, but it does have its advantages.
You can make a brine as complicated as you want. It can be simple salt water, but oftentimes it can also include the herbs and aromatics you would normally add to flavor the turkey — for example rosemary and garlic. Combine these ingredients in a pot and boil them before adding the turkey to a brining bag. To brine a turkey you need to make enough liquid to fully submerge the bird and find room in your fridge for the whole kit and caboodle. A wet brine needs at least 8 hours to soak, typically closer to 18 or longer — but if you leave it in too long you risk a very salty bird.
A dry-brined turkey will ensure the same depth of flavor without the watery texture that sometimes comes from a wet brine. By patting the turkey dry and covering it in coarse salt from tip to tail you will have created the essence of a dry brine. You can of course add anything you would to a wet brine to give your bird extra flavor and aroma. Just make sure you loosely wrap and refrigerate it for 1 hour for every pound of meat.
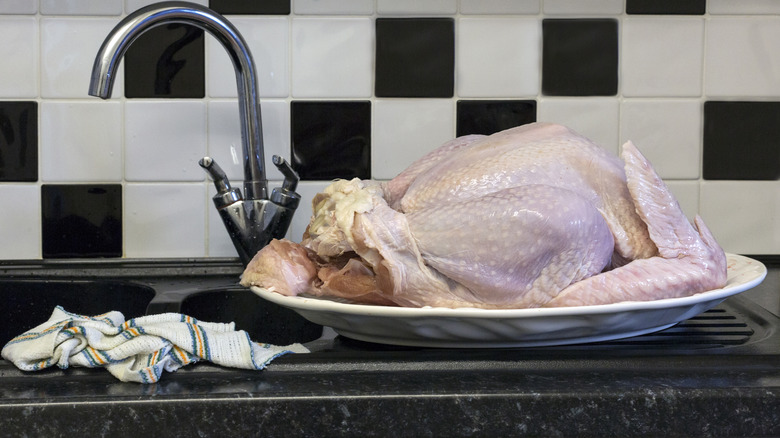
How to clean a turkey
For many first-timers, this step can be the most intimidating. We won't deny the importance of properly cleaning a turkey before you brine and stuff it, if that's the route you want to go. So, here are some helpful tips to get through it with all your parts intact.
When it comes to cleaning your turkey, you don't actually need to wash it, according to the USDA. In fact, you probably shouldn't, since rinsing your turkey in the sink could spread bacteria.
The process of cleaning involves drying your turkey and removing the bits from it that you don't plan on eating, in order to allow the cavity to be stuffed if necessary. You are going to want to pat the skin down with paper towels until it's completely dry. This way you will be able to get a crispy skin on the turkey. YOu'll also want to remove the neck and giblets from the inside cavities before you stuff and roast the turkey. Regardless of whether you are going to stuff your turkey or not, you need to ensure the cavity is clean before moving to the next task.
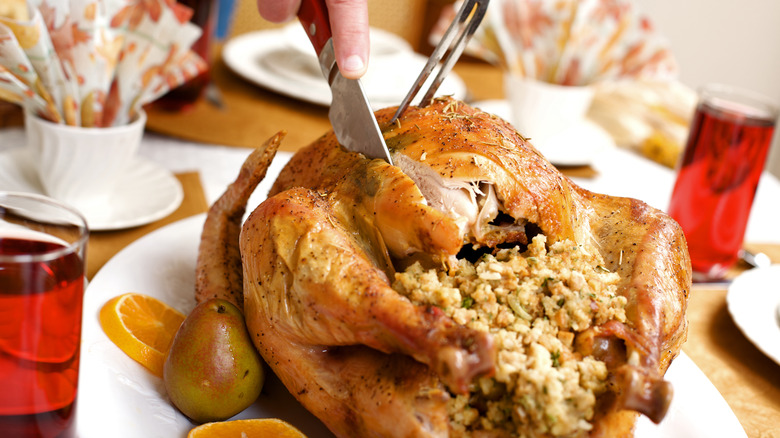
Should you stuff your turkey?
One of the age-old Thanksgiving questions, is do you cook your stuffing inside your bird or separately? Naturally, stuffing the dressing inside the turkey is the more traditional way. According to Jack Bishop from "America's Test Kitchen," (via NPR), a stuffed bird "cooks a lot more slowly and unevenly, and obviously if you've got vegetarians then they're not going to eat the stuffing."
The obvious benefit of cooking your stuffing inside the bird cavity (whether it be cornbread, challah, or any of the various preparations that are used across the country) is flavor. The juices from the turkey will make their way into your stuffing, giving it added moisture and imparting all the seasonings you've put on your bird.
So, the other option is to bake the stuffing in a separate pan. Even though this technically makes it technically dressing, it will make cooking your turkey a monumentally easier task.
How to prepare a turkey for the oven
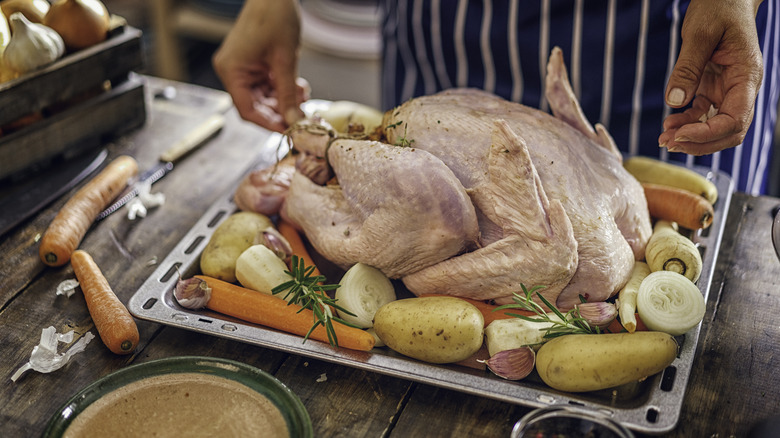
Depending on the size of your bird, you are going to need either a large or an extra-large roasting pan. Make sure you have a roasting rack to place the turkey breast-side up. Make sure your turkey skin is as dry as possible before roasting, as that will lead to the crispiest skin possible. You can also choose to add a cup or so of water or stock to the bottom of the pan.
If you haven't brined your turkey, now is the proper time to season it with salt and pepper. Other great seasonings for a Thanksgiving turkey include herbs like rosemary, thyme, sage, butter, and aromatics like garlic, shallot, and onions. When you season make sure to get under the skin as well, especially if you're using butter.
You may also truss your turkey if you wish to. Trussing is usually not required unless you've stuffed your turkey with dressing or aromatics, but doing so can have various advantages that impact both the aesthetics and how the dish cooks. A simple truss will have you tucking in the wings of the bird, and tying its legs together with cooking twine.
How to roast a turkey
After you prepare your turkey for the oven, you are going to need to (conversely) prepare the oven for your turkey. And, there are a couple of methods you can take to roast the holiday bird.
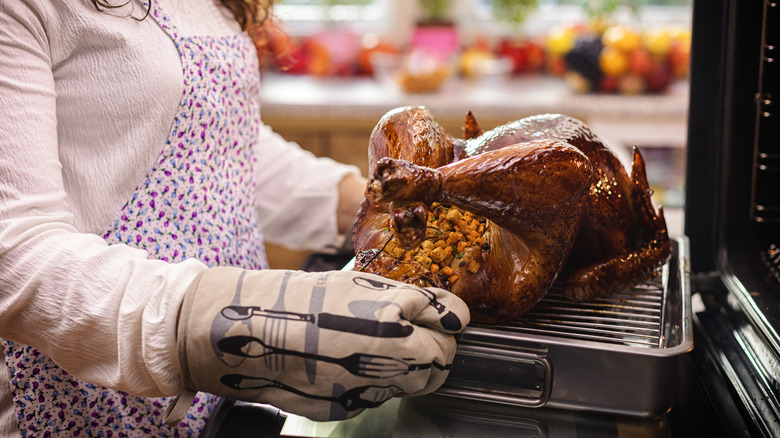
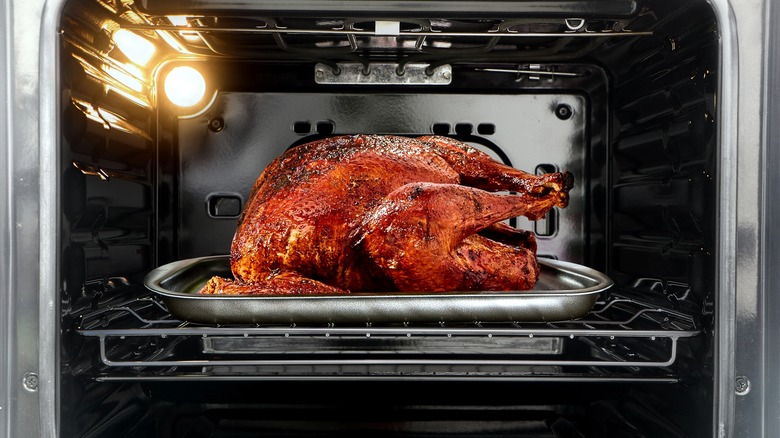
The easiest is the reliable slow method, which involves roasting the bird for hours at either 325 or 350 degrees Fahrenheit, depending on which expert you ask. At these temperatures, you need to cook your bird for 13 minutes for each pound of turkey if you have not stuffed it. For a stuffed bird, anticipate needing around 15 minutes per pound at 350 F. The cook may be uneven, so make sure to roast until the turkey is cooked through in all places. If the bird is done, a meat thermometer will show between 150 and 165 F when inserted at its thickest part.
The professional chef method involves some more work but can lead to crispier skin and a tastier bird. Preheat the oven to 450 F. Place the turkey in the oven and immediately turn the heat down to 350 F and then cook as you would normally. If the skin on the breast starts to get too brown, you can cover it with a roaster or aluminum foil to protect the turkey from drying out.
To baste or not to baste
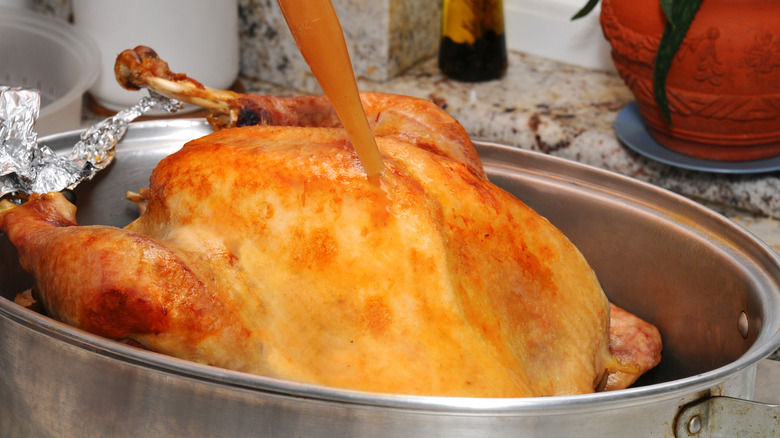
There is one last cooking note we need to make. When it comes to the topic of basting a Thanksgiving turkey, chefs are divided. Even culinary experts like Alton Brown say that basting might just be a waste of time.
For the uninitiated, basting is the process of using a baster to drench the turkey in its own cooking liquid. This is one fairly easy, yet tedious, method of giving your turkey a more juicy flavor and crisping up that skin. However, the downside of basting that chefs like Brown often cite is how often you are opening up the oven. If you are basting the turkey every 45 minutes to an hour, you are letting a ton of heat out of the oven. "That means the bird is going to be in there for a longer time cooking, which means it's going to dry out more," Brown says, (via NPR).
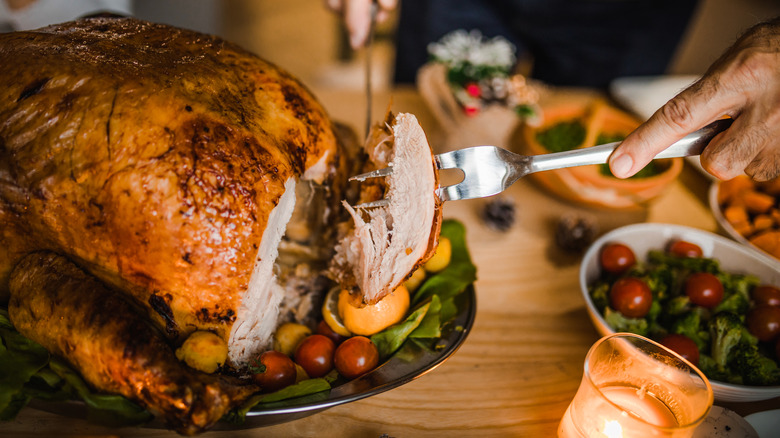
How to carve a turkey
Once your bird is perfectly cooked, make sure to pull it out of the oven and give it some time to rest. It's likely been roasting for hours at this point and is frankly too hot to mess with. Wait at least 30 minutes to begin carving your turkey, which will allow the juices to settle into the meat.
When carving a whole bird, a good place to start is with the legs. If you cut between the breast and leg to expose the joint that connects them you can remove the leg by cutting around the joint. This piece should be separated into a thigh and a drumstick and if you rotate the piece of meat so the skin is down on the cutting board it will be easier to see the natural separation between these two parts. There will be a bone remaining in the thigh that you will need to cut out.
To remove the breast meat it's a good idea to cut along the keel bone, which separates the two breasts. You can use your thumb to pull the meat away while cutting along the breast bone to fully separate it. This should make it easy to remove the wings from where the joints are.
To slice the bird, cut evenly against the grain to make uniform slices from the breast and thigh pieces. This Culinary Institute of America tutorial can help you with more specific details should you need them.
How to make gravy from the turkey drippings
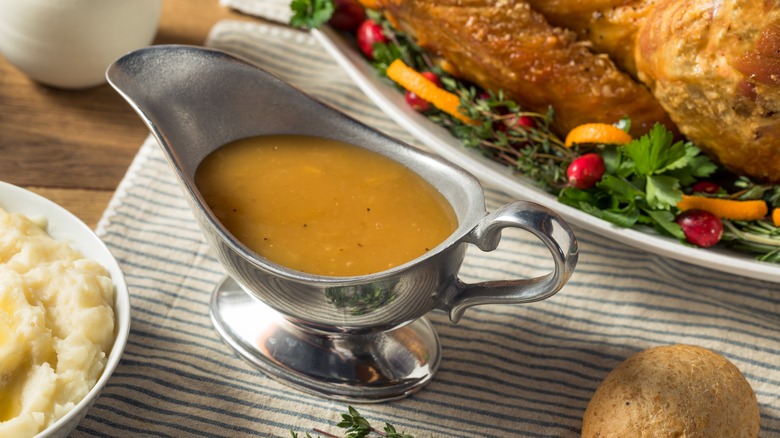
Gravy can mean quite a few things depending on who you ask, and even Thanksgiving gravies tend to differ from one another substantially. One of the most traditional recipes is the turkey gravy, made from the roasting pan drippings left over from roasting the turkey.
You are going to want to degrease the pan drippings and combine them with turkey broth, or chicken if you don't have turkey stock on hand. If you saved the turkey neck and giblets from the cleaning stage of this guide, you can also be able to make a mighty fine turkey stock from scratch with those.
You'll also probably want to make a roux by adding butter and flour to your gravy base and let the mixture simmer for about 20 minutes. This, along with some chosen herbs and aromatics, will make your turkey dripping gravy. After straining the mixture into a saucepan and seasoning to taste you will have a delicious and essential element of Thanksgiving dinner all wrapped up.
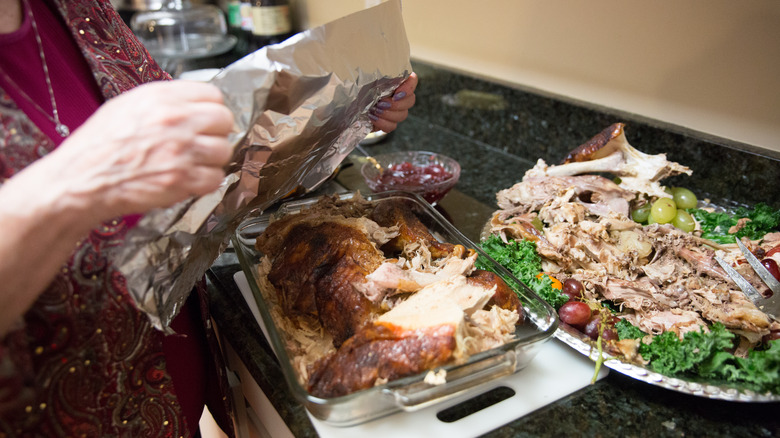
How to store leftover turkey
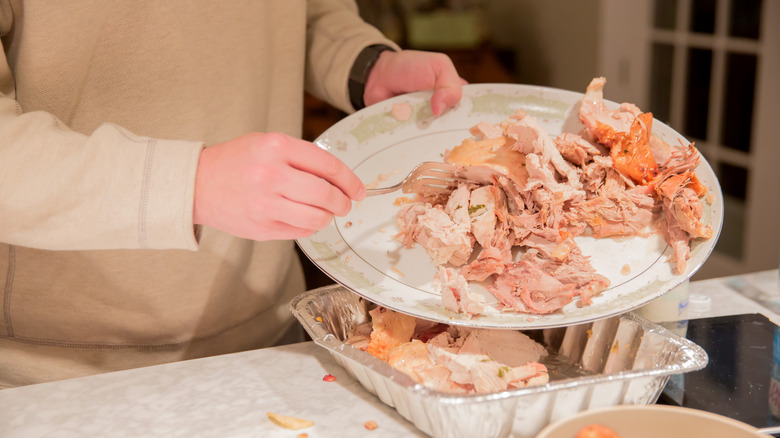
Leftovers are a built-in part of the Thanksgiving experience. But if you're hosting, you are going to have to know how to properly store your turkey so it doesn't dry out or otherwise go bad.
There are only a couple of methods, obviously. You can freeze the turkey leftovers or store them in the refrigerator, depending on if you plan on eating them now or later. If you go the freezer route, make sure your meat is sliced and wrapped in freezer paper or foil before you place it in an airtight Ziploc or other plastic bag. According to the USDA, frozen leftover turkey will be good for about three to four months, but don't forget to pop the date on that package before you freeze it just in case.
In the fridge, make sure your leftovers are cooled down before you pack them and store them separately. If you stuffed your turkey, remove all stuffing from it and carve the rest of the turkey meat off the bones before moving it to the fridge. Place all of the carved turkey in a container that can seal, or better yet a plastic bag. Stored in this fashion, it can sit in the fridge for up to four days.
Best ways to reheat leftover turkey
If you've ever had a delicious fresh turkey dinner only to discover that, after heating it up the next day in the microwave, the turkey was dry and the skin chewy? Even the best turkey can be ruined by the microwave, which means you best turn to other methods to reheating your leftover Thanksgiving turkey.
The best method involves the oven. It's best to reheat the turkey at around 300 F in a dish along with just a splash of broth to give it extra moisture. The turkey slices will soak it up, staying moist and absorbing the flavor as well. If you made stock from the turkey, this is an ideal use of it. However, it won't hurt to use that can of chicken or vegetable stock that you have in the fridge. Cover this pan with foil and place it in the oven for about 20 minutes in order to have perfectly juicy leftover turkey.
Best recipes to make with leftover turkey
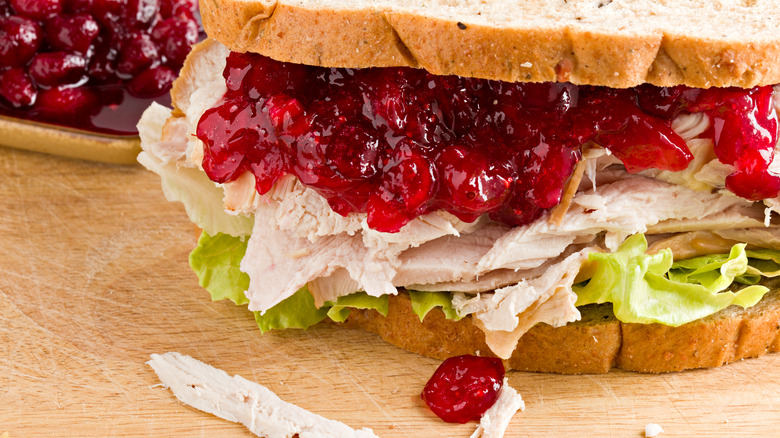
So, you've made it to Friday and the weekend after Thanksgiving. In fact, you've brined, cooked, and served a delicious full turkey. But, now you still have a majority of it left in the fridge. Turkey sandwiches will only get you so far. Good thing, we've prepared you for the secret final step of Thanksgiving — figuring out the best recipes to make with all that leftover turkey.
As we mentioned there are half a dozen variations on a turkey sandwich that you can make based on which leftovers you have from your feast. Getting a little more creative with it, you can turn that turkey into your main protein in future meals. Toss it with some leftover vegetables to make turkey pot pie, or throw it in a crockpot with beans and tomatoes for a savory turkey chili. From chowder to casserole, truly nothing is off the table for dinner if you have enough leftover turkey.