How Long Do Keurig Coffee Makers Typically Last?

For many dedicated lovers of caffeine, a Keurig is perhaps one of the greatest inventions of the 21st century. Instead of rising at the crack of dawn to grind, assemble, and brew a carafe of coffee, one little machine can do it all for you in five minutes.
While Keurigs certainly are convenient, everything has a lifespan. How long is a Keurig machine's? Well, most customers say their Keurigs have lasted somewhere in the realm of three to five years. A concrete estimate of how long these will last, however, depends on a few factors. How often you use the machine is one of the key things you should take into consideration. Another is how often you clean it.
While the lifespan of a Keurig can vary widely, there is one thing you can do to make sure it lasts as long as possible. You should be performing regular maintenance on it.
Why you should probably clean your Keurig

While you might be tempted to leave your Keurig alone and let it brew until it combusts, cleaning this machine is as necessary as cleaning any other. According to one study from Loyola University, your coffee machine might just be the dirtiest thing in your kitchen. There are a lot of little moving parts in any Keurig machine that you can't see, and these are all vulnerable to wear, tear, and mold if you don't do something to prevent it. That's why you should be regularly cleaning it.
Cleaning the outside of your Keurig should be a weekly occurrence. Run any loose parts, like the drip tray and water reservoir, through the dishwasher at least once a week. Now if you find that your Keurig is pouring coffee a little slower than it used to, that's a sign that it's time to tackle the inside. There's probably a buildup of grounds, minerals, or otherwise stuck somewhere in the machine and you need to give it a deep clean to flush these things out. To avoid damaging your machine, you should remember to clean out the inside of your Keurig at least once every few months.
How to clean the inside of your Keurig
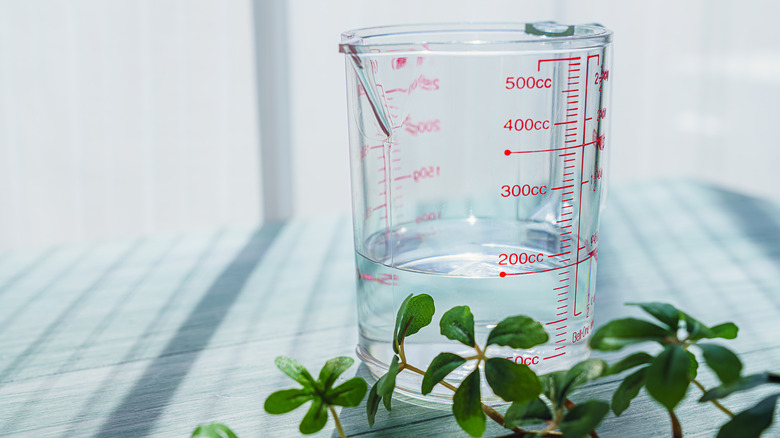
There are more than a few things you can try to clean the inside of your Keurig. First, try using vinegar. Fill your Keurig's water reservoir halfway with white distilled vinegar and halfway with water. Place a mug on the drip tray and brew as normal. (Minus the K cup.) Keep brewing until the reservoir is empty and your Keurig's stream should come out a lot stronger. To avoid giving your coffee a vinegar taste, flush out the water reservoir with water before using any K cups. Now for a more official cleaning experience, Keurig also has a descaling solution you can try too. To use this you'll pour all of the descaling solution into the water reservoir and fill it the rest of the way with water. Place a mug on the drip tray and brew as above.
To maintain your Keurig between these intensive cleans, you can also use Keurig Rinse Pods as needed. Just pop one of these pods into the K cup tray. Then, brew a small cup to flush out any mineral buildup. Once again, you'll want to brew a cup of water after using this to remove any taste of the rinse pod.
Now if you've tried these methods and your Keurig is still on the fritz, it might be time to consider getting a new one. Or hey, you can always take it old school and invest in a percolator, or even try out an AeroPress.