The Ultimate Guide To Making Your Own Canned Fruit
Canning your own fruit may seem like a daunting task. If you're not a DIY kind of person, you may be thinking it's easier to head to the grocery store and just hit that canned aisle rather than bother with learning a new skill. But preserving food in this style is a time-honored tradition used across cultures and centuries, and there's a reason it has withstood the test of time.
Canning in the modern era began when French leader Napoleon Bonaparte, who needed to feed a substantial number of soldiers, offered a reward of 12,000 francs for the invention of a new food preservation method. French inventor Nicolas Appert answered Napoleon's challenge by inventing airtight food preservation — or canning — in which food is heated and then sealed in a jar to prevent spoiling. The invention spread to America, and during World Wars I and II, the practice rose in popularity.
In the modern era, canning remains a popular way to keep your pantry full, allowing you to cut back on trips to the grocery store. It's a great way to save time, money, and create a sustainable supply of food for you and your household. Plus, canned fruits are healthy and packed with nutrients. This guide will walk you through why canning at home is not only an affordable option, but also a great skill to have, and one that any home chef can learn.
Benefits of canned fruit
You may know that getting a healthy dose of fruits is an important part of a daily diet. Fruits are naturally low in fat and calories, contain no cholesterol, and are a great source of essential nutrients like dietary fiber, vitamins like A and C, and potassium. Some people even refer to them as "nature's fast food" because they are so easy to prepare. Perhaps you knew all this, but did you know that you can still get all these health benefits by canning your own fruit?
Many people believe that fresh fruit is the healthiest option, but that's not necessarily the case. A study by Michigan State University showed that most canned fruits provide the same amount of nutrients as fresh and frozen, and some even contain more vitamins and minerals than their fresh counterparts. Canned fruits are also a more affordable and sustainable option. They last longer, meaning your dollar stretches further. They also stay edible for months, unlike fresh fruit, which rots in just a few days. This reduces food waste, which saves you money.
Store-bought versus home canning

You might be wondering why canning your own food is worth it when the grocery store has so many good options. According to Michigan State's study, home-jarred goods can actually be more nutritious than store-bought. This is because the canned fruits in the grocery store have often traveled long distances to get to the shelf.
Plus, most grocery stores use metal food cans, which according to the National Institute of Environmental Health Sciences, can expose you to bisphenol A or BPA, a chemical produced in large quantities for use in the production of polycarbonate plastics. Canning your own food in jars can avoid exposure to BPA, which according to the Mayo Clinic, may lead to increased blood pressure, type 2 diabetes, and cardiovascular disease. Plus, when you can your food at home, you choose exactly what goes inside the jar, meaning there are no surprises or sneaky added preservatives or chemicals.
The environmental benefits of home-canning
Good news for you eco-warriors out there. Canning food is great for the environment. Canning not only reduces waste, but also saves energy. Jars are recyclable, which means less packaging is created, and less of it ends up in landfills. Plus, canned fruit's shelf life means you only use what you need. This reduces food waste, which is a huge contributor to climate change.
When food goes to waste, all the energy and water it took to grow, harvest, transport, and package that food also goes to waste. Then, when that waste goes to the landfill and rots, it produces methane — the greenhouse gas that erodes the ozone layer and exposes us to dangerous UVB levels that can harm humans, plants, and animals. By canning your fruits, you avoid food waste and save energy by using recycled materials. A win for the environment, and a win for your pantry.
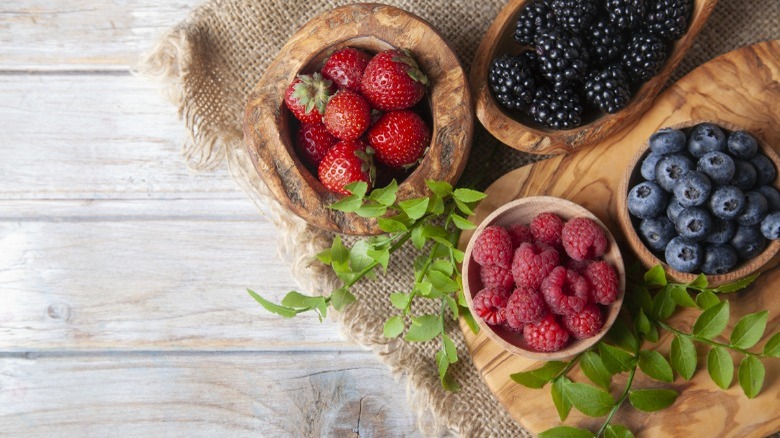
Best fruits to use in canning
How do you know which fruits are the best candidates for canning? The first thing to consider is safety, and a big part of safe canning is determining a fruit's acidity to see if it has enough acid to kill any harmful bacteria when it undergoes the canning process. Acidity deters bacterial growth, and luckily, most fruits are high in acidity. Before you begin, check the fruit's pH level, which is the measurement of acidity. If you are canning using a boiling water canner (see more on this in the sections below), you need a fruit with a pH of 4.6 or lower. This includes most fruit, but foods like bananas, watermelon, or papaya are not acidic enough to be great candidates for canning using just a boiling water canner. However, some low-acidity foods can be canned using a boiling water canner if you add an acidic solution like vinegar.
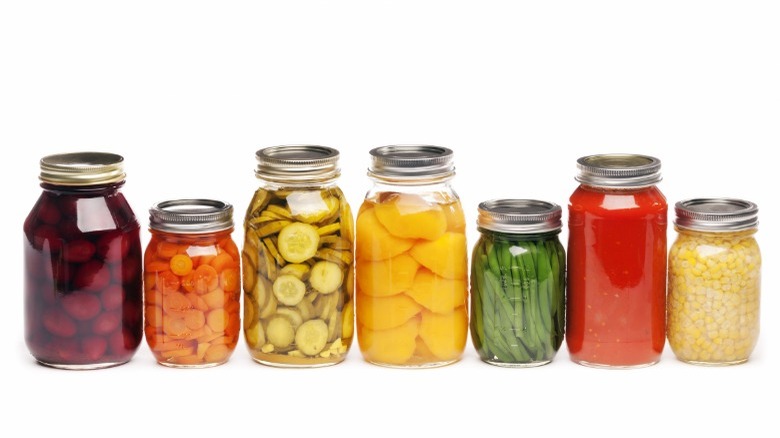
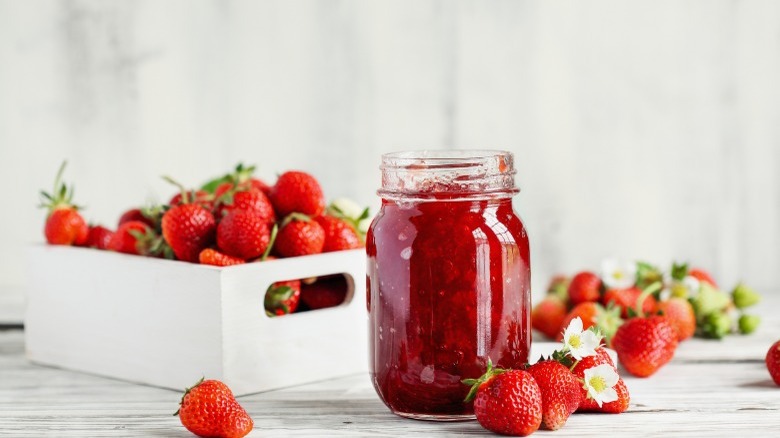
Another thing to consider is size. Sturdier fruits and large fruits tend to handle the canning process better and are less likely to lose their shape over time, which is why popular items for canning include apples, peaches, plums, apricots, pears, pineapple, and nectarines.
How much fruit to use
How much fruit you use depends on the fruit you are canning and the recipe you are using, as well as how many jars you want to process. A recipe for tomato preserves (yes, tomatoes are a fruit!) calls for 2 to 3 pounds of ripe tomatoes to make 3 to 4 cups of prepared, canned tomatoes. Meanwhile, a recipe for canned peaches might call for 4 pounds of peaches to make 2 quarts of canned peaches. The recipe you are using will generally tell you how much fruit you need, and if you want more, just use math to convert the amounts to the serving size you need.
It's also important to consider how many jars you have. Since canning is all about avoiding waste, the last thing you want to do is make more fruit than your jars can actually hold. If you've purchased a set of 12 half-pint jars for canning, filling all 12 jars will require a different amount of fruit than, say, an eight-piece set of jars would. Before you begin canning, think about how many jars you have and what their capacity is, as well as how much food storage space you have or want to use. Make sure the recipe you are following works for your materials and space.
Boiling Water Canner vs. Pressure Canner
When talking about canning, safety is extremely important. Safe processing is imperative to kill and thwart food-borne illnesses, and it's also important for you to stay safe in the kitchen while you're canning. The first step to canning is choosing the safest canning method. For most fruits, you're going to use a boiling water canner. This is a large and deep pot. The canner has fitted lids and is deep enough so that you can completely submerge the jars inside, leaving one to two inches above them.
Another way to can foods is with a pressure canner, which is a large pot with a lid that locks, and usually has a dial or weighted gauge that can regulate steam pressure. That pressurized steam reaches temperatures far greater than that of boiling water, and heats jars up to kill microorganisms in food. Unlike a boiling water canner, you only put 2 to 3 inches of water into the bottom because you're using steam to cook instead of boiling water.
You use the boiling water canner for high-acid foods, and the pressure canner for low-acid foods. Boiling water canners are used for preserving foods like most fruits, and for making jams, jellies, and pickled veggies. Pressure canning is for foods with low-acid levels, like seafood. Never use boiling water canning for things like meats, seafood, poultry, or other low-acid foods, because these require a pressure canner to raise the heat inside the jars enough to kill bacteria.
Equipment you will need
To can your fruit, you'll need some equipment. First, you need the boiling water canner. You can purchase this online, or in most kitchen or home supply stores. Canning kits often come with the rack you'll need to put the jars on. This rack fits inside to keep jars elevated above the heat at the bottom of the pot.
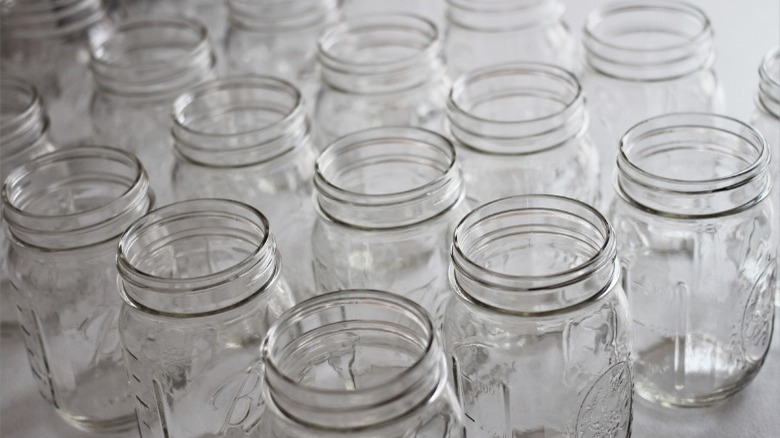
The next thing you'll need is the jars for canning. Mason and Ball are popular brands. You will also need clean, rust-free, metal bands. These bands screw onto the rims, holding the lids in place until the fruit is processed, sealed, and cooled. If you purchase a pack of jars, these items usually come with the package. You also need single-use metal canning lids. These also usually come with the package.
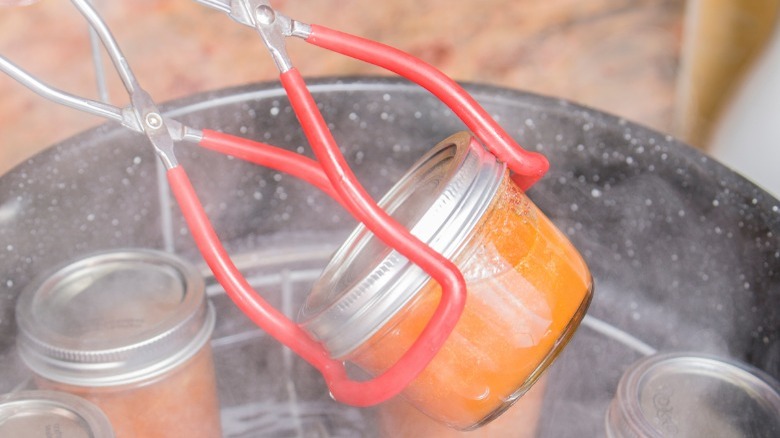
To fill up the jars, you use a canning funnel. This is a wide-mouthed funnel that keeps the fruit from spilling onto the rim while you're filling it up. A ladle is also helpful to scoop the fruit into the funnel. A jar lifter comes with many canning kits. It's used to safely lower jars in and out of the canner, preventing you from burning yourself.
The last item you need is a stainless steel pot to cook your batch of fruit before it goes into the jars. Stainless steel is the preferred choice because it's more durable than other materials. Plus, it can handle high heat and years of cooking.
Raw versus Hot Packing
Canned food lasts far longer than fresh, but just how long it can last partially depends on air, and how much of it is removed from food before jars are sealed. This brings us to your next consideration, which has to do with packing your jars. There are two ways to do this: raw packing and hot packing.
Raw-packing is the practice of filling jars tightly with fresh, unheated food. Hot-packing is when you heat the prepared food to boiling. You simmer it for two to five minutes, and then you fill the jars with that boiled food.
If you're working with fruit, you're most likely going to be hot-packing. Raw-packing is more suitable for vegetables processed in a pressure canner. Meanwhile, hot-packing is more common for fruits, since hot-packing is the best way to remove air, and it is the preferred pack style for foods that are processed using a boiling water canner.
Adding sugar and sweeteners
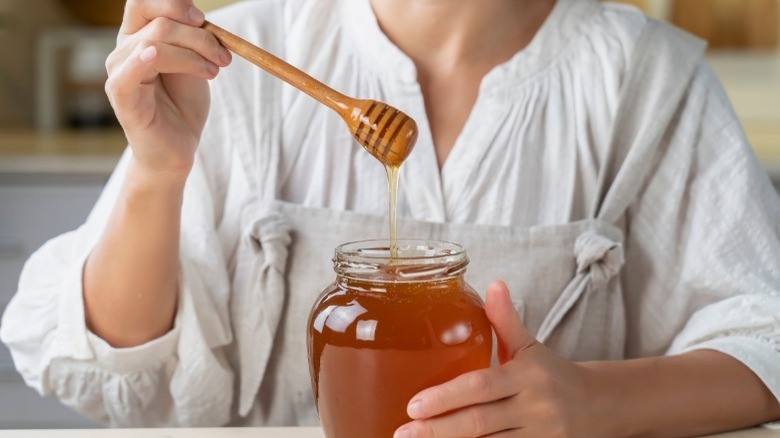
Adding something extra to sweeten the fruit is a common practice is canning. Sugar can help canned fruit hold its shape, color, and flavor. Not to mention, sugar is delicious. This is why it's a popular addition to many canned mixes. But sugar isn't the only option. Many fruits are packed in hot water, juice, or sugar syrup. Light corn syrup, light brown sugar, or honey can also be used to replace as much as half of the sugar used in canning fruit.
Many recipes call for canners to cook and pack their fruit with a syrup. If you do go the syrup route, make sure you pick one that is well-suited to the fruit. Heavier syrups are often used with sour fruits, and lighter syrups are better for more mildly-flavored fruits. The recipe will specify which sweetening method (if any) is recommended for your fruit.
Prepping your jars for canning
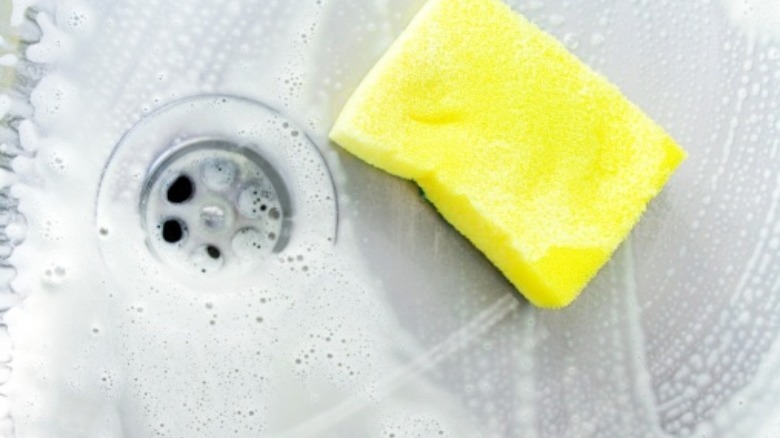
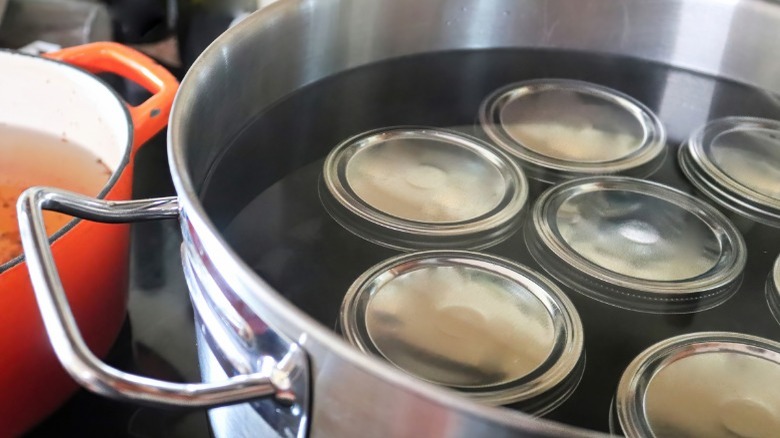
You've got your fruit, you've got your canner, you've got your jars, and now you're ready to do some canning. The first step is to prep your jars. Clean them by washing the jars in hot, soapy water.
The next step is to keep those jars toasty so they are ready to be put in the boiling water canner. Your jars need to be warm prior to filling them, otherwise they'll shatter when they are hit with the heat from the canner. Grab another large pot, fill it with your empty jars, and cover them completely with water. Bring the water to a boil and let the jars sit in the boiling water for around 10 minutes. You don't need to heat the bands or lids along with the jars, as the majority of lids being sold today are engineered to no longer need heat activation in order to create a seal. Just be sure that the lids have been thoroughly washed and that they've never been used before.
After the jars have been sufficiently heated, you can remove them from the pot. Before filling them with your fruit mixture, make sure that they are fully dried.
Prepping your canner and fruit
The next step is to prep your boiling water canner. If you've purchased a boiling water canning kit (sometimes called a water bath canner), it will likely come with directions that walk you through how to set up your specific canner. For all canners, the usual way to get started is by setting the rack on the bottom of the pot. Then, you fill the pot with water about halfway. Keep the water at a simmer until you place your filled jars inside later.
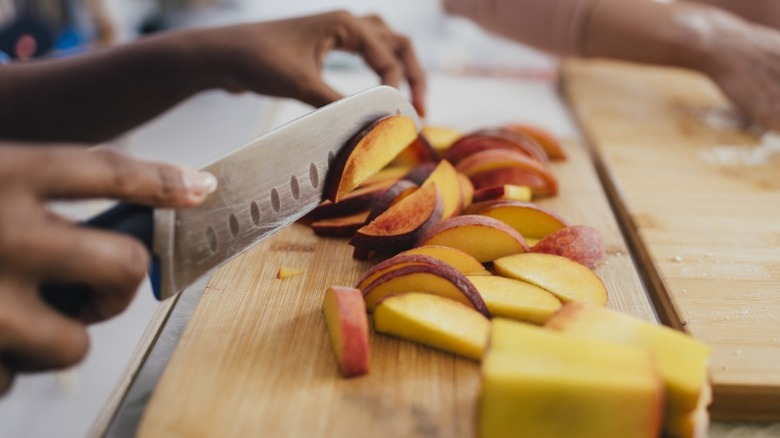
Then, it's on to prepping the fruit for your jars. The recipe you are using will give you more details on this, but in general, prepping fruit for the canning jars will involve first washing the fruit (obviously!), and depending on what you are making, you may need to peel, chop, dice, or slice your fruit to get them into the sizes you need for your jars.
Prepping your fruit mixture for the jars
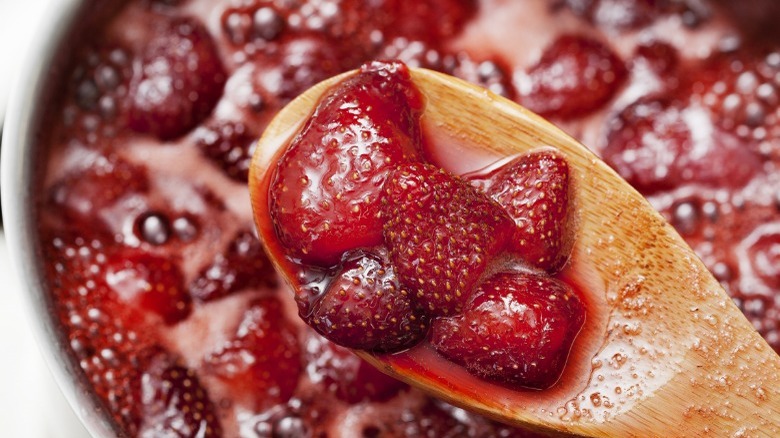
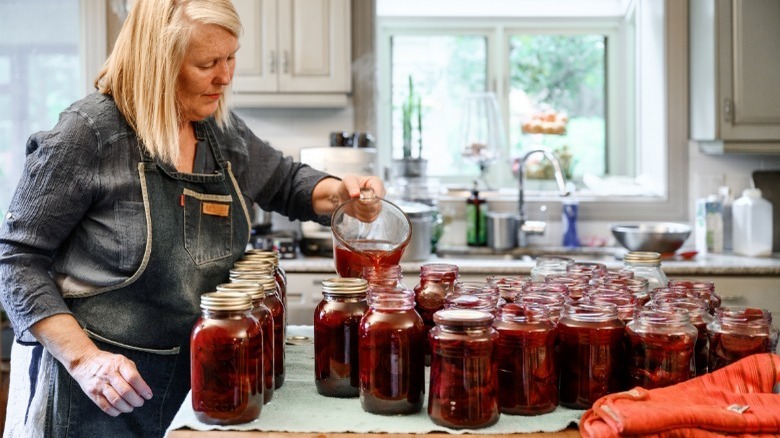
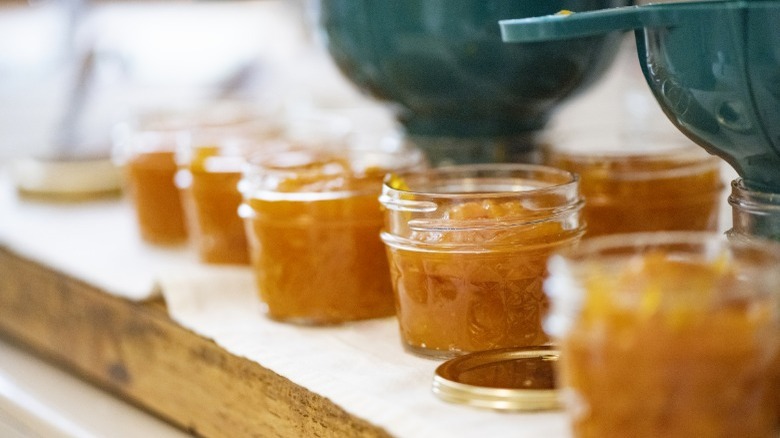
Depending on what sugar (if any) you choose, you will now simmer your fruit in the desired syrup, honey, or whatever the recipe calls for. Once your mixture is all set, fill your jars with the fruit using the ladle and the funnel. Be sure to leave the right amount of headspace in the jars. Headspace is the unfilled space above the food in a jar and below its lid. The recipe you've chosen will often tell you how much space to leave, but a quarter-inch to a half-inch of headspace is generally a good rule of thumb.
If you see air bubbles, don't panic. Slide a clean spatula along the inside of the jar to remove any pockets of air. After you wipe the rims of the jar clean, it's time to seal. Center the lid on the jar, and screw the band over the lid. Keep turning the band until it's nice and tight, but there's no need to use any tools besides your hands to get a tighter seal. Now, it's time for what's known as "processing," which is where the real magic happens.
Processing using the boiling water canner
Your fruit is in the jars, and your boiling water canner is ready to be used for what's known as "processing." Processing is when you heat your filled jars for a specified time at a specified temperature in the boiling water canner in order to destroy the harmful microorganisms and pathogens that can cause botulism. This is what allows the food to stay edible for so long after it's been canned.
For processing, place the filled jars into the boiling water canner using the jar lifter so you don't burn yourself. Make sure that none of the jars are touching each other. The water in the canner should rest about 1 to 2 inches above the tops of the jars. Bring the water to a boil. Once the water is boiling, you'll leave the jars in the canner for the amount of time specified in your recipe. For most recipes, the processing time is around 10 minutes.
Cooling your jars
When the timer goes off, turn off the heat. Remove the canner lid, but be aware that hot steam will be released from the pot, so be sure to protect yourself from burns. Let the cans sit in the canner for five to ten minutes and cool off.
After removing them from the canner, let your jars rest on the counter for 12 to 24 hours to fully cool. Do not re-tighten the bands or otherwise disturb the jars, since this might interfere with the sealing process. As the jars cool, you'll hear them make a noise like a "ping", which means the jars have sealed correctly.
After the jars are done cooling, you'll need to make sure the seals are still intact. Take off the bands and push down on the center of each lid. A properly sealed jar won't have any give in the lid. But if that lid springs back up, it didn't seal correctly, so you'll need to put the jar in the fridge and eat the contents within two weeks or toss it if you don't want to use it.
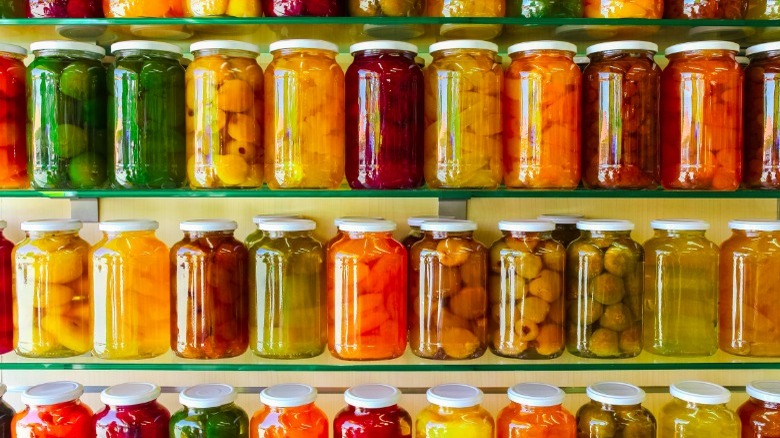
If your jars are all set, then you're done. Congratulations on your canning success! The best place to store your jars is one that is cool, dry, and dark. That said, even if your jars are properly sealed and stored, you should still use caution when you eventually open them. If anything ever looks or smells odd, or the jar lid is broken, do not eat.
How to use your canned fruit
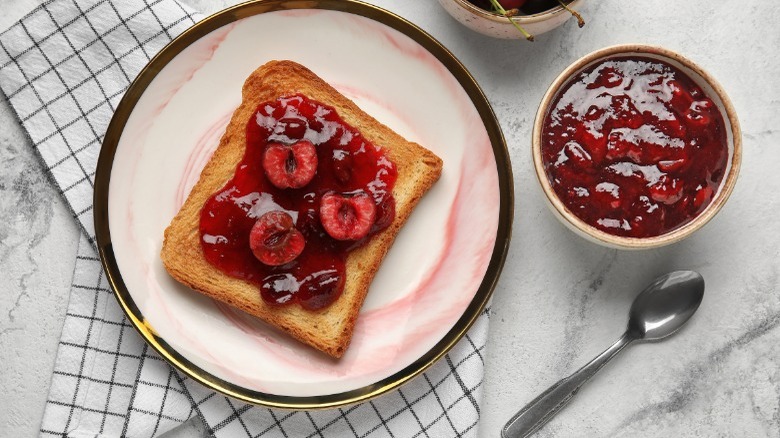
Once your fruit is canned and ready to use, the recipe possibilities are endless. Canned fruit is a wonderful side dish, appetizer, dessert, or even condiment. For a snack, many people use canned fruit to create colorful fruit cocktails. If you add whipped cream, you can transform that same fruit cocktail into a sweet and easy dessert.
The sweetness of canned fruit pairs well with the saltiness of cheese, so adding cheese to a toast, cracker, or crostini with canned fruit on top creates an easy appetizer with a lot of taste. For a unique twist on guacamole, try adding canned pineapple to the mix.
You can also use canned fruit for pie or dessert fillings, and many people love to use canned fruit in cocktails. It makes for a great garnish on a mixed drink, or for a pitcher of Sangria, to add extra pizzazz.