The Satisfying Ice Cream Swirling Hack That Repurposes Soda Bottles
There are few things more rewarding and indisputably delicious than a waffle cone filled with ice cream on a hot summer day. But did you know you could swirl your own ice cream cones at home, just like they do at your favorite ice cream shop?
Assembling your own ice cream swirl cones to serve at your next backyard barbecue (or simply to keep in the freezer for a refreshingly rich homemade treat) is surprisingly easy. And you can do this using items you probably already have on hand — no special equipment required. All you need is a plastic storage bag and a used soda or water bottle that's been thoroughly cleaned.
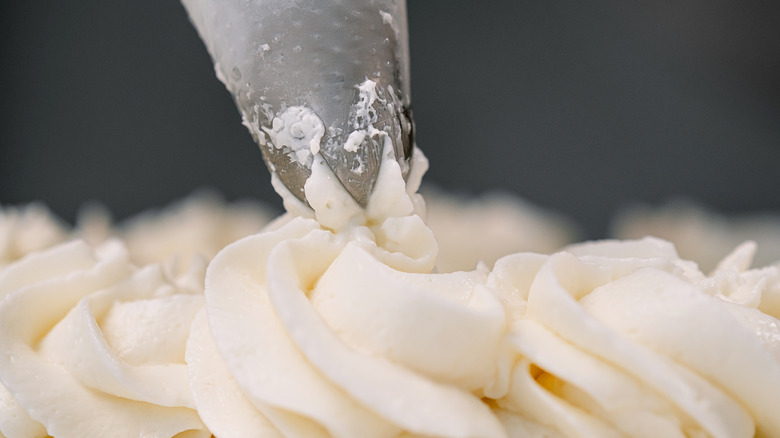
Yes, you read that right, so you may want to think twice before throwing those used bottles right into the recycling bin. In a recipe video tutorial, Chefclub reveals an inventive way to use plastic bottles to make your own star-tip pastry bag (similar to those commonly used for piping frosting) and create your own flawlessly swirled ice cream cones at home. This easy trick starts by simply cutting off the top quarter of a plastic bottle, then making a star cut-out on the cap.
How to make a homemade ice cream swirl
To repurpose your plastic bottle to make a beautiful ice cream swirl, once you've detached the top portion of the bottle, remove the cap and make a star cut-out in the top surface using a box cutter for a clean and seamless cut. Then, screw the cap back on and place the bottle top in a heavy-duty plastic storage bag with the bottom corner snipped off so the bottle cap fits snuggly into the bag's opening. Nest your DIY pastry bag in a tall glass to hold the bag upright before filling it with a few generous scoops of your favorite ice cream. Leave several inches of space at the top so it doesn't overflow, and then twist the open top of the bag securely closed.
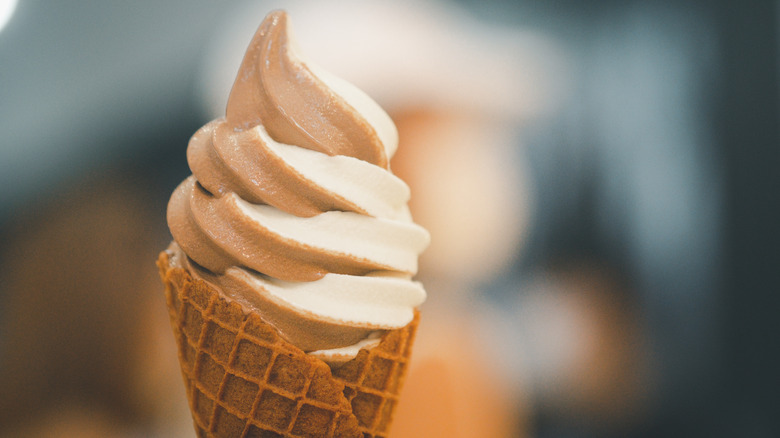
To create that classic and extremely satisfying ice cream shop swirl, hold your ice cream-filled piping bag just above the surface of the cone. Starting from the center of the cone, apply consistent pressure to the bag and pipe your ice cream in a circular direction, slowly lifting the piping bag as you rotate, until you get a swirled tower of silky goodness.
It is important to work fast so your ice cream holds its defined edges and doesn't melt. As you fill each cone with decadently smooth ice cream, transfer them to the freezer before adding toppings, or until ready to serve, in order to keep the chilly treats frozen.
Tips for completing your cone

Since you're already making your own swirled sweet treat, this is a great opportunity to get creative in the kitchen and customize your ice cream cone to truly make it your own. Try your hand at making ice cream from scratch with elevated flavors like strawberry honey balsamic ice cream or honey lavender ice cream. If you really want to live out your culinary dreams with this homemade dessert, you can even make your own ice cream cones (think: graham cracker cookie cones or cones made with puff pastry). To make a classic chocolate and vanilla swirl (all-in-one), scoop both flavors of ice cream on either side of your DIY piping bag to create separate compartments prior to creating those velvety swirls.
Garnish your cones with your favorite fixings, like rainbow sprinkles, chocolate or raspberry sauce drizzle, or even crumbled cookie pieces, then dig into your cone right away (trust us, you won't want to wait). If you're making several cones ahead of time for a backyard gathering, place them in the freezer until you're ready to serve them for a seriously impressive frozen dessert.