The Simple Spatula Hack For Telling When Homemade Jam Is Done
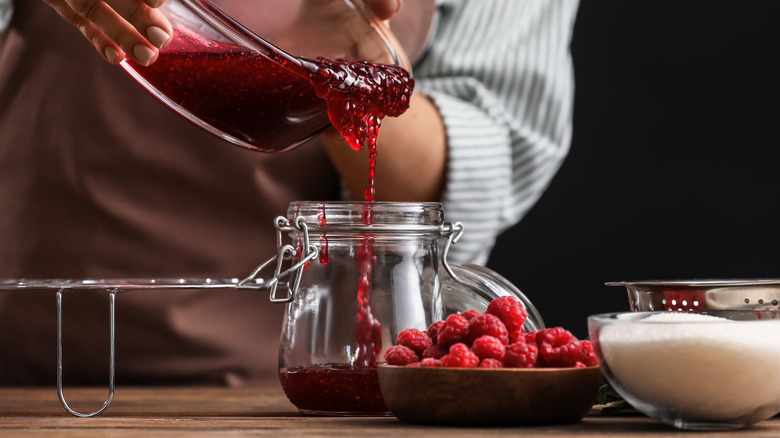
Jam; it's sticky, sweet, and incredibly humbling. It's iconic in peanut butter and jelly sandwiches (which surprisingly boomed after WW2) and livens our toast on weekday mornings. Although jam is thought to have originated in the Middle East during the 10th century, solving when it's ready to set is still baffling. In other words, until it's cool, it's difficult to tell if it's too runny. Luckily, an easy hack involving a spatula makes testing your homemade jam for readiness much more straightforward.
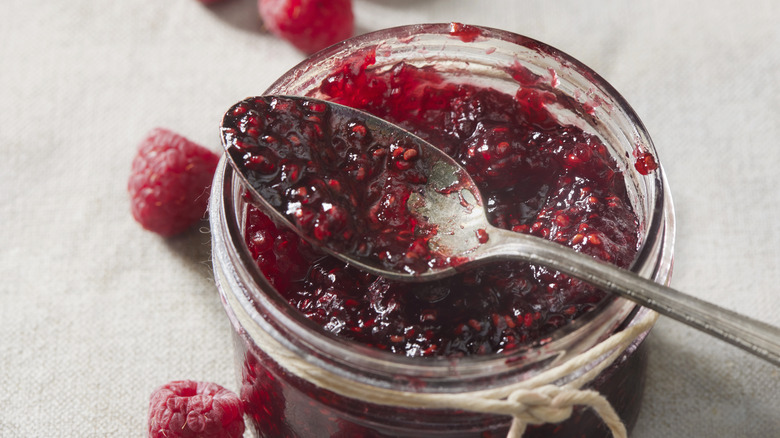
The most challenging aspect is that, until it cools, it can be difficult to tell if it's reached that thick, spreadable texture. This tip is quite similar to how you test the consistency of custard: with the back of a spoon. Here, you're switching the spoon for a spatula, and there's no chance of messy fingers. Using a spatula ensures an accurate reading of the jam's texture, guaranteeing it has reached that perfect, spreadable consistency. You'll know your jam is ready when it clings to the back of your spatula, and drips off in thick blobs (rather than thin drizzles).
Spatula at the ready
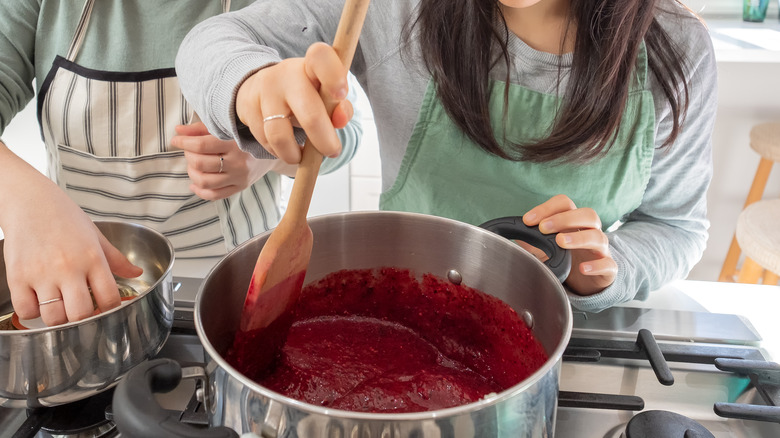
If you've ever made a jam, you'll understand that it can be an arduous process, especially when it seems to take forever to thicken. A spatula can be an easy tool to test precisely when it's done. Once your jam has reached a thicker syrupy consistency, you can immerse your spatula and then raise it up out of the jam to see if it falls off in heavier clumps. If it runs off quickly, you'll know it's not ready, and you can continue cooking it.
You can always use a plate if a spatula isn't in your kitchen repertoire. Drop a tablespoon of the hot jam onto a freezing-cold plate and press your finger into the middle of it. You want the jam to hold its shape once you've pressed it instead of filling back in. This is a handy tip also to use when making homemade marmalade. Although do remember that jam and marmalade are very different spreads. While it would be dreamy to leave jam bubbling away till it thickens, you should keep an eye on it. If the jam becomes too hard, then it's overcooked. But you can thin it with a bit of water to get a smoother consistency back.
Let's jam
Your microwave may have changed how you peel your tomatoes, but did you ever consider that it could also hasten homemade jam? No longer will you stand for hours, wondering: Is it there yet? This jam-in-the-microwave trick makes this long process simple and accessible. All you need is the fruit (strawberries, blackberries, or raspberries), lemon juice, and sugar. It all goes into a large bowl in the microwave, and in less than 20 minutes (with a stirring break), you could have a homemade jam.
Perhaps you're contemplating if creating jam in the microwave is really necessary. Making homemade jam in the microwave can actually preserve the natural color and flavor that makes the fruit so brilliant. Cooking homemade jam on the stove can diminish these over long periods. The next time you're considering making homemade jam, be sure to get the spatula ready, whether you're making it on the stove or in the microwave.