The Freezer Hack For The Absolute Easiest Homemade Whipped Cream
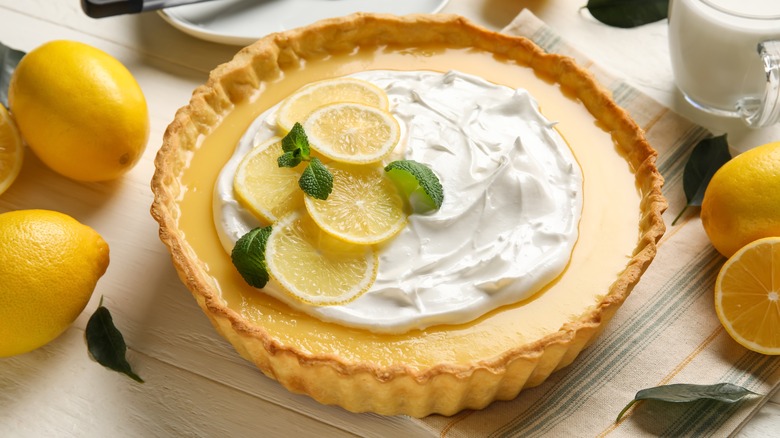
Homemade whipped cream is among the few things that can truly enhance the taste of desserts, such as a light and velvety key lime pie. If you've ever made your own whipped cream, you know how easy and seamless it can be (not to mention how rich and fresh it tastes). Making whipped cream from scratch only involves a few ingredients: Heavy cream, along with any desired sweeteners and flavorings. Furthermore, it comes together in a matter of minutes, meaning you can whip up your silky cream right as you get ready to serve dessert at your next dinner party. Once you make your own and see how easy it is, you'll never want to buy the canned stuff again.
To make light and airy whipped cream every time, it's important to keep your cream cold in the refrigerator until you're ready to whip it. Although this process might appear straightforward, maintaining the chill in your cream while whipping, especially on a hot summer day, can pose a challenge. Luckily, we have a foolproof way to keep your cream cold, and it involves a simple freezer trick: Pop your mixing bowl and whisk or mixing attachment in the freezer prior to whipping your cream.
Temperature is key when making whipped cream
The key to making perfect whipped cream at home is to ensure that all your ingredients and mixing equipment are cold. This is due to the fact that the fat in cream emulsifies more effectively and quickly when it's chilled. During the whipping process, air is incorporated and the cold fat globules in the cream take up and hold onto the tiny air bubbles to form a matrix, which gives whipped cream its beloved rich and creamy form and taste.
The science and luscious magic that occurs when cream is whipped happens much more quickly and effectively than if the cream is at room temperature or warm. When warm, the fat globules in cream begin to melt and collapse, which impairs their ability to retain air and extends the time necessary for this process. This will result in deflated, less fluffy and airy whipped cream.
To keep things chilly, place your bowl and mixing tools in the freezer for about 10 to 15 minutes prior to whipping your cream. Use a stainless steel metal or glass bowl, as these will maintain the cold temperatures more readily than other materials like plastic. Additionally, avoid touching the sides of your bowl too much, as that can also warm the cream. For good measure, you can even place your mixing bowl in an ice bath as you whip, using a larger bowl filled with ice water. However, giving your bowl the freezer treatment beforehand should do the trick.
Whip your cream to desired consistency

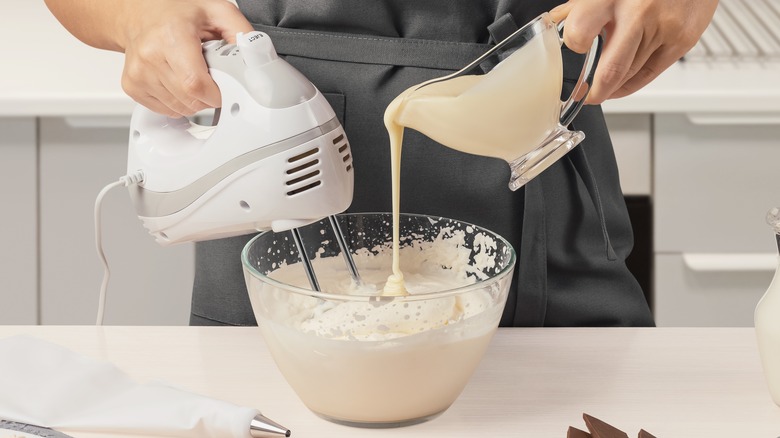
Once your equipment and cream are cold, you're ready to start mixing. To make an easy homemade vanilla whipped cream, simply whip 1 cup of heavy cream in a chilled bowl using a hand-mixer or a whisk. A stand mixer with the whisk attachment works great, too. Begin at a low speed to prevent cream from splattering everywhere. Gradually incorporate your sugar and vanilla extract, then increase your mixing speed as the cream begins to thicken.
To make a light and ultra-fluffy whipped cream that can be dolloped atop a steaming cup of single-serve peppermint hot chocolate, whip your cream just until it forms soft peaks. You can tell your cream has reached the soft peak stage when you hold your whisk or whisk attachment upright and peaks begin to form, but their tips droop and flop in on themselves.
For thicker dollops of whipped cream that can be used to top pumpkin pies, or even as a silky frosting to pipe onto cupcakes, whip your cream to the medium or firm peak stage, at which point it will retain its shape and maintain a more defined structure. Contrary to the stiff peak consistency required for meringues, your whipped cream doesn't have to stand tall and upright without faltering. In fact, be careful not to over-whip your cream, as it could turn to butter.