How To Freeze Stock, And Why You'd Want To

Good chefs know that a lot of cooking isn't about obscure techniques and esoteric ingredients, it's about mastering the fundamentals. If you want to make good food, you have to start with the best ingredients and build flavor, and there's no better secret weapon ingredient to make rich, flavorful food than homemade stock.
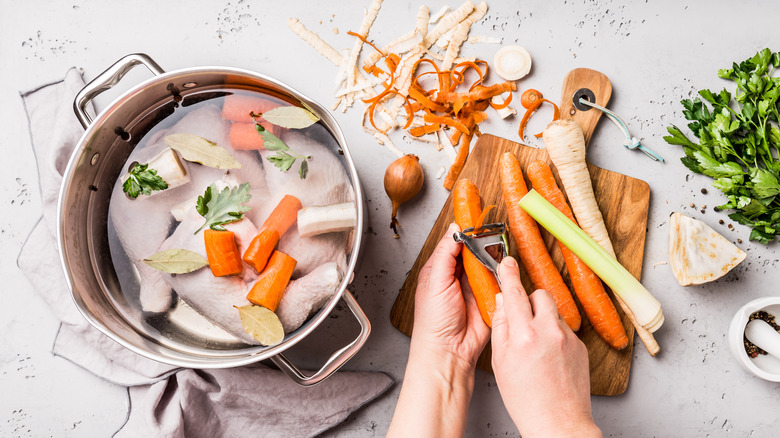
Making your own stock will take your soups and sauces to the next level, plus you can use it for making more flavorful grains like rice, quinoa and barley. Stock recipes are very simple, and don't require a lot of fussing to get them right. All you have to do is fill a pot with raw ingredients and water and let it simmer. An added bonus is that you can make it with edible vegetable scraps, which will cut down on food waste. It's like getting something for nothing if you were going to throw away carrot and onion ends anyway, and it's a lot cheaper than buying stock from the store.
The challenge with homemade stock is storage. It's not practical to make small batches every time you want to cook, because nobody has time for that. You probably don't make soup every night either, and fresh stock doesn't last longer than a few days in the refrigerator. So the best solution is to make a big batch and freeze some. Stock is mostly made up of water, so it freezes and thaws beautifully, you just need to follow a few simple guidelines.
Cook for consistency, then chill
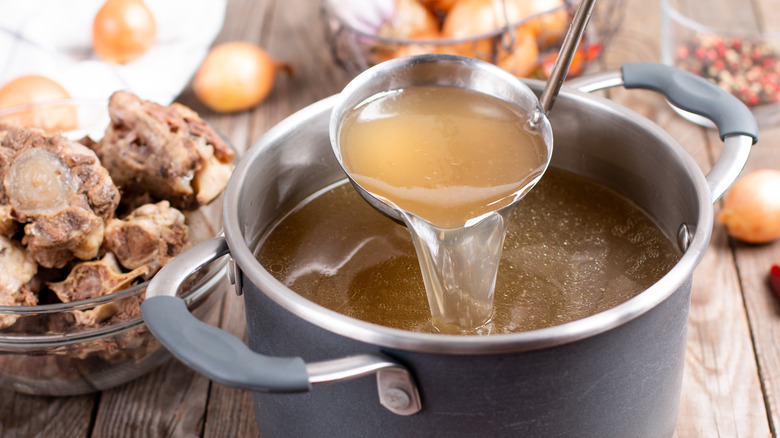
Before you freeze any stock, first consider a few factors. For starters, how much room do you have in your freezer? This is important to know when your stock is still cooking because you have a choice to either chill and freeze it when it's at the right concentration for use as-is, or you can simmer it longer to reduce the volume so that it takes up less space; later you can just add extra water to your recipe to dilute it. Second, do you tend to use your stock in large batches, or do you only need a little bit at a time? This will determine what type of containers you'll use to freeze your stock.
Once you have your stock at the right consistency, the next step is to rapidly chill it before putting it in the freezer containers. This might seem a little weird since the goal is freezing. However, according to Macheesmo, if you pour your stock into containers and put them in the freezer right away, the heat coming from those containers will affect the temperature inside your freezer, and some of the other food inside, like ice cream, can partially thaw causing them to change texture. Use an ice bath in the sink to chill the pot of stock quickly, which will keep it out of the temperature "danger zone" of 40 and 140 degrees Fahrenheit and prevent foodborne illness.
Time to freeze
Once you've got your stock all chilled and ready for freezing, you can pour it into containers. If you take a second at this step to store your stock in pre-measured containers, you'll know exactly how much you have on hand, and how much you're taking out of the freezer each time. If you don't want to invest in special labeled containers, you can use zipper-style freezer bags; just measure out two or four cups and be sure to label the bags with the volume and the date. An easy hack from Southern Living for holding open plastic bags for filling with messy liquid is to slide them inside a bowl or jar like you would a liner in a trash can.
If you tend to only use a little bit of stock for making sauces or flavoring recipes, try freezing it in an ice cube tray. Once the savory cubes are frozen, you can pop them out one by one for cooking, or pop them all out and store them in an airtight container in the freezer for easy grabbing. Standard ice cube trays hold about an ounce of liquid in each space, so a cube will be around two tablespoons of stock.
Better yet, if you're not sure how you'll use your stock but you know you need some around, freeze a couple of larger containers of stock for soups, and a tray or two of cubes for sauces, and you'll be ready for any recipe that comes along.