The Biggest Mistake Most People Make With Pie Weights

Whether you're serving gooey apple pie as a warm-spiced Thanksgiving dessert or crafting bright springtime pie recipes, one constant remains key to the delicious treat: a flaky, crisp crust.
To achieve the perfect pie crust, it's important to give the crust a pre-bake (a method referred to as blind-baking). Depending on the pie, you might also give the crust a chance to crisp and cook through by partially pre-baking the pie crust before adding in wet or high-moisture fillings. Other pies require fully pre-baking the crust to golden brown for no-bake pies, such as those filled with chocolate mousse. Whatever the pie type, pie weights are necessary to provide extra pressure to the crust during the pre-bake step. In the heat of the oven, the small pebble-sized chunks of butter in the pie dough melt creating the flaky layers that make for the best crust. Pie weights help the crust get its crispy texture and form to the pan by preventing the bottom of the crust from puffing with air bubbles and the sides from shrinking as the cold butter melts.
When using pie weights, however, many bakers make the mistake of only weighing down the bottom of the crust. Instead, it's important to fill the crust with weights. Make sure the sides are completely covered and weighed down to ensure a golden, flaky bake.
Cover the pie crust with weights to pre-bake
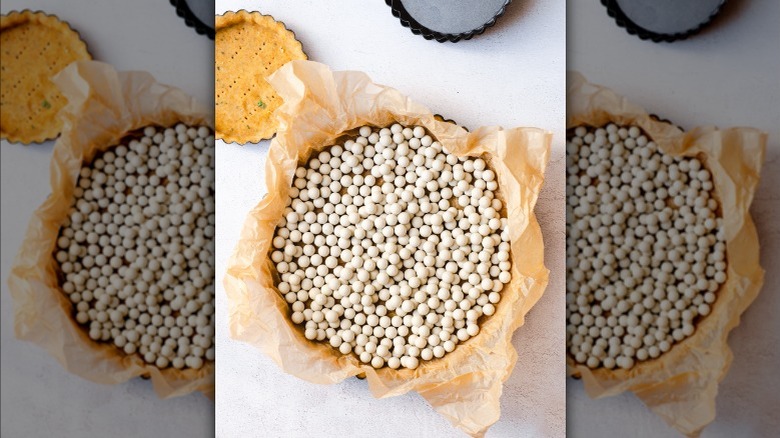
For the best bake, after you roll out and place the pie crust in its dish, cut the excess dough and crimp the edges, and then give it a chance to chill. Then, it's time to add the weights. To do so, first create a barrier between the crust and the weights by placing an ample-sized sheet of parchment paper to fit completely over the bottom and sides of the pie crust. Next, fill the pie with weights all the way to the edges to fill all sides of the pan.
Once the pie is weighted down to prevent excess steam from forming air pockets in the crust, transfer the pie to an oven preheated to 425 degrees Fahrenheit, or as directed on the recipe. Pre-bake the crust for about 12-15 minutes with the weights, then remove it from the oven and lift out the parchment paper and weights. Bake for a final few minutes without the weights, until the crust is set and lightly golden around the edges. For extra measure, some bakers recommend docking the crust by poking small holes in the bottom and sides of the crust before transferring it back to the oven to prevent any puffing of the crust for the final minutes of baking without the weights.
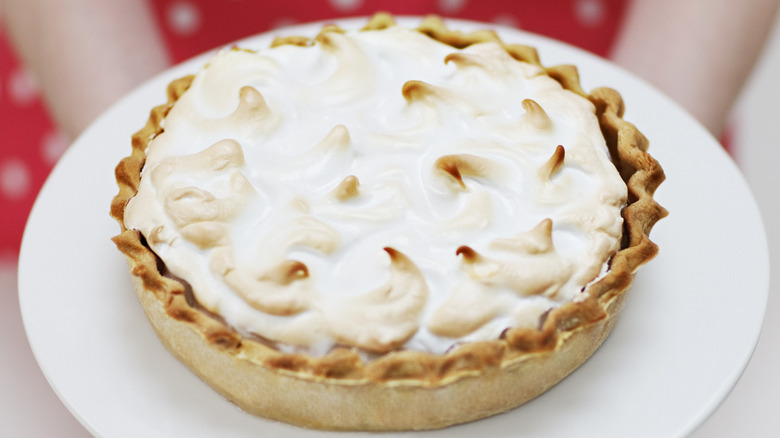
Once the crust is pre-baked, let it cool before filling it and further baking it in the oven, or transfer it directly to the refrigerator for no-bake pies.
How to choose the right pie weights
Pie weights can be purchased at specialty baking shops or online. They're often are sold as loose metallic or ceramic balls, connected chain weights, or a variety of sized disks that can be placed over the crust. If you decide to buy pie weights, consider buying an extra pack or two to make sure you have enough to cover all of the sides and surfaces of the crust.
For a DIY solution, baking weights can also be made using a variety of kitchen staples. To make pie weights at home, many bakers use dry beans, rice, or even granulated sugar; just remember to add the parchment paper layer as a barrier between the dough and the weights. Once they've been used, cool and dry your homemade weights and store them in an airtight container to reuse for your next pie creation.
In a pinch, you can also use another pie pan that fits snugly atop the bottom and edges of the crust.