You Won't Need An Icing Bag If You Have Parchment Paper
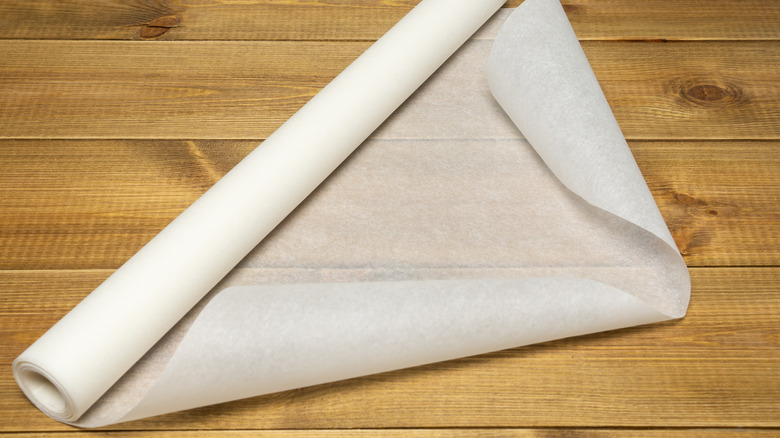
One of the most versatile tools in any kitchen or bakery isn't a gadget — it's a roll (or sheets) of parchment paper. It's primarily used to prevent sticky things from bonding to a cake pan or cookie sheet, but this silicone-coated paper can do so much more. You can use it to roll out doughs to prevent sticking to the counter when you're making pie crust, or for wrapping your fancy cheese to keep it fresh instead of using plastic.
Parchment is especially helpful when it's time to decorate a cake. Ina Garten, for example, cuts pieces of parchment to use underneath a cake for achieving extra clean edges after frosting. You can also use it like stencil paper and cut out shapes and strips to make details, or use it as a stick-free staging space for delicate accents like buttercream rosettes.
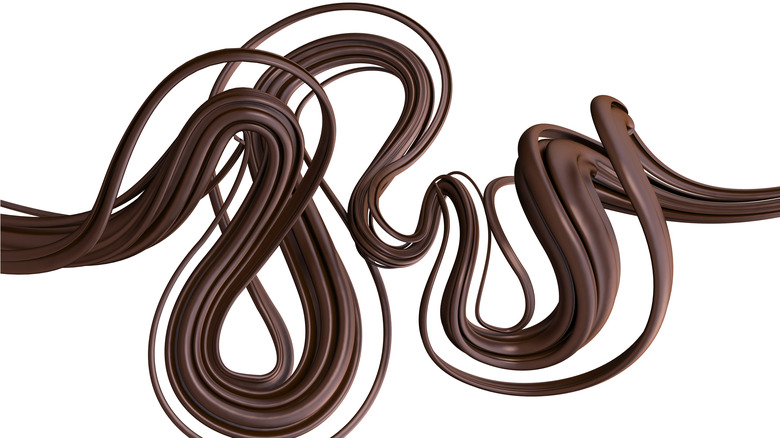
One of the ways that tons of professional pastry chefs use parchment for decorating is as makeshift piping bags. You don't need any fancy tools — just a clean, unused sheet of parchment and a sharp knife, and you can make a quick and easy cone that works just like a pastry bag with a plain tip. You'll never have to worry about finding the right size pastry bag or tip again — or buying them at all — for dainty details like chocolate writing. In fact, almost all of the chocolate writing you see in restaurants and bakeries was probably made with a parchment pastry bag.
Make a triangle
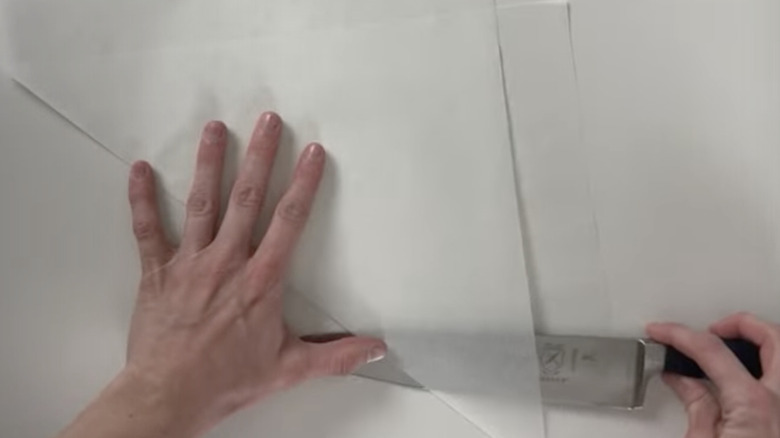
Making a pastry bag out of parchment paper isn't very complicated, but it sometimes takes a few tries to get it right. It's also a lot easier to start with a flat piece of pre-cut parchment rather than from a tube, because the paper will lay flat and be easier to tame into the proper shape. It's not impossible to use paper from a roll; just know that you'll probably crumple up a few pieces as practice.
The first step is to cut a long triangle. There are a few different ways to tackle this, but the simplest is to place the piece of paper in front of you vertically and then pull the bottom right corner over until there is about two inches of paper left on the top and the same amount of paper overlapping on the left. Give the fold a hard crease, and then use a sharp knife to carefully cut the fold. Avoid a jagged edge here because it will make the tip of your tube ragged and you won't be able to pipe clean lines.
Pastry chef and chocolatier Brittnee Kay has a super easy, fast parchment pastry bag tutorial on her YouTube channel to give you a visual of how it comes together — it's a little bit like baking origami.
Roll the cone
Now, with the sharpest point of your triangle pointing toward you, grab the corner that doesn't have a point and roll it in about halfway. Pinch that together with your fingers to hold it in place at the top of the tube, then grab the sharp point and wrap it around what you've already rolled.
If you did everything right, this will give the tube a sharp point. If you hold the top of the tube with both hands, you can slide the folds a little bit between your pinched fingers to adjust the size of the hole at the bottom, or you can leave it totally closed and later snip it off with a pair of scissors or a knife. Once you have the tube where you want it, fold the top of the opening over where the paper edges come together to keep it from unraveling, and now you're ready to scoop your ingredients in for piping.
Parchment piping bags are especially great for handling chocolate because you can make the opening of the bag at the tip as small as you need, which gives you a lot of control over the flow of the melted chocolate versus using a pastry bag with a tip. If your chocolate cools down too much, just pop the whole bag into the microwave for a few seconds to warm it back up.