14 Crucial Mistakes You Might Be Making When Cooking Steak
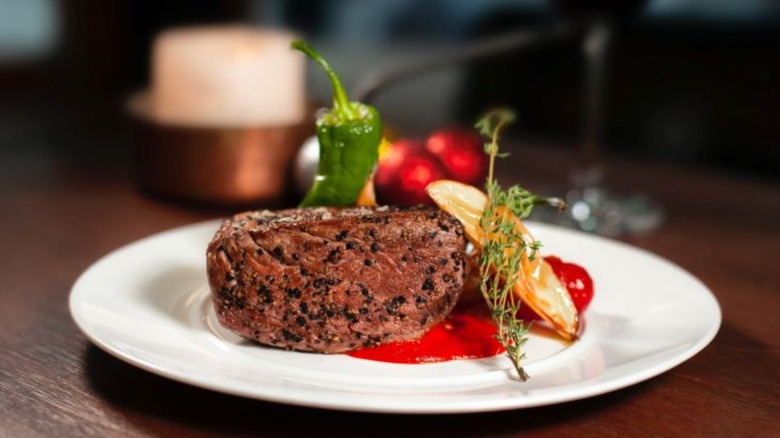
For many, steak is reserved for special occasions because it tends to be pricey. The cost of beef has risen markedly in recent years due to the rising costs of raising cattle — these costs get passed on to consumers. However, cooking it at home is still less expensive than paying for it at restaurants.
Though, it's not smart to eat steak every day since some cuts are high in saturated fat. Steak can be part of a healthy diet when eaten in moderation. Taking this all into account, if you wreck a piece of meat, you might not have a chance to make up for it until a much later date. So, why play around when there's so much to lose? Steak mistakes can lead to undercooking, overcooking, grill flareups, and little or no flavor. If your steak tends to come out inedible or not great, keep reading to learn more about what you might be doing wrong.
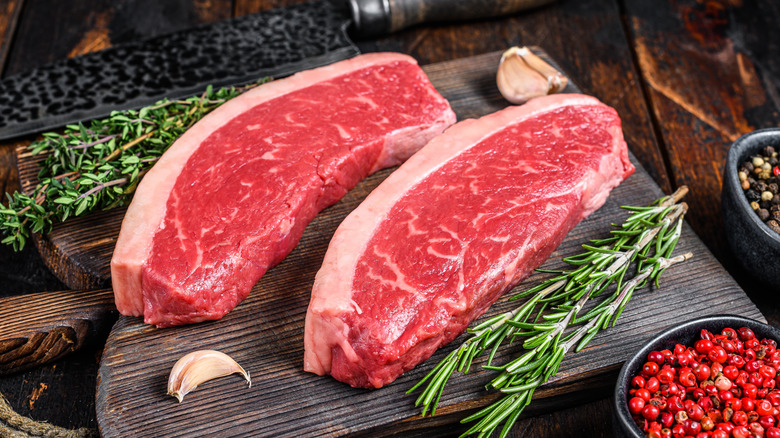
1. Choosing the wrong cut

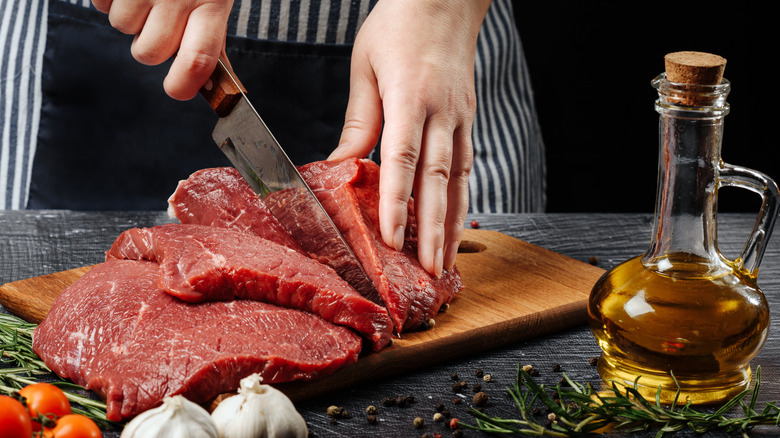
Thinner cuts of steak can be priced lower, but ones that are less than an inch thick won't cook well unless they're sliced and served in different ways. These lean cuts can be healthier but won't have as much flavor because much of that comes from the fat. Instead, use thinner cuts in sandwiches or a stir-fry recipe. With thicker cuts, look for some marbling running through the meat but avoid ones that have a lot of thick fat on the sides. The meat should have a vibrant red color. Avoid buying it when the color is dull or brownish.
There are many cuts of steak, but at the top of the heap are filet mignon, T-bone, porterhouse, ribeye, and New York strip. Top sirloin also deserves a mention here, but then you move down the ladder to less expensive meats. Examples of those include flank steak, skirt steak, and chuck steak. Tri-tip, brisket, flat iron, and top round can also be considered as steak and are delicious when properly prepared. Purists will go for the first grouping mentioned here.
2. Buying steak at the store
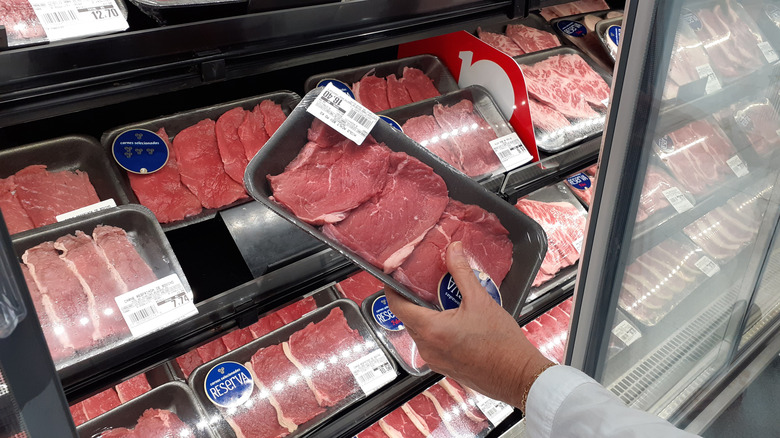
It's easy to grab a few steaks during weekly grocery store trips, but you probably won't be getting the best cuts. Gourmet grocery stores with butcher departments are the exception to this rule since these sections are devoted to meat and poultry, with practiced professionals behind the counters. But for the best selection and most helpful advice, head to your local butcher shop. They'll be able to tell you how the steak was sourced and will have a better variety than supermarkets.
Another reason to visit a butcher is to see the steaks you order cut right in front of you. This way, you don't have to search through pre-packaged ones if you can't find a cut or amount you're looking for. A butcher will also be able to advise you on the choices and suggest alternatives if you're looking to save money. Butchers often run sales like grocery stores do, so you won't necessarily be spending more. An experienced butcher can also give you a few tips on how to cook certain cuts and let you know if the shop is expecting any special deliveries.
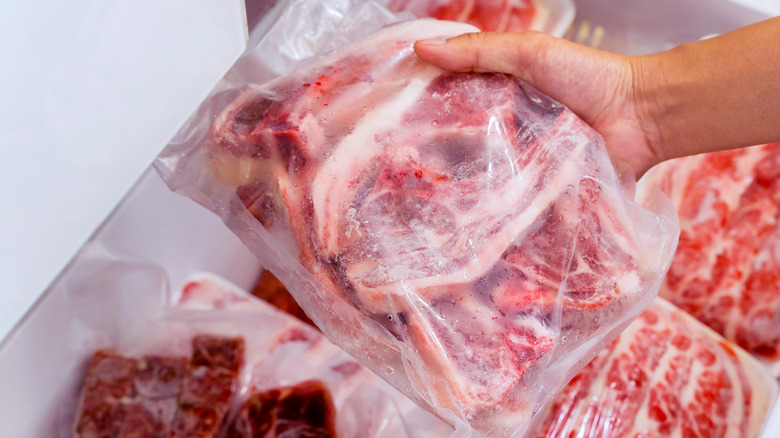
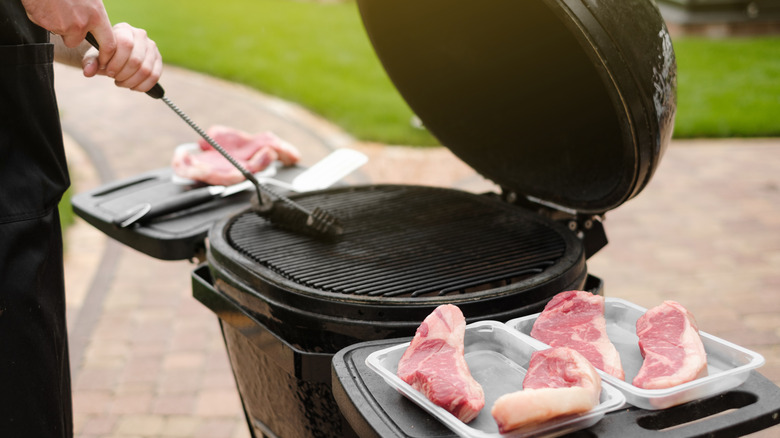
3. Not bringing it to room temperature
You probably know not to throw a frozen steak on the grill, but what about meat that's cold or a bit frozen in the middle? That's also a big mistake because it won't come out right. The outside might get beautifully charred, but the inside may be undercooked. Or, it may take too long to cook, and you'll end up with an unappealing gray color, dry texture, and little taste.
When a cold steak comes into contact with heat, the muscle fibers tend to tighten up, causing it to cook unevenly. When you're planning to cook steak, take it out of the fridge, unwrap it, and let it rest on a plate for 30 to 40 minutes.
Again, the best case scenario is to bring home freshly cut steak from the butcher and cook it when you get home. Of course, that's not always possible. So, if you have frozen steaks, they can be put in the refrigerator the day before you plan to use them. Around 18 to 24 hours of thawing time is usually adequate, but check the meat early in the day. If it's still frozen, it may have to spend more time thawing.
4. Cooking wet steak
Wondering what wet steak is? You'll see a sheen on the meat's surface when it comes out of the refrigerator and comes to room temperature. Whether it's water or meat juices, that excess moisture will affect how the steak is cooked. The goal is to get a crispy crust on the outside — no one wants to eat a steak that tastes like it was boiled.
This is an easy fix. Once the meat has sat out for around 30 minutes, gently pat it down evenly on both sides with paper towels to absorb that extra moisture. Throw the paper towels in the trash right away, and never pat down meat or poultry with kitchen towels, even if you plan to put them in the laundry. Not only can this spread bacteria, but the meat juices can also discolor the fabric. Once the meat is patted down, you can commence with the seasoning.
5. Seasoning the wrong way
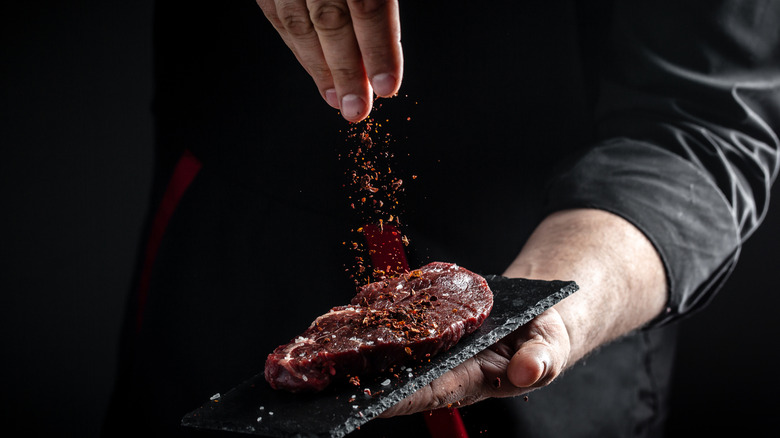
There are multiple opinions on the right time to season a piece of steak. One way is to season it right out of the fridge. This way the meat will start to sweat a bit as the moisture is drawn out by the salt — the spices will get reabsorbed in 30 minutes or so. If you season a piece of steak right before cooking and sear it right away, the natural juices stay inside the meat.
Ultimately, the decision about timing is yours. Take note, spices like dill, cinnamon, and mint won't pair well with steak. Instead, stick with the tried-and-true basics for the best outcome. Popular steak seasonings include garlic powder, kosher salt, freshly ground pepper, and onion powder. Fresh rosemary also pairs well with steak, and there are also several premixed seasonings to choose from. Thicker steaks tend to need more seasoning than thinner ones but don't overdo it, or you'll only taste the spices and not the meat.
6. Drowning it in ingredients
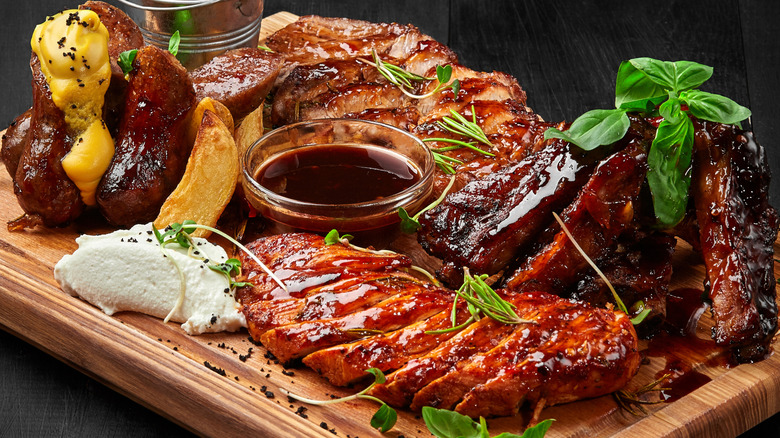
Would you add sparkling seltzer to a fine cabernet? Of course not, and the same applies to a perfectly marbled porterhouse. While it's fine to marinate less expensive cuts, fine steak doesn't need it. Remember, it must be dry on the outside before cooking. There's nothing wrong with brushing a steak with butter and rosemary, but why drown it with a gallon of demi-glace or heavy cream sauce? High-quality steaks are better off without those kinds of distractions.
Since many restaurants and even some steakhouses serve entrées like cowboy steak cooked with barbecue sauce and bacon-wrapped filet mignon topped with gorgonzola cheese, there's no reason why you can't indulge in that once in a while. However, your home-cooked steaks do not need to share that kind of spotlight. And please don't serve steak with ketchup, mayo, or steak sauce.
7. Choosing the wrong oil
It's fine to lightly brush oil on a steak before broiling or grilling as long as you use the right kinds and amounts. Steak must be grilled at high temperatures, broiled in ovens, and cooked on high when on stovetops, so you need to be careful. This means that you need to choose oils with high smoke points, or the steak will get covered in smoke and ruined. According to Char-Broil, there's also the risk of a flare-up, which could quickly burn the steak and cause a fire. So, never leave a grill unattended.
Avoid using regular vegetable or olive oils with steak because those have lower smoke points. For grilling, you can use light olive oil, canola oil, or cold-pressed peanut oil. Natural canola oil is fine for frying steaks, but use grapeseed oil for cast iron skillets. Instead of brushing on the oil right before cooking, you can opt to add it to the seasoning instead.
8. Broiling it the wrong way
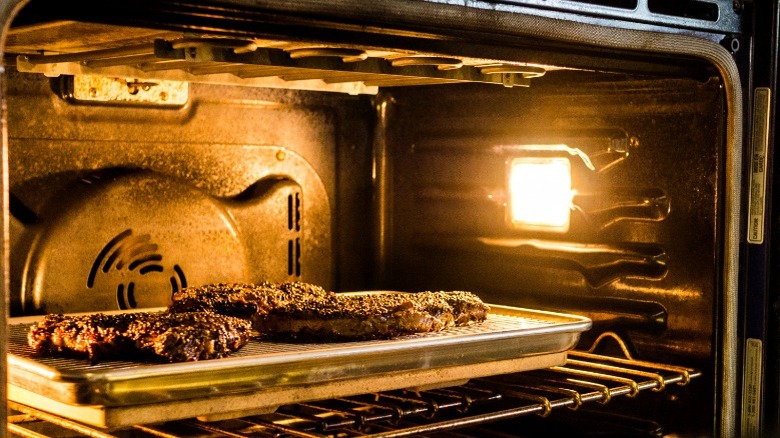
Unlike grilling, broiling uses a heat source from the top — the heating elements inside ovens. This method works best on leaner cuts of meat, like sirloin and strip steaks. But if the meat is thicker than 1½ inches, it'll be better off on the grill. It's best to use a broiler pan for steak since the top part has a grid for the fat to drain through. You can use a foil-lined sheet pan if that's all you have, though. Turn the oven on to broil, and when it's ready, put the pan in there for five minutes. Remove it with potholders and place it on a trivet on your countertop.
Place your seasoned steak on the broiler and return it to the oven. You'll want to stay nearby as once the top is browned, you should flip it over and wait for another 5 to 10 minutes. There is no single way to broil all cuts of steak, though. A high-powered broiler can cook sirloin steak in about two to three minutes per side. If you have filet mignon or a New York strip, you might want to sear those on both sides in a pan first and transfer it to a preheated 500-degree oven for five minutes instead of broiling them.
9. Cooking on a dirty grill
Cooking steak on a dirty grill is akin to frying chicken in oil that was used to cook pork chops. Not only does it impact the taste, but it can spread bacteria. Also, if you rarely clean the grill, it can grow mold, and the grease residue can become a fire hazard. For all these reasons, you should scrub your grill grates after each use and do a top-to-bottom cleanse every six months.
For frequent cleaning, scrape off the grates while they're still warm. If you forgot to do this last time you cooked, heat the grill and close the lid — once it's warmed up inside, use a brush or scraper to remove any built-up grime. Remember to remove the grease tray once a week — pour out the grease and clean out the tray with Dawn dishwashing liquid.
A deep cleaning will take longer, but it is highly recommended. For charcoal grills, remove the grates and vacuum out the ash with a hose attachment. The interior and grates can be washed with soap and water, but you'll want to use a scrub brush and degreaser for the best results. If you have a gas grill, remove the grates, grease pan, igniter battery, and burner hood. Again, clean the parts with a degreaser and a scouring pad. Then rinse with water and dry.
10. Being afraid to make grill marks
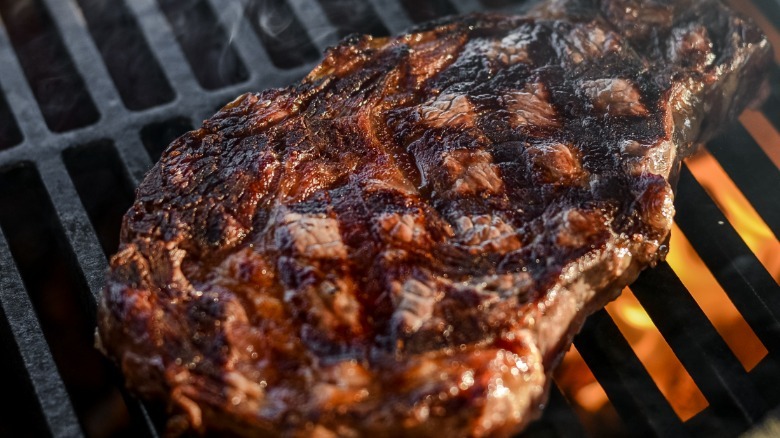
If you're going through the trouble of preparing a perfectly seasoned, quality steak, you'll need to pay attention to the presentation. Nothing garners as many compliments as crisscrossing grill marks, and we're going to tell you how to do it. Oil and heat the grill for 15 minutes. Looking down at the grates, visualize the face of a clock. Place the steak on it, angled towards the 10 o'clock position. After a few minutes, rotate it to the 2 o'clock position. Repeat this after you flip the steak to the other side.
Grill marks are an art form. Once you get the hang of it, you can try them on chicken and vegetables. If the clock face trick isn't working, use the center of the steak as your axis and place it at a 45-degree angle on the grate. After a few minutes, rotate it another 45 degrees. Everyone learns differently, so just practice until you get it right.
11. Flipping steak incorrectly
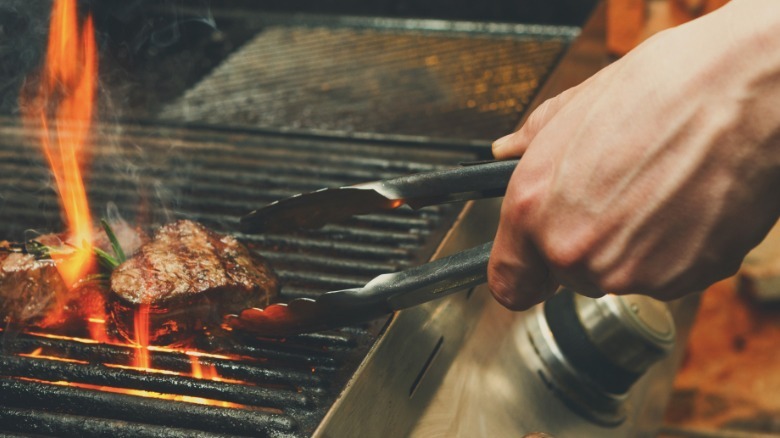
Steak must be flipped at least once during cooking to brown on both sides and cook evenly. It doesn't make sense to test the temperature before doing so. That's because the side that's not directly in contact with the heat will have a different temperature gradient. Never use a fork to flip steak because the juice will escape through the holes — it's best to use sturdy tongs or a metal spatula.
The traditional way of flipping steak was to only do it once, and while we don't disagree with this, doing it more than that is also acceptable. This requires more effort because you'll be flipping the steak about every 30 seconds. While this is more complicated to do, especially when oven-broiling, it cooks faster this way, and the ends don't curl up as much. The steak will be beautifully browned on the outside and evenly cooked.
12. Not using a meat thermometer
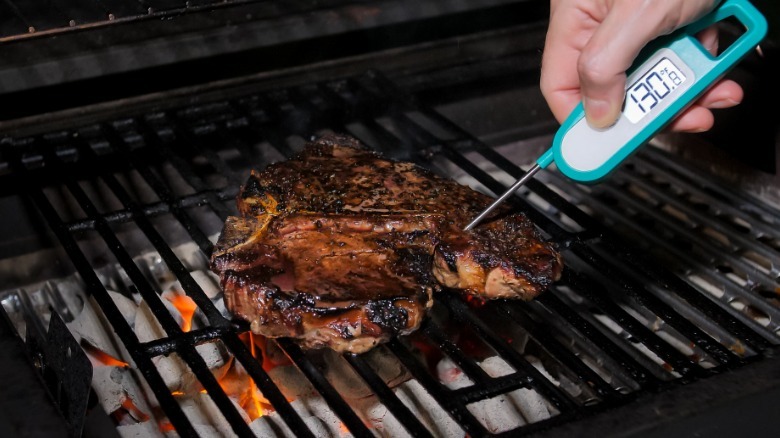
Don't use a fork to check if a steak has cooked, and avoid using the "it looks done to me" method since no one has X-ray vision. The value of a good meat thermometer cannot be understated and is crucial for meat safety — it can also tell you when steak is rare, well done, and everything in between. Steak temperatures should be 145 degrees once it has rested for three minutes. Since steak continues cooking once removed from the heat source, the internal temperature must be slightly lower when you remove it.
You'll want to remove the steak from its heat source 5 to 10 minutes before you're ready to eat it. Push the thermometer into the center of the meat, avoiding fat or bone. For a rare steak, it should read 125 degrees. Allow 135 degrees for medium rare, 145 degrees for medium, and 150 degrees for medium well. If you like it well done, the thermometer should read 150 degrees after resting.
13. Being afraid to use an air fryer
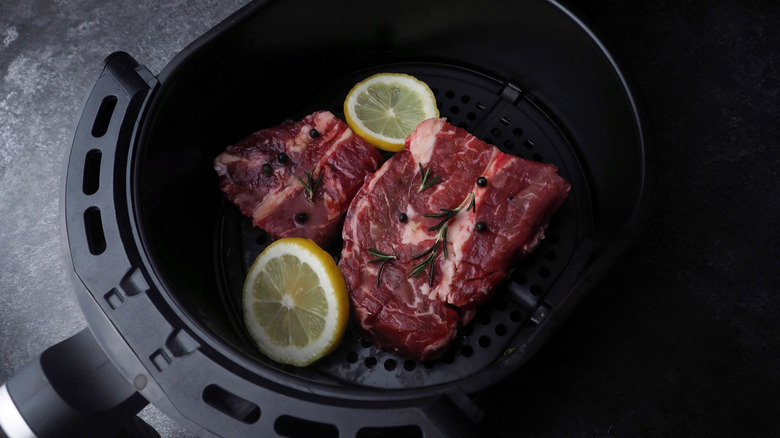
If you've never cooked steak in an air fryer, you're in for a wonderful surprise. These small appliances use extremely high heat, which cooks meat evenly and quickly. It doesn't need to be prepared differently, and as with the other methods, adjust the cooking time depending on the cut and thickness of the steak.
The cooking times for air-fried steaks range from 5 to 19 minutes, depending on the thickness and type of steak. Heat the air fryer to 400 degrees, then place the steaks in the basket, taking care not to crowd them. You don't need to sear them ahead of time, but they should be flipped halfway through the cooking time. You should only flip the steaks once since most of an air fryer's heat comes from the top. Once the top has been browned, turn it over to cook on both sides.
14. Eating it before it rests
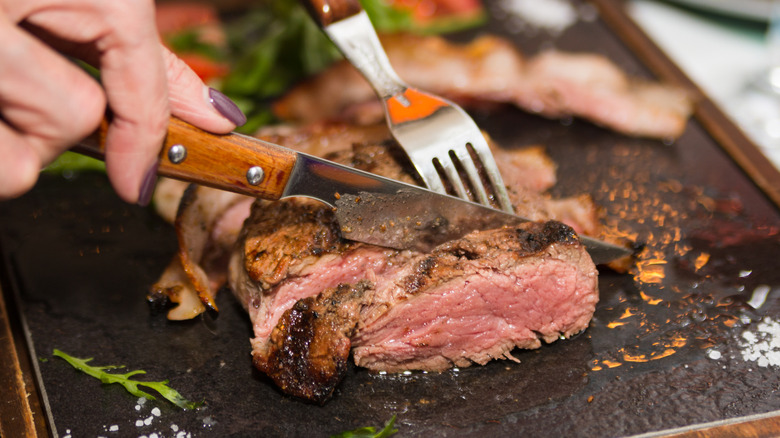
It's hard to stay patient after a juicy, perfectly browned steak is removed from heat, but overlooking this step is the last mistake. And it's not only because it needs to reach the proper temperature. When steak cooks, its proteins connect, the juice moves toward the middle, and the pressure builds up. This time is crucial for the liquid to redistribute and reabsorb throughout the entire steak.
If you don't wait and cut right into the meat, all that valuable juice will leak out onto your plate. In other words, you'll be wasting a considerable amount of flavor and moistness. To create a steak resting spot, place it on a warm plate or cutting board and tent it with foil. Five to seven minutes is fine, but if the cut is especially thick, you can wait up to 10 minutes. Other options include letting it rest for half as long as it is cooked.