Aluminum Foil Hacks That Will Make Your Time In The Kitchen A Breeze
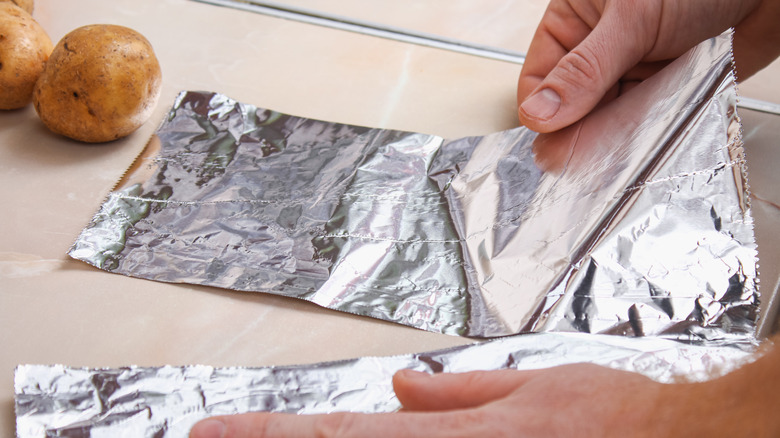
Aluminum foil is one of the kitchen essentials you likely have in your cupboard, sitting beside plastic wrap and Ziploc bags. You might use it to line cookie sheets, cover leftovers, or make foil packet dinners on the grill. While it certainly works for all those purposes, there are several other ways to get bang for your buck regarding foil. First, let's discuss what makes it so beneficial. According to Reynolds, its aluminum foil withstands temperatures up to 650 degrees Fahrenheit. Aluminum foil can also be molded into different shapes, allowing you to be innovative with it.
Furthermore, Reynolds reports that aluminum foil is optimal for keeping moisture inside food when it is being cooked or stored. As you can see, the product has its perks when it comes to kitchen use. But it's possible you aren't taking advantage of it as best as you can, and that ends today. These clever foil hacks will stop you in your tracks and make you realize just how superior the product really is. Who knows, one of these tricks might even save you from a cooking mishap one day.
Prevent drips when you serve ice cream

You've undoubtedly been a victim of melting ice cream at least once in your lifetime. When ice cream starts to turn soupy in a cup, it isn't the end of the world, but when you have a cone, it trickles down onto your hands, which makes them sticky and ultimately makes the experience less enjoyable. Luckily, there is a simple trick to prevent this; all you need is aluminum foil. Before you pile the cone with a mountain of ice cream, first wrap the bottom portion of the cone with the foil. This creates a trap for any ice cream that may find itself dripping down the sides of the cone.
Some waffle cones have a tiny hole on the base that leaks ice cream, which you don't need to worry about when you use this hack. Although it's quite common to wrap the cone with a napkin, the napkin gets wet and doesn't necessarily protect your hands. The heavy-duty foil ensures you have a mess-free experience, so you can be a happy camper while you enjoy your sweet treat.
Use it to make fun-shaped cakes
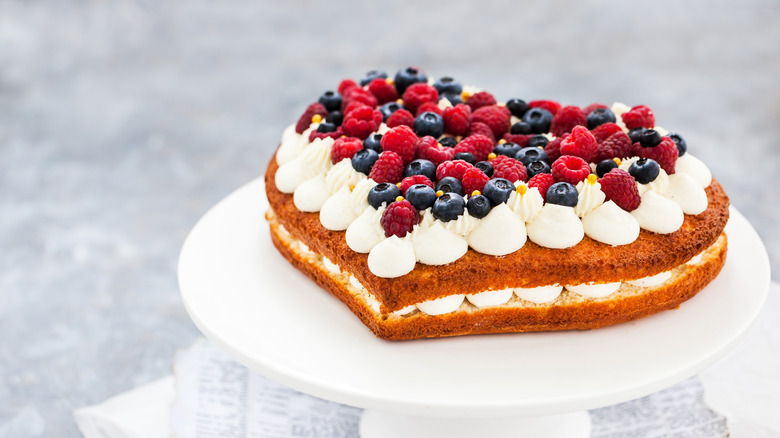
Baking is no doubt a fun hobby to get into, but an expensive one, to say the least. Tools and pans are pricey, so when you want to create custom cakes, it often burns a hole in your pocket. But did you know it's possible to make quirky cakes even if you don't purchase special pans? Aluminum foil is moldable, which you should take advantage of.
Build the foil into whichever shape you like, whether something simple like a heart or something more complex like a lightning bolt. This is one of the best ways to prepare a pan for baking because it gives you the freedom to be creative. Use more than one layer of foil to provide the makeshift mold some strength. If you have a stapler, staple the foil a few times to make it that much more solid. Place the shaped foil on a sheet tray so it doesn't collapse while it bakes.
Additionally, if you want, line it with parchment paper, which helps the cake release more easily. Pour the batter in and bake the cake as you normally would. Once you bake the cake and it slightly cools, remove it and you have a uniquely shaped cake made with aluminum foil.
Soften brown sugar clumps

It's undeniably frustrating when you go to bake cookies only to find out the brown sugar is rock hard. Of course, hoping the electric mixer breaks it up is always an option, but that's undoubtedly a gamble. So, before you go to toss it, try using aluminum foil to revive that stale brown sugar. To do so, preheat your oven to 250 degrees Fahrenheit, which shouldn't take long to come to temperature since it's so low. Then, grab your hardened sugar and gently wrap it in aluminum foil before you place it in the oven and bake it for a mere five minutes.
Once the time is up, the sugar is as good as new. If the chunk of sugar is relatively large, it might need a minute or two longer. Some folks might be tempted to microwave the sugar since it is quicker. However, the molasses in the brown sugar reacts better to the foil-and-oven method because the foil pouch holds the moisture captive, whereas the microwave doesn't.
Create a wood chip pouch to smoke meat
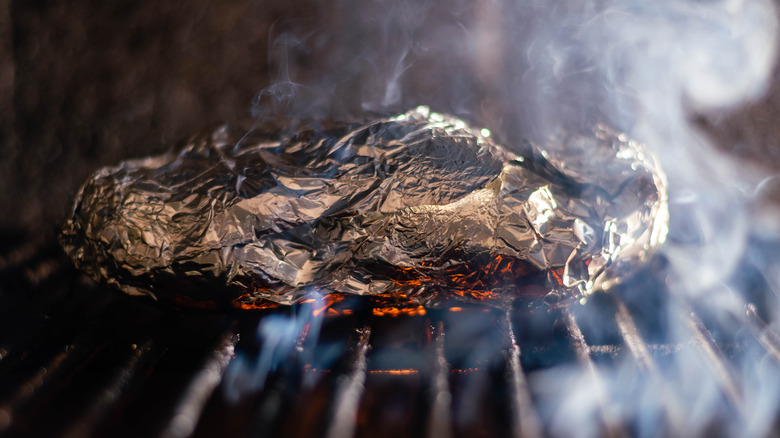
Even if you don't own a smoker, it doesn't mean you can't smoke meat and other foods. In fact, aluminum foil is a great grilling aid because you can make a DIY smoker with it. A pile of wood chips, aluminum foil, and a BBQ grill is the way to go with this. Don't get ahead of yourself and stick dry wood chips in the foil; make sure to soak and drain them beforehand. Create a wood chip-filled foil sack and poke a few holes in the top before you transfer it to your BBQ. Keep the foil pouch in one of the grill corners while you cook the food.
As another option, use your oven as a smoker with the help of aluminum foil. This approach is slightly different: If you want your food to take on some smokiness, cook it first and then follow these steps. Grab an oven-safe skillet covered with foil, fill it with wood chips, and light them just enough for them to have a small number of flames. Place the cooked food onto the highest rack in the oven. Next, when the flames have mostly diminished, relocate the flaming wood chip pan to the bottom of the oven and close the door. Give time for the flavors to marry (approximately 10 minutes).
Make a funnel

Kitchen funnels are handy for all sorts of cooking and baking uses. However, when you buy tools, things like strainers and cheese graters might take priority over them. The next thing you know, you need a funnel and wish you'd bought one when you had the chance. Canning funnels have multiple functions besides just canning (like filling water bottles with ice or layering food in jars), and they have a large opening. Meanwhile, other funnels have narrow openings perfect for melted chocolate or fluids. Fortunately, if you don't own a funnel, making one is something you might not have known you can do with aluminum foil.
The more layers of foil you use, the more weight the funnel holds. Use a few layers of foil to create an impromptu funnel that's the perfect size for the job. Some foods, like cake batter, will cling to the foil; simply scrape the batter with a rubber spatula to push it through. This hack works in endless ways, whether you want to use it to pour sauce into bottles or place filling inside foods like stuffed peppers.
Protect your pie crust edges
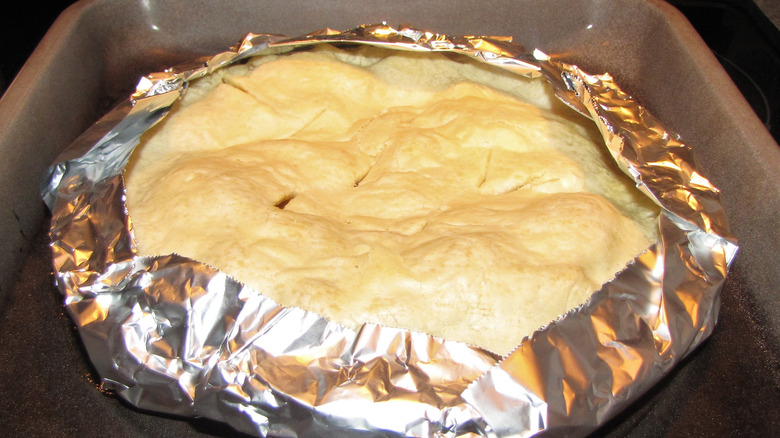
It can sometimes be tricky to bake pies because certain fillings require a bake time that's much longer than what the crust needs. Luckily for you, we have an aluminum foil hack to save the edges of your pie crust, so you no longer need to deal with burnt borders. Some pies, like custard pies, turn out better when you par-bake the dough because it keeps the crust from turning mushy. Yet, that also means that the dough is in the oven longer than the rest of the pie. If you have a baked crust, it isn't beneficial to keep it exposed to the heat; cover it so that it doesn't darken any further.
To use this method, cut off a few small pieces of foil. Loosely wrap the foil and connect the pieces around the edges of the pie; don't cover the entirety of the pie unless the surface is cooked and the middle is still raw. Another method is to use a sheet of foil and then fold it multiple times to turn it into a long single strip. However, this uses more product. Whichever way you use the foil as a protectant, the pie filling continues to bake, and the heat doesn't destroy the rim.
Use it in place of a steel wool scrubber
Those familiar with steel wool pads likely use them for numerous cleaning tasks, whether for dirty pans, rusty tools, or kitchen appliances. If your scrubber has gone through the wringer and you need a quick alternative, aluminum foil can replace your steel wool pad in a pinch. The best part is it's incredibly effortless because you just need to crumple a piece of foil, and it's ready to use.
When in doubt, refrain from using it on delicate surfaces or kitchenware that scratches easily. Instead, use it on materials that you would typically use steel wool on, and you'll be fine. Remember that you won't get as many uses out of the foil ball as you would with an actual steel wool pad. Nevertheless, aluminum foil is a reliable temporary alternative because of its texture and ability to clean off pesky stains and particles.
Sharpen kitchen scissors
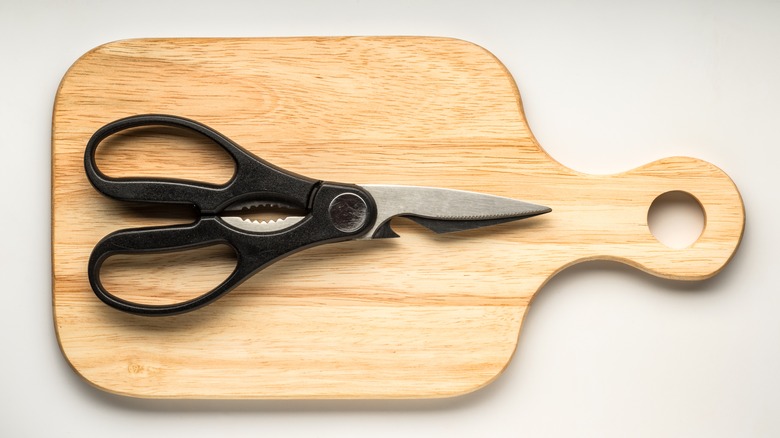
Once you learn how to use aluminum foil to sharpen your kitchen scissors, you will never settle for using dull scissors again. Kitchen shears are helpful in the event that you need to cut herbs or vegetable roots. Other uses for them include cutting fresh pasta, bread dough, or even meat. But it's a real pain when they're too worn to cut through anything effectively.
To easily combat this issue, get ahold of your aluminum foil roll. Rip off roughly 1 foot of the foil and fold it so that it's six layers thick. Here's the fun part: Run your scissors through the foil. Specifically, slice through it about a dozen times (creating strips in the process). No complicated movements are required, which makes this approach so favorable. The only downside is that this doesn't necessarily work for immensely tattered shears. So, it's better to stay on top of the upkeep and sharpen them every time you notice they're slightly worn.
Crinkle the foil to make it nonstick for certain foods
It's not uncommon to use aluminum foil as a pan liner when you cook food. It's advantageous since it handles such high heat and simplifies the process of cleaning up. Despite its pros, one of its cons is that certain foods tend to stick to it, even if you spray the foil with cooking spray. In addition, it's incredibly unpleasant when you need to flip the food over halfway through the cooking time, and only half of the food lifts off the foil.
Thankfully, a clever Redditor posted a technique that helps with this issue. In the forum regarding food hacks, they shared how if you crumple the foil and then spread it out again, it creates a rough texture. In simple terms, the material's coarseness makes it harder for many foods to adhere to the foil. For example, potato products, meat, and battered frozen foods no longer cling to the surface. This foil hack helps you flip foods, which ultimately makes for a trouble-free time in the kitchen.
Create a makeshift roasting rack
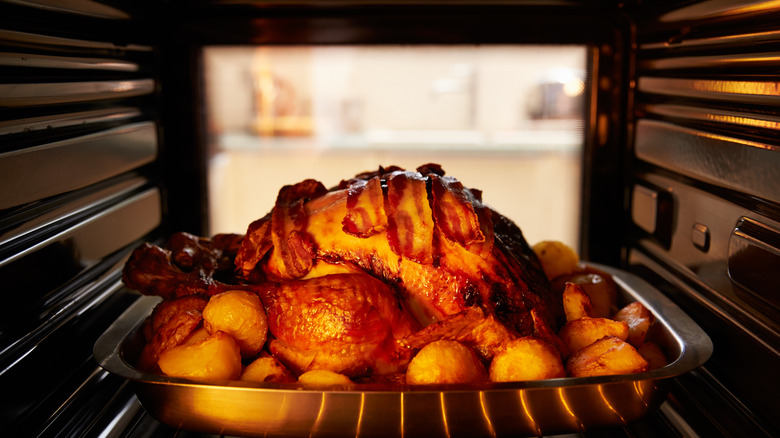
When you roast turkey in the oven, you need a roasting pan, no doubt. But you also need a rack inside the pan because the meat needs air circulation to cook uniformly. So, if you find yourself without a rack, you should indeed find a replacement. Whether you plan to make a lovely Sunday dinner or an elegant holiday meal, use aluminum foil if you don't have a roasting rack.
Grab some sheets of foil and twist them up to form cylinders (as best as you can, it doesn't have to be perfect). Try to make the pieces approximately the same thickness as one another and place them in the bottom of the roasting pan. Assemble them in parallel lines, so it creates an excellent foundation for the turkey to rest on. It should be high enough so that the meat doesn't directly come in contact with the pan. From here, cook the roast as usual and discard the used foil pieces afterward.
Use it to lock in moisture when you cook fish

It's all fun and games when you cook fish on the grill — that is until the food turns dry and unpleasant. Of course, there are ways around this, so you shouldn't tolerate awful fish. There are many benefits to grilling salmon in foil packets, and one of the biggest is that it retains moisture. Another reason to use foil is that it creates less of a mess, so you don't need to spend extra time and scrape the grill grates afterward. Furthermore, Michael Symon has an aluminum foil trick that makes grilling fish even easier, and it is a similar method to en papillote cooking.
Usually, with the en papillote technique, people wrap food like veggies and fish or meat in parchment paper and bake it. With Symon's twist, he makes a pouch with parchment inside aluminum foil. Then, he places the fish and accompaniments inside the sack and cooks it on the grill. This is a sure way for all of the flavors to combine. So, next time you fire up the grill for seafood, wrap it with the parchment and foil method or just foil by itself; both ways guarantee the fish doesn't dry out.
Make a sling to remove baked goods from the pan easily
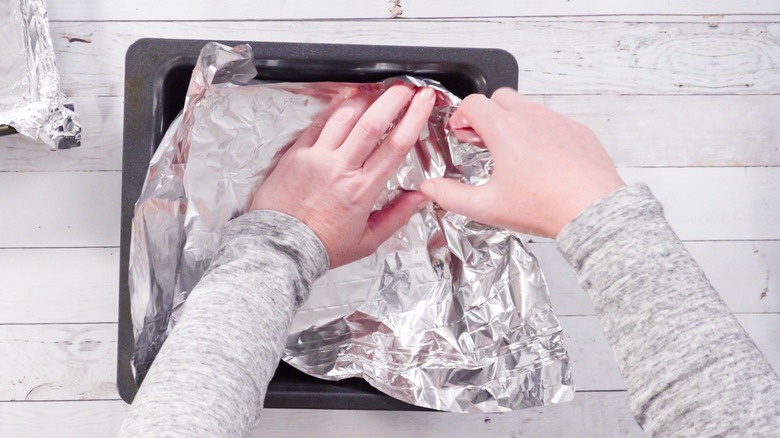
We've discussed how aluminum foil benefits pie crust, but did you realize it's equally helpful when you bake other goodies like brownies? Utilize foil to release your desserts from the pan effortlessly. When you prepare the pan, line it with foil before you do anything else. But instead of form-fitting the foil to exactly fit the pan, cut the foil piece so it's larger than the baking dish. After you line the dish with foil, use cooking spray or parchment if you wish. With this simple trick, once you remove it from the oven, a foil overhang serves as a sling to lift the baked treat from the pan.
This technique works for other baked goods besides brownies, like banana bread or cornbread. It's fantastic because it makes it significantly easier to slice the baked goods, too. Remember that you shouldn't leave so much foil hanging over the side that it gets in the way. All you need is an inch or so, just enough to grab it with your fingertips. Any more than that might interfere with your ability to maneuver the baking dish. Not to mention, if there is too much foil, the air circulating in the oven blows the foil over onto the unbaked batter. As a result, the foil sticks to the batter, so it's best to avoid that.
Polish your silverware
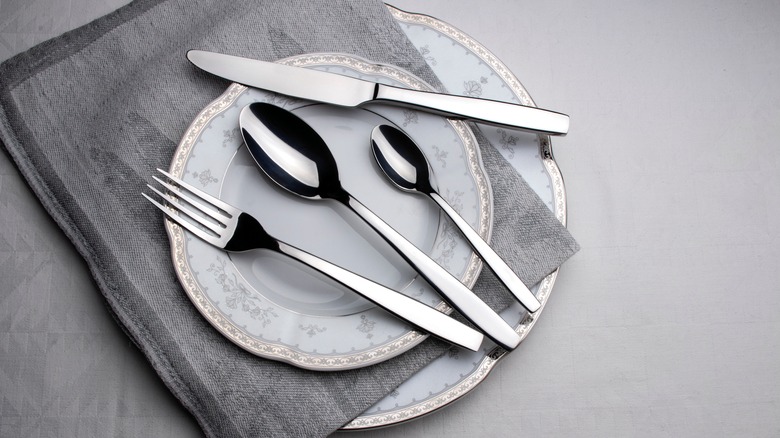
If your cutlery starts to lose its shine, don't sweat it; there is a simple solution to make it as good as new. Aluminum foil and baking soda can polish silverware, and the best part is that the process takes less than 20 minutes from beginning to end. Have your utensils, a large pot, water, baking soda, and foil ready. Boil the water and then dump it into an aluminum foil-lined pot. The cookware must be large enough for the cutlery to submerge in the liquid thoroughly. Next, add the baking soda.
If you aren't sure how much to use, however many cups of water you add, that's how many tablespoons of baking soda you should use. So, pour 8 tablespoons of baking soda if you put in 8 cups of water. Stir the baking soda into the water to evenly distribute it before you introduce the silverware to the mixture. Allow time for the silverware to soak — start with 10 minutes and examine if it needs more time depending on how it looks when you wipe it with linen. If it looks polished, they are ready, and you can individually dry them and drain the water.
Preserve the freshness of celery
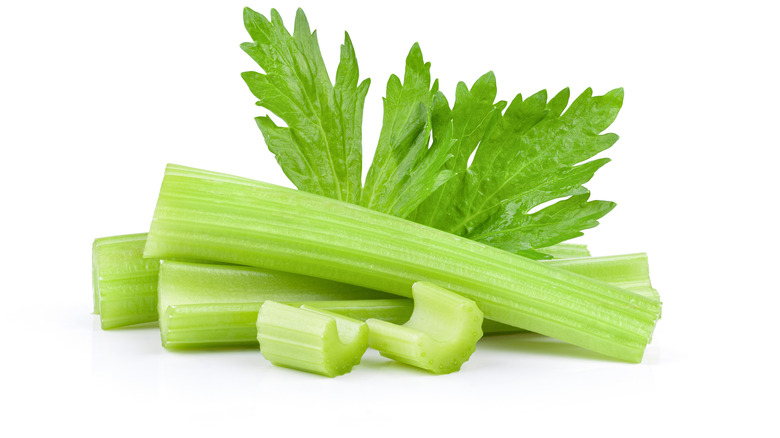
We've all used foil to store leftovers, but did you know it preserves fresh food too? To be exact, there is an aluminum foil hack that keeps celery fresh so that it doesn't spoil prematurely. Oftentimes, people store celery either in plastic wrap or in some type of plastic bag. They're on the right track when they keep the vegetable covered, but that's not the best way to store it. To keep the celery crisp for a more extended period, first wrap it in a damp paper towel, followed by the foil.
Make sure to store the veggie in the refrigerator, and its quality should remain for up to two weeks. Even if you take all the proper steps to store it correctly, it's always a good idea to examine the celery before you use it. If there is any noticeable discoloration or if it the texture is bendy rather than snappy, it has likely gone bad.