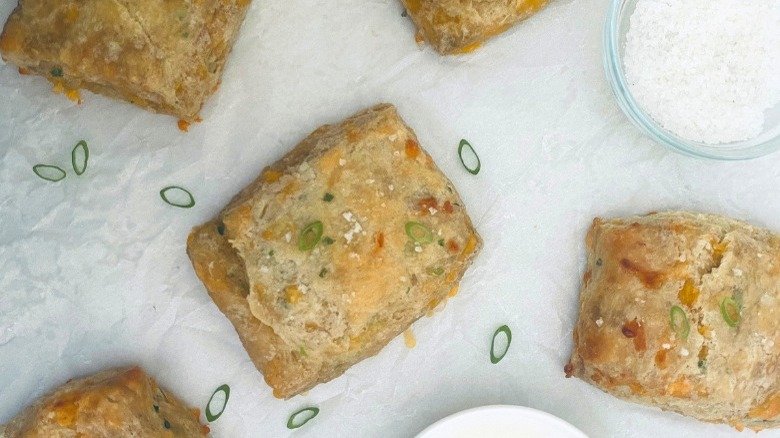
Cheddar Scallion Buttermilk Biscuits Recipe
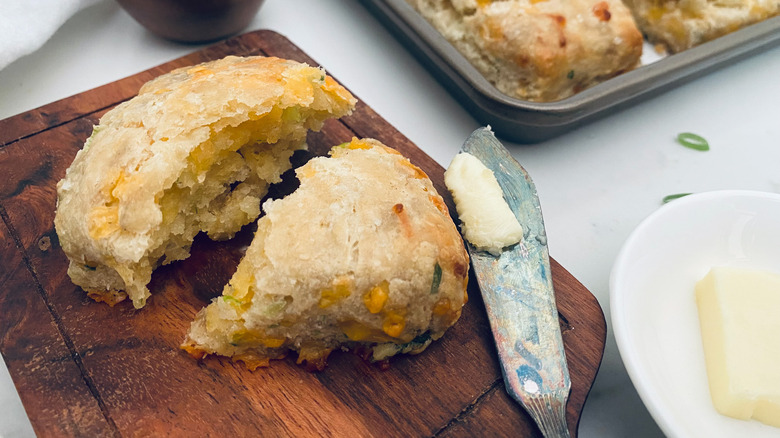
Are you someone who can't help but dive into the bread basket in a restaurant, especially if it contains not just bread, but biscuits? If so, then you absolutely have to try this recipe. "These melt-in-your-mouth cheddar scallion buttermilk biscuits," says recipe developer Deniz Vergara of Gourmet Mami, "are buttery, flaky, and full of flavor from the addition of scallions and cheddar cheese." She tells us that while they get nice and crispy around their edges, they remain fluffy and tender inside, adding, "I have been making these biscuits for years, and they are always a hit when I bring them to a party or gathering."
These biscuits are pretty quick and easy to make as Vergara uses a food processor; contrary to one prevailing biscuit myth, they do not always need to be hand-mixed to come out just right. Vergara does say, though, that there is one thing that you absolutely must do: "The key to flaky and buttery biscuits is ensuring that the butter, buttermilk, and eggs are cold!" That way, when the biscuits go into the oven, there will still be cold bits of butter left to create the pockets of steam necessary for making flaky layers. Vergara says that if the butter starts to get too soft as you make the dough, you can rescue the biscuits by refrigerating them for 10 minutes before you put them into the oven.
Gather the ingredients for the cheddar scallion buttermilk biscuits
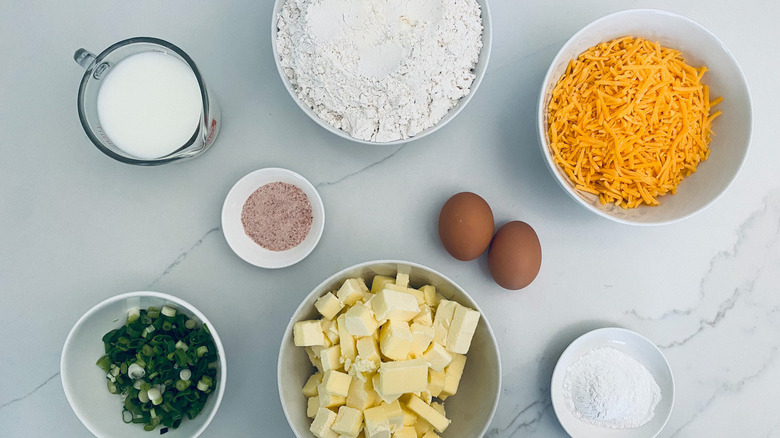
To make the biscuits, you'll be using all-purpose flour, baking powder, and sea salt, as well as cold butter, buttermilk, and eggs. For flavoring, you'll use a nice, sharp cheddar cheese plus some chopped scallions. If you wish, you can also sprinkle the biscuits with coarse sea salt before baking.
Make the biscuit dough
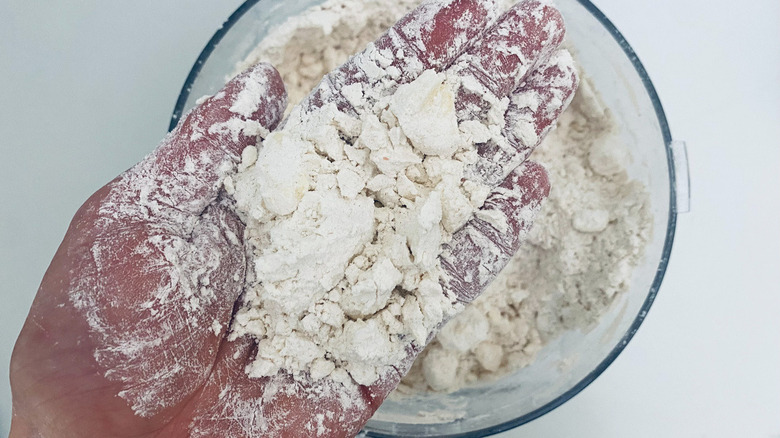
Before you start making the dough, preheat the oven to 425 F. Mix the flour, baking powder, and salt in a food processor by pulsing just a few times, then add the butter and pulse until you have pea-sized pieces of butter. Beat the buttermilk and the egg, then add the scallions. Pour this mixture into the flour mixture, a little at a time, then pulse the food processor very briefly — just until everything comes together. Add the cheese and again pulse only once or twice to combine it with the other ingredients.
Vergara cautions, "you do not want to over-mix," explaining that this will break down the butter and shrink the air pockets that create the layers. She also adds the caveat that, no matter how sticky the dough feels, you should not add more flour: "By adding more flour, you will knead the dough more which will over-develop the gluten, creating a hard, tough biscuit."
No food processor? No problem; you can make the biscuits by hand. To do so, work the butter into the dry ingredients (with either a pastry cutter or even your hands) until the lumps are pea-sized, then stir in the buttermilk mixture until the dough comes together and finish up by adding the cheese. Again, do not over-stir.
Shape the biscuits
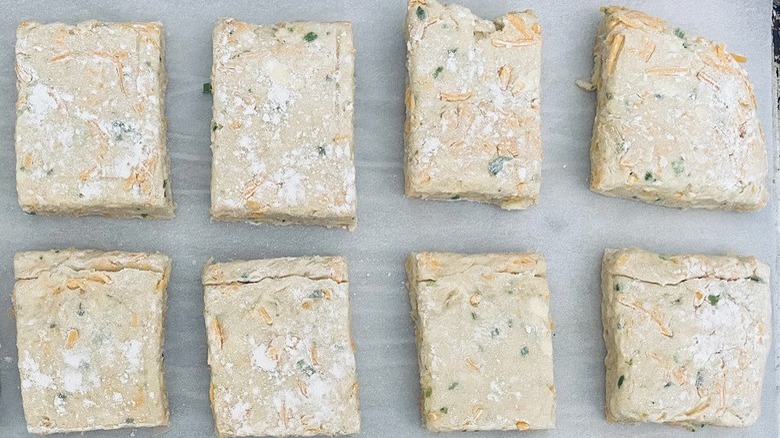
Lightly sprinkle flour over a work surface, then knead the dough once or twice on this surface. Roll it out until it is about 2 inches thick, then cut it into nine even pieces. Basically, cut it into a tic-tac-toe board: into thirds both lengthwise and crosswise.
Put the biscuits on a parchment-lined pan. Beat the remaining egg with about a teaspoon's worth of water, then use this egg wash to brush the tops and sides of the biscuits. If you're using the coarse salt topping, sprinkle it on at this time.
Bake the biscuits
The oven should be hot enough now, so put the biscuits in and bake them for about 20 minutes. When they are done, they should be golden on top and cooked all the way through.
Vergara says "I like to serve biscuits with chicken soup, beef stew, or any meal that has a sauce that I can dip my biscuit in." If you have leftovers, she says you can store them at room temperature in an airtight container after they've cooled down. They will only last about 2 days, though, so if you want them to last longer, she suggests wrapping each one in plastic wrap and then refrigerating them for up to a week.
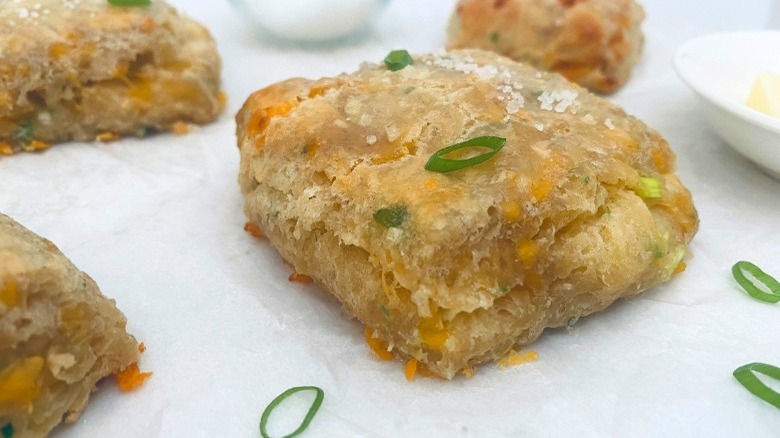
Cheddar Scallion Buttermilk Biscuits Recipe
The key to fluffy, buttery biscuits? Not working the dough too much, and using cold ingredients. These beauties come together in less than 30 minutes.
Ingredients
- 2 cups all-purpose flour, plus more as needed
- 1 tablespoon baking powder
- 1 ½ teaspoons sea salt
- 14 tablespoons cold salted butter, diced
- ½ cup cold buttermilk
- 2 cold eggs, divided
- 2 scallions, chopped
- 1 cup shredded sharp cheddar cheese
Optional Ingredients
- coarse sea salt
Directions
- Preheat oven to 425 F.
- Combine the flour, baking powder, and salt in a food processor, pulsing a few times to mix.
- Add the diced butter and pulse just until the butter chunks are pea-sized.
- In a separate bowl, lightly beat the buttermilk with 1 egg, then stir in the scallions.
- Slowly add the buttermilk mixture to the food processor and pulse just until combined.
- Add the cheese to the food processor, pulsing just once or twice so as not to over-mix.
- Lightly knead the dough about 2 times on a floured surface, then roll it out into a square about 2 inches thick.
- Cut the dough into nine even squares.
- Put the dough squares onto a pan lined with parchment paper.
- Whisk the remaining egg with about a teaspoon of water and brush this over the tops and sides of the biscuits.
- Sprinkle the biscuits with the coarse sea salt, if using.
- Bake the biscuits for about 20 minutes until the tops are golden and the insides are cooked.
Nutrition
| Calories per Serving | 340 |
| Total Fat | 24.2 g |
| Saturated Fat | 14.6 g |
| Trans Fat | 0.9 g |
| Cholesterol | 98.5 mg |
| Total Carbohydrates | 22.7 g |
| Dietary Fiber | 0.8 g |
| Total Sugars | 0.9 g |
| Sodium | 398.0 mg |
| Protein | 8.3 g |