14 Camp Food Hacks You Should Master
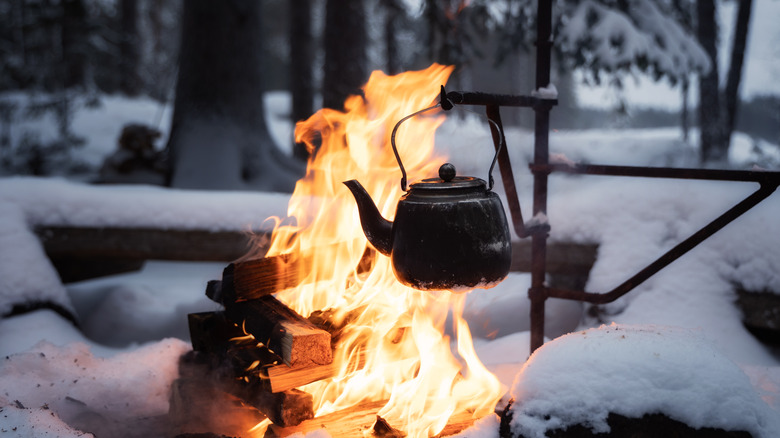
Arguably, one of the best parts of camping is the food. There's nothing quite like gathering around a campfire with some of your favorite people after a day of hiking or swimming to enjoy a fire-roasted dinner, cooked in cast iron or, in some cases, just shoved onto a stick and held over the open flame. S'mores are obviously a requisite dessert. Sound pretty awesome, doesn't it?
Unfortunately, actually making all of the above a reality is easier said than done. There's so much that can go wrong when cooking while camping. Maybe you can't get the fire started. Maybe you left a few ingredients at home, or you couldn't quite figure out how to pack some of your ingredients for your backcountry camping excursion and so now you're chowing down on a not-as-great-as-it-could-be dinner. Maybe you just aren't sure how to take your favorite meals and make them camping-friendly in the first place. Whatever the case may be, though, there are some camper-approved tips and tricks that should make your life easier. Here are some camp food hacks you should master for the best forest foodie experience possible.
1. Crack your eggs ahead of time
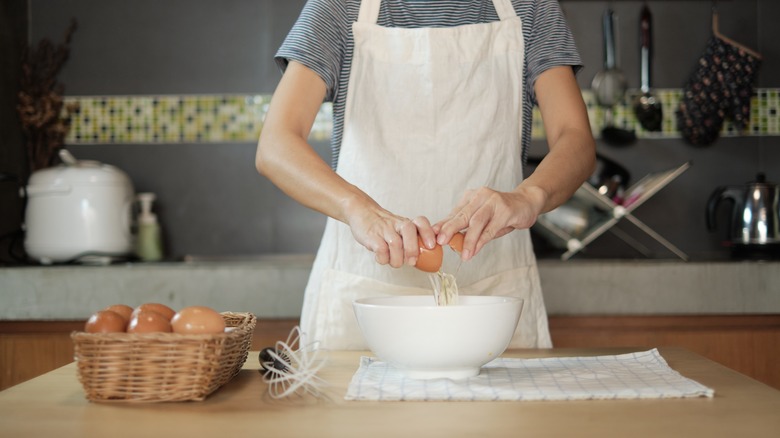
Camp breakfast recipes are often hearty and filling, just the thing you need to fuel your day of outdoor adventuring. Many times, camp breakfasts include egg scrambles made in the cast iron pan over the fire, plus your favorite breakfast meats and maybe even some pancakes. But if there's one thing you don't want to throw into your backpack and carry to your campsite, it's likely a carton of eggs.
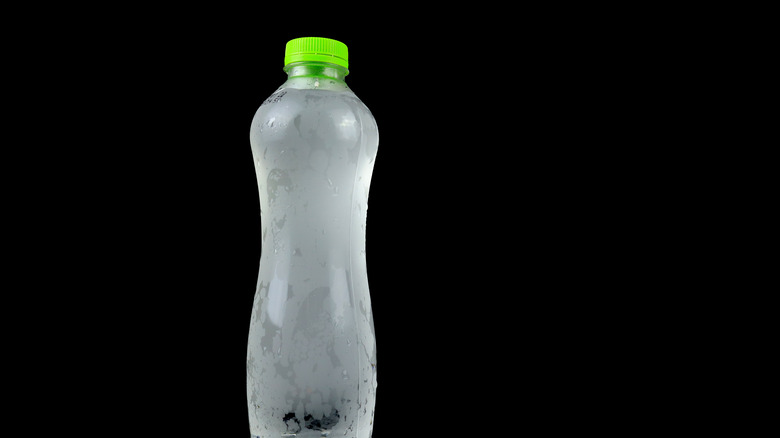
One easy way to get your eggs from home to the campsite — no matter if you're backcountry camping or just kicking it in your RV — is to ditch the shells ahead of time. That's right: You should crack your eggs before you leave home and then carry the cracked eggs in a more suitable, convenient container. Tru Camper says you can crack your eggs into a bottle for easy carrying, but cautions that this hack is only suitable for short weekend camping trips, during which you're sure you'll consume the eggs quickly. Pre-cracked eggs only last for about two to four days and require constant refrigeration (via Egg Farmers of Canada). If you can make that happen, though, you'll find that your breakfast is a lot easier to make — and potentially mess-free, too.
2. Pre-mix batters into condiment bottles
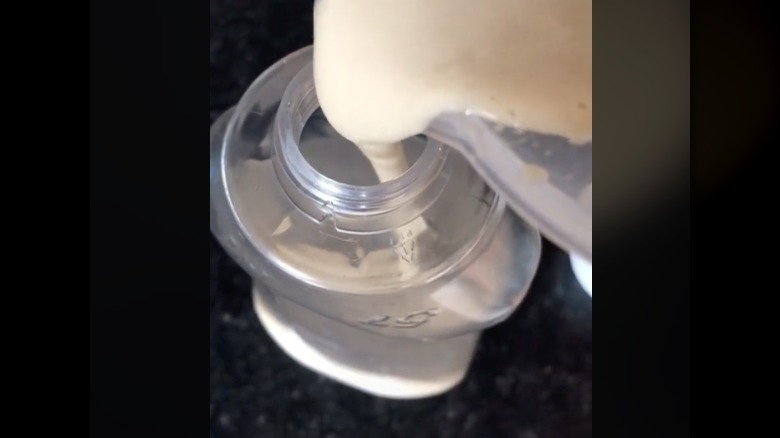
When packing for a camping trip, less is always more. The more you take with you, the more gear you have to carry, the more you have to keep track of, and the more you have to keep clean. That said, if you want to make your camp cooking process as seamless as possible, you likely don't want to break out a ton of mixing bowls, spoons, measuring cups, and the like. So how do you cook up a batch of pancakes in the morning, or throw together a cake batter to bake in your Dutch oven?
An easy way to cook batter-based foods while camping is to pre-mix the batters at home and then carry them with you to the campsite by storing them in old condiment bottles, as TikTok user Food_D shows. This way, you can simply squeeze out however much batter you need, without even needing to grab a spoon or spatula. Plus, reused plastic condiment bottles are portable and won't break in your backpack.
3. Store your spices creatively
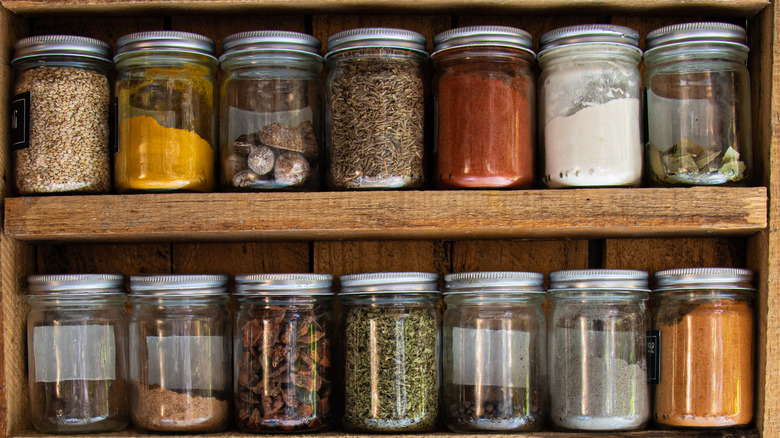
Who wants to eat a meal with no spices? Even salt and pepper alone aren't quite enough to make a meal palatable. You need cumin, paprika, chili powder, rosemary, basil, or whatever your favorite herbs and spices may be. However, throwing a plastic container of spices into your camp bag takes up an unnecessary amount of space — and it's not even like you need the entire container anyway. Additionally, what if that plastic container happens to break open in your bag during transit? Then you (or at least your stuff) will be left smelling like turmeric for the rest of the trip.
To save space and mess, store your spices creatively ahead of your camping trip. One popular way to do this is by storing spices in reused Tic Tac containers (via Seattle Sundries). Just clean the containers and fill them with your favorite spices, using a label maker to identify each one (because even if you think you won't mix them up, you will).
But even if that takes up too much space or leaves you with too much leftover spice, you can go even smaller by storing your spices in drinking straws (via Sierra). Just tape one end of a drinking straw closed and then (carefully) pour your spice of choice into the other end, then tape that end securely closed as well.
4. Use frozen water bottles for ice
If you're taking a cooler camping, you've likely packed it with all your refrigerated and frozen foods, and maybe a few drinks as well, then went out to the store to buy a bag (or bags) of ice to pour on top. Sure, it makes your cooler infinitely heavier, but you have no other choice, right? Just like you have no other choice but to lug that heavy, ice-filled cooler around until all the water is melted at the end of your trip and you have to dispose of it somehow.
Luckily, there is a better way — and it's no-waste. As Looks Like Homemade explains, you can simply freeze all of your bottled water and other drinks ahead of your trip, and then use those items to keep everything in your cooler cold. It keeps all your food at the right temperature, eliminates messy melting, and results in less money spent on your trip.
5. Air-dry your dishes in a bag
One not-so-fun part of cooking at your campsite? Cleaning up afterward, especially if you're not camping in a motorhome equipped with running water. While many campgrounds are outfitted with dish-washing stations, there's still the issue of lugging all your dishes to the station, washing them, and then carrying them back to your campsite. And once you have your dishes back at your campsite, what do you do with them? You don't want to pack away wet dishes, and you don't want to spend valuable camping time drying everything by hand.
That's exactly where this hack comes in. As recommended by users on the Boundary Waters Canoe Area Wilderness forums, all you need to do to easily dry your dishes is pack a lightweight, mesh laundry bag and then throw all your recently-washed dishes inside. Hang the bag from a clothes line or branch to air-dry the dishes. You can even leave them there for convenient storage throughout your camping trip.
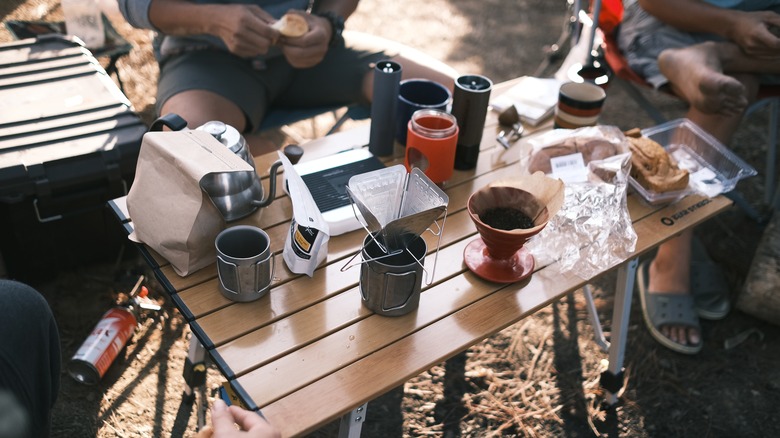
6. Create a coffee bag
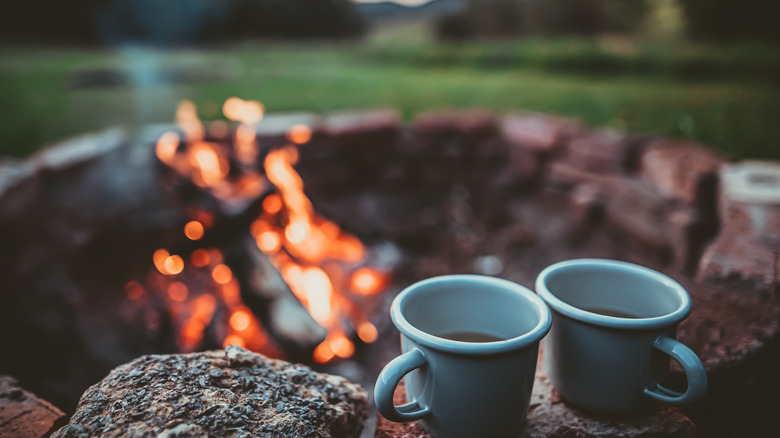
Trying to make coffee over a campfire for the first time can be a bit tricky, but this hack makes the process significantly easier. Essentially, you're going to make a homemade tea bag, but for coffee. Thrillist breaks down how it's done.
All you need is a paper coffee filter, ground coffee, (unflavored) floss, hot water, and a mug. Take the ground coffee and place it into the center of your coffee filter, fold up the sides of the filter around the coffee, and tie it all closed tightly with the floss. Then, all you have to do is steep your bag of coffee in hot water in your mug, just like you would a bag of tea. You can make as many of these little satchels as you think you'll need for your trip, making it easier than ever to enjoy your morning cup of joe at the campground.
7. Make a no-mess s'more
S'mores are a quintessential part of camping: You just can't camp without s'mores. Unfortunately, s'mores can be a bit messy. While that's part of the fun, it's not that desirable if you're primitive camping or otherwise don't have easy access to a sink where you can wash your sticky, marshmallow goo-covered hands.
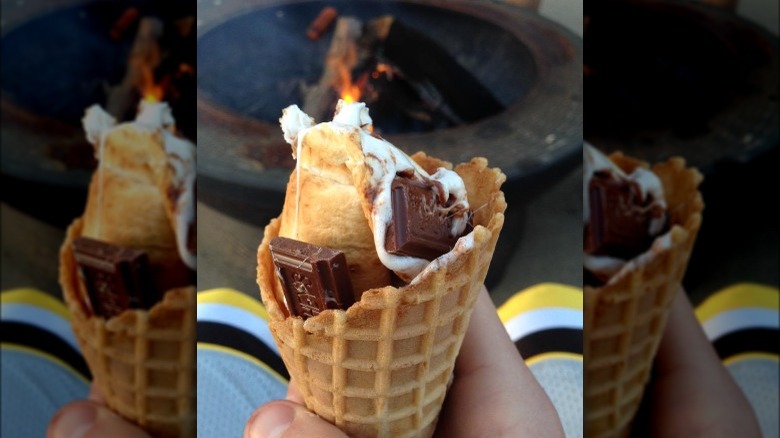
To make a mess-free (or, at least, less messy) s'more, The Pioneer Woman recommends throwing all your s'mores ingredients into a waffle or sugar cone. Miniature marshmallows and chocolate chips are the basics, but you can also get creative by adding other things to your s'mores, such as your favorite candies or anything else that might go well with chocolate and marshmallows. Once the ice cream cone is filled, wrap it in aluminum foil. (And if you do all of this at home before your trip, you'll save yourself even more mess.) The foil-wrapped cones can be placed over the fire until melty, at which point you'll have a more convenient, less-messy version of a s'more.
8. Reuse boiled water
When camping, you typically don't want to waste your water. Unless you're camping in a motorhome with running water, you're likely either camping in a backcountry situation where you only have the water you carried in with you, or you'll need to make trips to the campground's water source. You can use less water by reusing boiled water for multiple purposes.
So, rather than throwing out the leftover boiled water you used to make your coffee and fetching new, re-boil that water in the evening to cook your pasta at night, or even use it for dehydrated meals. While there have been past worries about the safety of re-boiling water (some have even claimed that consuming reboiled water causes cancer), Very Well Fit explains that you can safely re-boil water as many times as you like, so long as the original water came from a safe source.
9. Do your prep work ahead of time
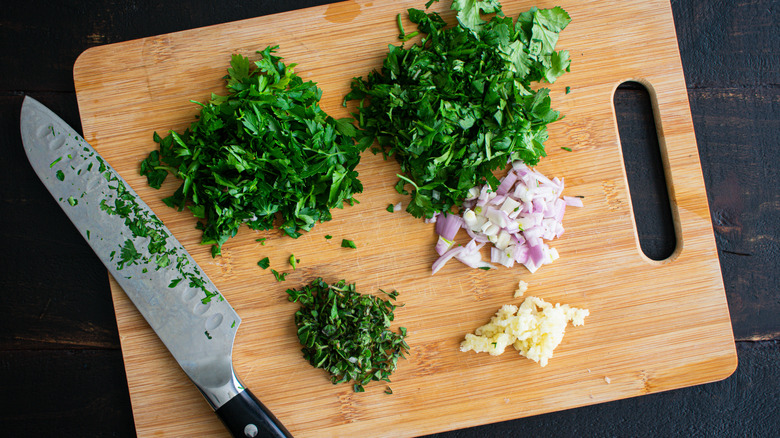
You can make your camp meals as simple or complex as you like, but to save time (and dirty dishes) at the campsite, consider doing all your chopping, dicing, and other prep work before you leave home. Cooking up an omelet or stir-fry is significantly easier when the onions and peppers are already diced — especially if you make it to the campground only to realize that you left your trusty knife or cutting board at home.
Yellowstone National Park Trips recommends not only slicing and dicing any produce ahead of time, but doing the same with any protein that needs to be cut as well. While you're at it, if needed, portion out your prepped ingredients into various cooler-safe bags or other storage, so you're not worried about using half your container of diced tomatoes in one meal and saving the rest for another. You can simply throw in the entire pre-measured portions with ease.
10. Throw fresh herbs on the fire
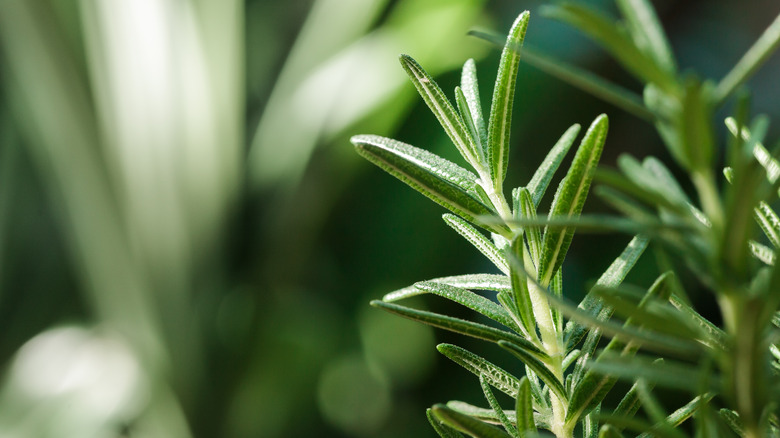
Cooking with fresh herbs and have a bit leftover? Make those herbs pull double duty by also acting as all-natural insect repellents.
As The Old Farmer's Almanac explains, some plants really are effective at repelling insects, including mosquitos. Add a few fresh sprigs of rosemary to your campfire coals and the resulting smoke will drive away flies and mosquitos. Lemon thyme can be thrown on campfire coals as well to defend against insects in a tropical setting.
Don't want to stir up any extra smoke? You can hang some fresh or dried lavender around your campsite to ward off mosquitos, flies, moths, and fleas. Fresh basil likewise repels flies and mosquitos. You can also use the bay leaf trick or other foods to repel pests from your pantry in the wild, throwing a few into your packed food to keep a variety of insects away, especially if you're storing food for long periods of time in a motorhome.
11. Invest in cast iron
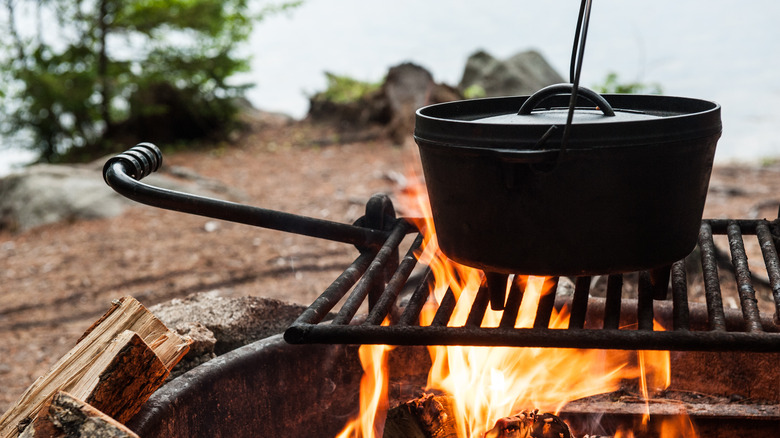
If you're only going to take one piece of cooking gear camping with you (and why wouldn't you want to take just one piece of cooking gear? It's less to carry), opt for cast iron. Whether you go with a skillet, dutch oven, or griddle, cast iron is easy to use right on the hot coals or, if your campsite has one, a fire ring's grill grates. You can cook just about anything on cast iron, too, and you never need to worry about it breaking.
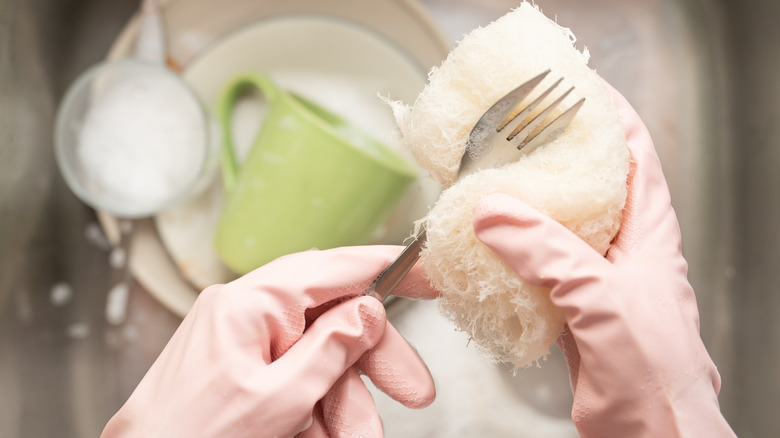
If you do take cast iron cookware with you, you'll want to take caution with how you clean it. This is one piece of cookware that you won't want to just merely rinse with water and then let air dry. Instead, as Campfires and Cast Iron explains, scrape off any residue first using a spoon or spatula that won't scratch the cast iron. Then, wash the cast iron with mild soap and a gentle sponge, but don't use cold water, as it can crack the metal. Then, dry the cast iron immediately and thoroughly, setting it on the campfire heat to evaporate any extra water. After the pan is slightly heated, rub it over with a thin layer of oil before storing the pan, which you can easily do by wrapping it in an old towel and packing it away wherever makes most sense for your camping setup. When you get home, properly season the cast iron if needed.
12. Make foil your friend
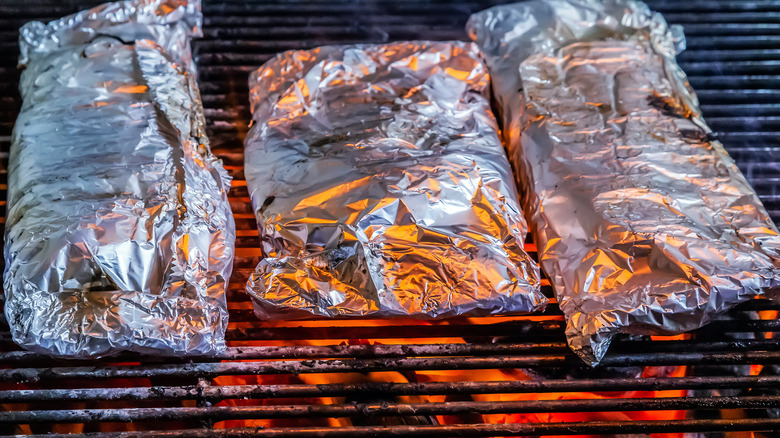
If you want to pack the absolute minimum in cooking supplies for your camping trip, you'll want to make aluminum foil your friend. You can toss just about anything into an aluminum foil pouch and then let it cook on or in your campfire. Meat, veggies, cheese, potatoes — it all cooks up nicely in a foil pouch.
To make an aluminum foil pouch that won't fall apart and spill all your delicious food into the flames, Dirty Gourmet says to use heavy-duty foil — and a lot of it. Use a minimum of 12 inches of foil for each packet. Place food into the middle of the foil, then pinch the long ends of the foil together, over the food. Fold the connected foil down a few times to form a lip, but leave a little space on the inside of the pouch, between the foil and food. Then, fold the two short ends of the pouch the same way.
13. Leave the can opener at home
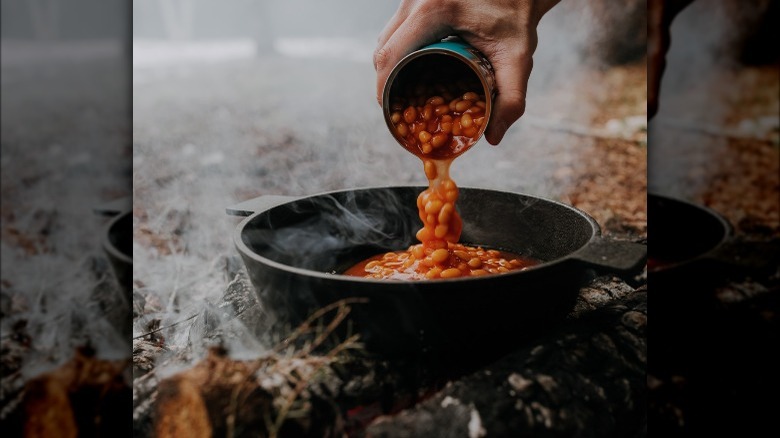
Okay, so there's really no reason not to bring a good can opener on your camping trip, unless you're specifically trying to save space. However, regardless of whether you chose not to bring your can opener or you just forgot it, if you're in the woods without one, you can still open that can of beans with ease.
Just follow the Stamford Advocate's advice for opening a can without the opener. Using a knife or really any sharp and pointy tool, just place your weapon of choice on the can's top, next to the rim, and then use a rock to tap the tool's handle. Keep doing this until you've pierced the can, and then move the knife along the can's top until it's open enough to retrieve the food inside. No knife? You can use just the rock, similarly to how you'd use a file. Rub the bottom of the can against the rock, quickly, over and over again, pushing downward, until you begin to see moisture around the can's edges. That's a sign your can is ready to be opened, and you can squeeze the sides of the can to pop the lid free.
14. Bake inside an orange
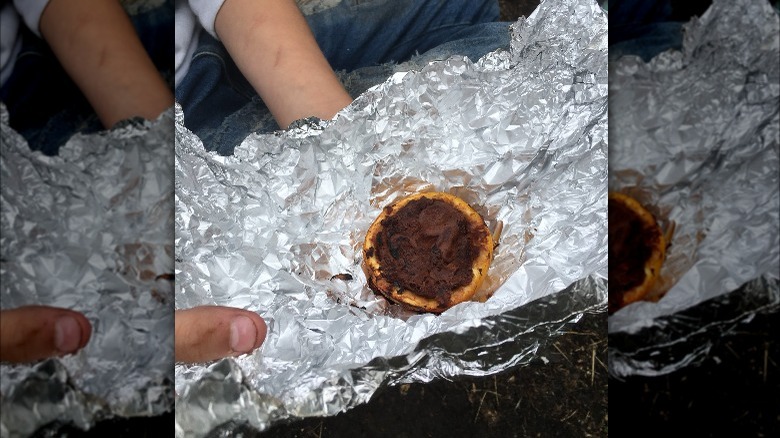
Many camping cooking hacks are all about using and reusing resources that travel well. And what food is more portable than an orange? Just throw it in any bag and you have a healthy treat that stays clean and ready to eat — all you have to do is peel it. But you can get more out of this fruit than just a quick snack or breakfast. You can also use it as disposable, biodegradable bakeware.
As Truly Simple explains, oranges make for excellent baking receptacles. Just be careful when you peel your orange initially, because you'll need to turn that peel into two small round bowls. It might be a better idea to just cut the orange in half and dig out the orange sections without peeling, but either way works. When you have the cleaned orange peel, you can pour in batter or even just place a canned biscuit or cinnamon roll inside, then set the orange on a cast iron griddle or your campfire's grill grates to bake.