Whole Wheat Sandwich Bread With Lavender Honey
Whole Wheat Sandwich Bread With Lavender Honey
A light and tasty whole wheat sandwich bread without a preferment, but with the addition of lavender-infused honey, the lavender and the honey pairing perfectly with the whole wheat and adding a bit of sweetness and moisture to the crumb. The lavender adds a unique taste, but if it’s not for you, simply leave it out. If you want to omit the honey entirely, add an ounce or two more water.Excerpted from One Dough, Ten Breads, © 2016 by Sarah Black. Reproduced by permission of Houghton Mifflin Harcourt. All rights reserved.
servings
10
Ingredients
- 1 ounce honey
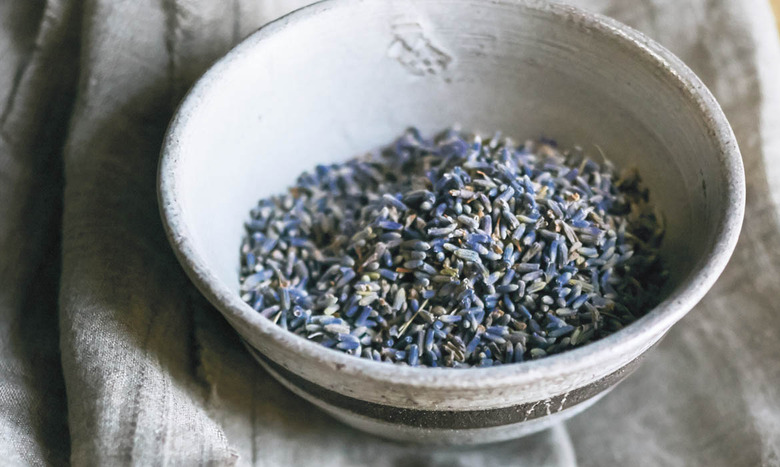
- 1/4 teaspoon culinary lavender buds
- 1 1/2 teaspoon active dry yeast
- 2 teaspoon table salt
- 1 3/4 ounce warm water
- 6 ounce unbleached bread flour
- 10 ounce whole wheat flour
- 10 ounce cool water
- 1 ounce canola oil
Directions
- Weigh the honey into a small saucepan, then measure the lavender and add it to the honey. Heat over low heat, stirring, until the honey becomes a little more liquid, 2 to 3 minutes. Remove from the heat and let the lavender steep in the honey as it cools. (Leave the lavender in the honey.)
- Measure the yeast and salt separately and set them aside.
- Weigh the warm water into a small bowl. The warm water should feel hot to the touch, between 105 degrees and 115 degrees F. Sprinkle the yeast on top of the water, stir to dissolve, and set aside.
- Weigh the bread flour and the whole wheat flour and combine them in a large mixing bowl. Sprinkle the salt on top of the flour, stir to incorporate, and then make a well in the center.
- Weigh the cool water into a small bowl. The cool water temperature should be between 70 degrees and 75 degrees F.
- Weigh the canola oil into a small bowl.
- Add the yeast mixture to the flour, stir 3 or 4 turns, and then, little by little, add the cool water, followed by the honey with the lavender and the canola oil. Mix with your hands for 2 to 3 minutes, until all of the ingredients are incorporated, the grit of the salt is dissolved, and the dough forms a rough and shaggy mass, and then stop.
- Cover the bowl with a kitchen towel or plastic wrap and let the dough stand still for about 30 minutes.
- Sprinkle your work surface with flour and then use a plastic bowl scraper to scrape the dough out onto it. Tap your hands in a little flour, and then gently flatten the dough into a rectangle, with the short side facing you.
- Use your fingers or the plastic bench scraper to flip the top edge of the dough down to just below the center, and then flip the bottom edge up to just above the center. Repeat this process for the right and left sides, and then turn the dough over and dust off the flour.
- Oil a second large bowl, then place the dough in it, seam side up, to oil the top. Then turn it seam side down, and cover the bowl with oiled plastic wrap. Mark the time with a felt-tipped pen on the plastic wrap and allow the dough to rest and rise in a moderately cool place until it has doubled in volume, 1 to 2 hours, depending on the heat of your environment.
- Once the dough has doubled in volume, sprinkle a little more flour onto your work surface, then scrape the dough out onto it, letting the dough assume its natural shape. Pre-shape the dough into a log as described on page 7, then cover with oiled plastic wrap and let rest for 5 to 10 minutes before you continue shaping. Shape into a batard (similar to a baguette, but shorter). With the seam side down, place the dough into an oiled 9-by-5-inch loaf pan and gently press it into the corners.
- Cover the dough with oiled plastic wrap and let it proof for 50 to 60 minutes, or until the dough has doubled in volume.
- While the dough is proofing, preheat the oven to 450 degrees F, with a rack in the middle for baking and an empty pan for creating steam on the bottom of the oven. Have ready a spritzer filled with water near the oven and approximately 8 ounces of hot water to pour into the empty pan.
- Sarah’s note: The weight and gravity of the dough in the pan mean this bread needs just a little push to reach the lovely arc of its potential. I bake this bread when it is a little shy of complete proof, just before it reaches a slightly curved top, because when the dough is underproofed, the oven spring will be greater.
- Once the pan loaf has approximately doubled in volume, dust a little flour on top for a decorative look and smooth the flour gently with your hand. Dip a lame or straightedge razor in water, and score with 1 long cut down the center, leaving ½ inch on either end and cutting ½ inch deep.
- Open the oven door, slide the loaf pan onto the middle rack, and pour the hot water into the empty pan below to create steam before quickly closing the oven door. After 1 minute, open the oven door and spritz around the dough, then close the door.
- Bake for approximately 10 minutes, then lower the temperature to 430 degrees F and continue to bake until the crust has a deep brown glow, another 20 to 25 minutes.
- When the bread has finished baking, let it stand for 10 minutes in the pan, then take it out of the pan and let it cool completely on a wire rack.